

Front Room Makeover
Our entry room is the first view into our home when you walk through the front door and it’s been a very lackluster room that lacks coziness and character. It’s a high traffic space so figuring out how to make it feel welcoming and warm has been tricky for me.
I absolutely LOVE how it turned out and can't believe it’s the same room we started with so let me take you back to the beginning!


This is how our front room started right before this project. I had picture frame molding and this soft bluish green color that did absolutely nothing for the room.

I started with under the stairs by grabbing some extra shiplap we had and attaching it to the wall to be the back of the built-in bench for a mudroom feel and to make better use of the space.

I bought these large scalloped baskets from target and determined the width of my cubbies around the baskets so that they would fit snug. These baskets hold all of our shoes so that I'm not chasing shoes all over the house when we need to leave somewhere and it's honestly been a game changer!
Adding character was my main focus so I designed this front detail that I made a template for out of parchment paper and cut it out with my jigsaw onto mdf.

If you've seen our built in bunk bed tutorial I use the same method of the front detail and created a template for one half and then flipped it over onto the other half so it would be even and symmetrical.

This nook immediately filled the space so much better it made it feel cozy, useful, and custom!
With the building portion of under the stairs complete it was time to pick a paint color and move on to removing the picture frame molding around the room.
(Trying to tackle this entire room while 8 months pregnant)

Gathering inspo and colors with the occasional teddy bear sneaking in on the project haha

This was my overall mood board on how I want the room to look and feel. I tried to mix lots of patterns and colors and went for a warm color palette.

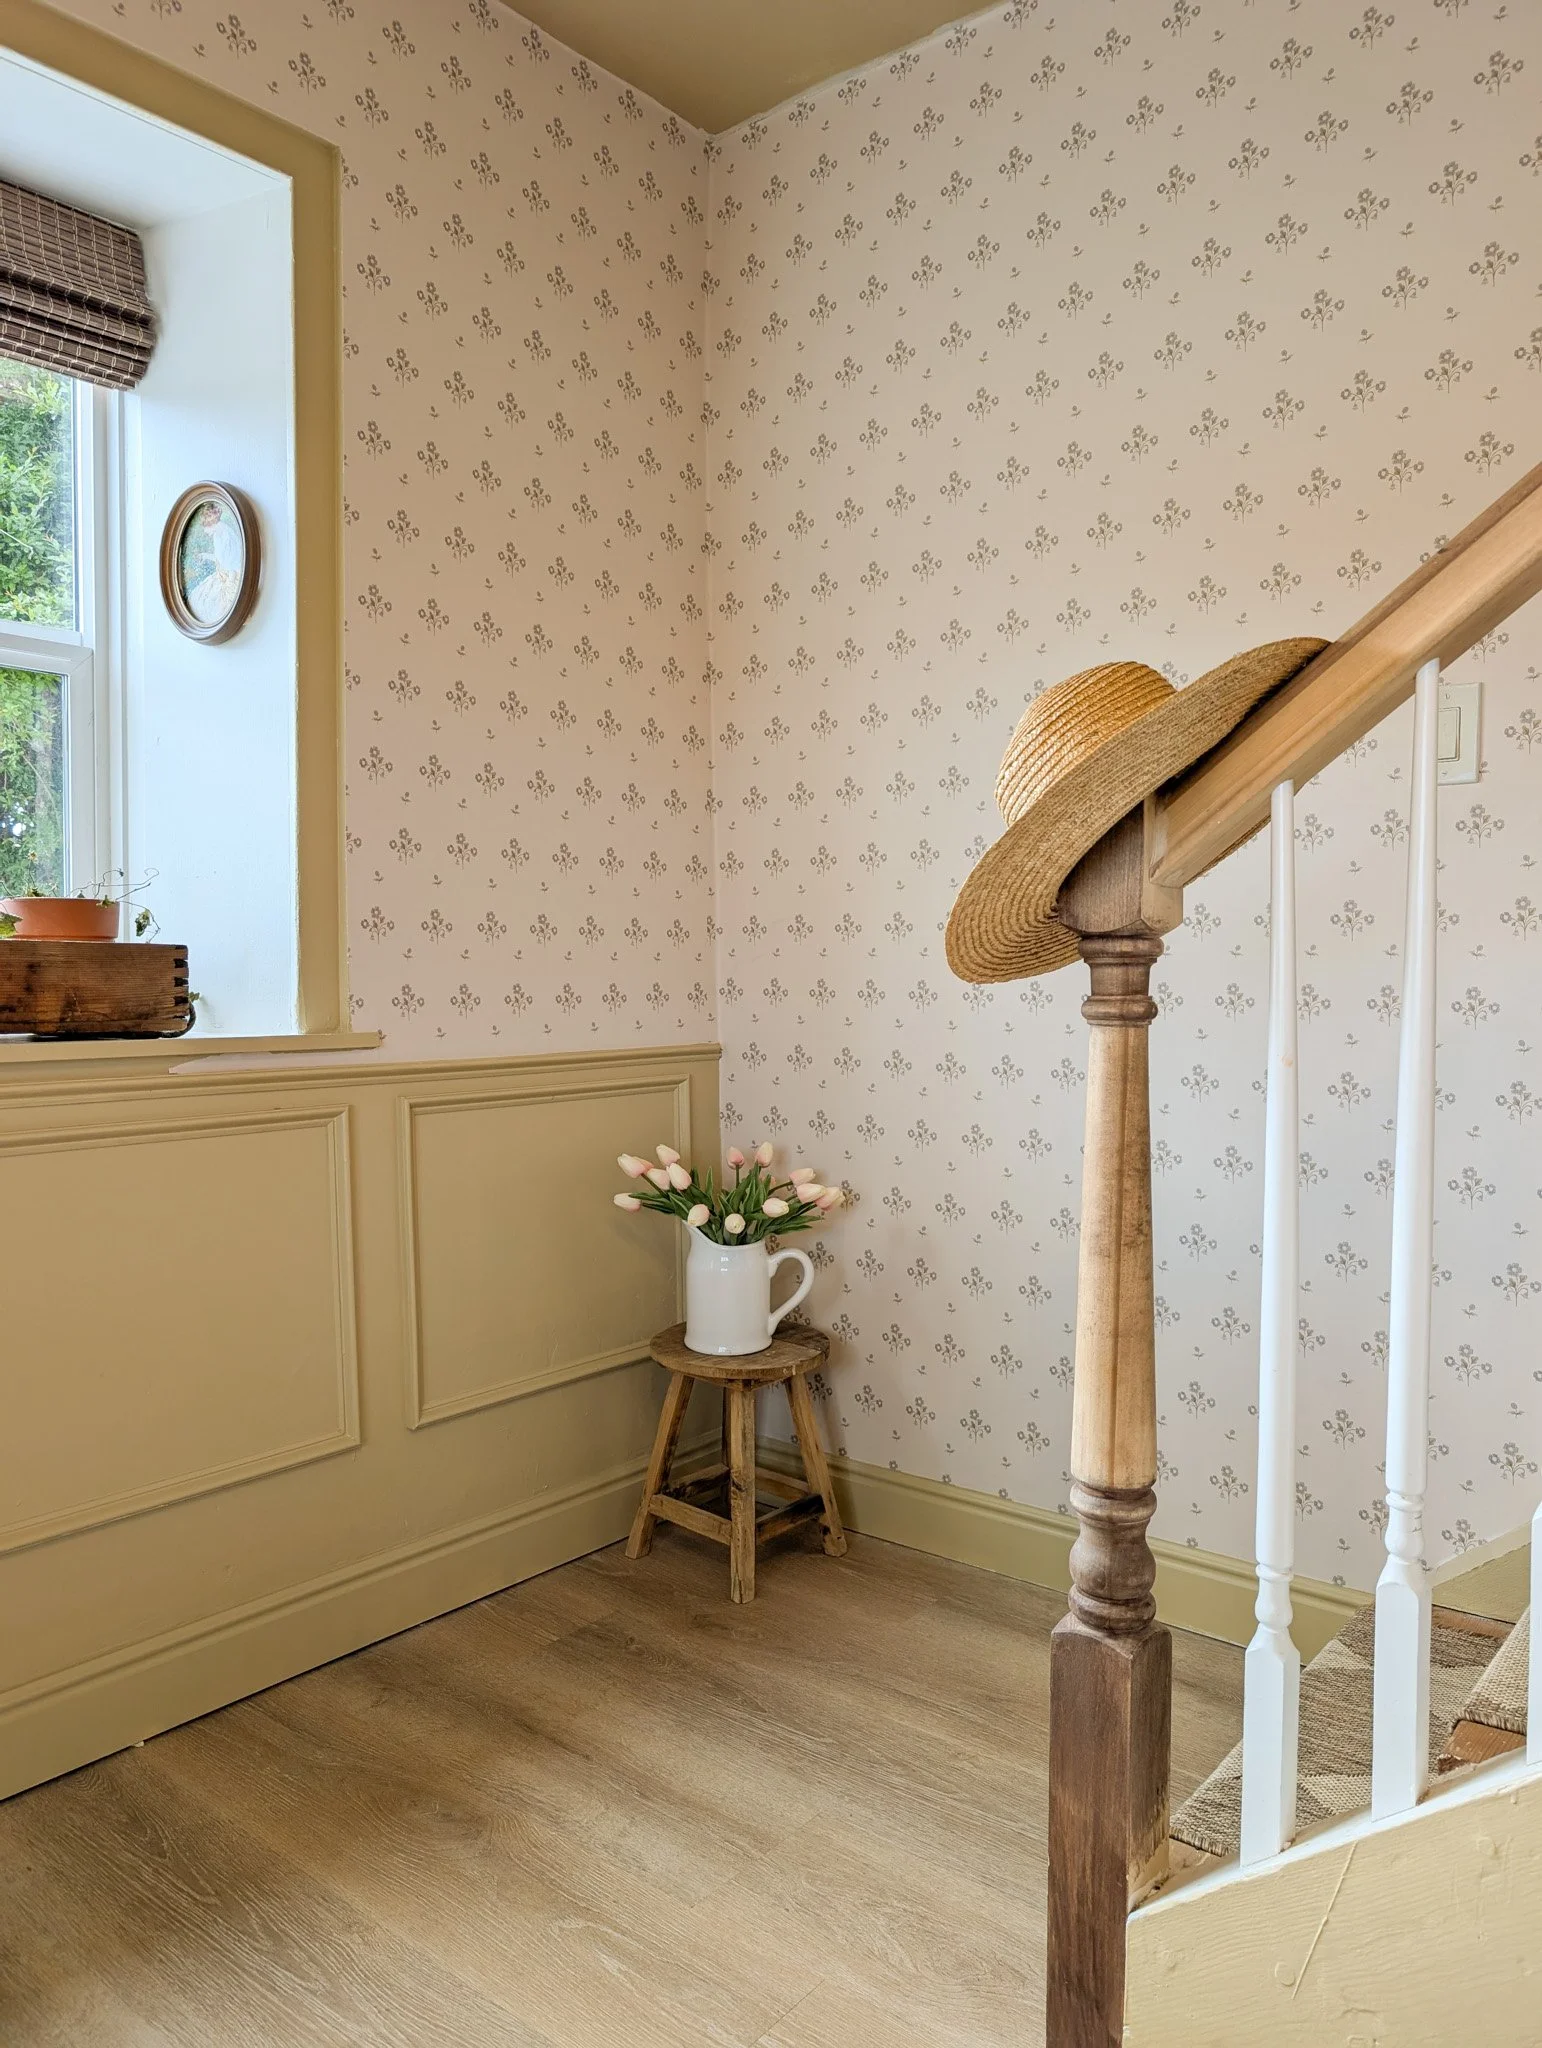
I had the privilege of working with Artza & co on this project and cannot recommend them enough for their exquisite wallpaper and truly the most gorgeous options. Out of four samples this is the one I chose because of the transition into the blue kitchen without it being too busy. I felt yellow would go well with the blue to warm up the space.

While taking an eternity to decide on paint colors I started removing the top half of our picture frame molding. I debated doing wallpaper floor to ceiling but decided the pattern needed to be broken up so the bottom half of the molding needed to stay and be painted.

Things always have to get much worse before they get better and boy was that the case as the paint started peeling off with all of the molding even though I scored it beforehand. It was a big mess and I had to patch over all of the peeled off wall to make sure everything was smooth for the wallpaper. This joint compound is cost effective and has lasted me forever!
I also primed the room once everything was patched and smooth so that the wallpaper had the best chance of sticking and not trying to stick to a dusty joint compound wall.

For this transformation I was trying to use what I had which included our modern leather sofa. It's never felt cozy and had never really fit in with my style.
I ended up finding this pinstriped sofa on facebook marketplace for $150 and couldn't pass it up since pattern sofas easily go for $2000+ and it felt like my dream sofa for this space!

I always gather inspiration on Pinterest and this is how my inspiration board was looking when it came to picking a yellow color. This room is very dark and the lighting situation has always been lacking so picking a good yellow was challenging.

This color I chose is called Whole wheat by Sherwin Williams and is in the tan/yellow family.

With this wall of picture frame molding we had to create new boxes to match the rest of the room.


The lack of lighting makes this color look completely different throughout the day but I read that a north facing room should have more of a moody/cozy feel and that's what I was going for.
I also am drawn to all things color drench and wanted to color drench as much as possible in this room.

My order came for the wallpaper and after everything was prepped and painted it was time to begin! This is my first time using wallpaper and I'm soooo glad it's peel and stick.

Peel and stick wallpaper is usually more pricey but after using it on our tiny room with very crooked walls I have to say it's absolutely worth having the option to peel off and redo when things don't match up right.

We purchased a laser level for this product and that was crucial because none of our walls or doorways are straight. These first three panels were probably the most difficult out of this entire room because they would be off just a tiny bit which would set the pattern for the rest of the room. It definitely took some time to get the feel for it.


I wanted to mix gold and black for this room but chose a polished gold light switch cover to replace our nasty old one because I'll be using this same kind throughout the rest of the house.

I'm a believer now that wallpaper is the fix to any room that lacks charm and direction!

I love the combos of the stripes with the floral wallpaper and the warm wood! Somewhere through all of this I had a baby and took some time so this room didn't come together as quickly as I had hoped but the wallpaper itself was definitely so easy but just a bit time consuming!


