

Growing Zinnias for Beginners

I am a newbie zinnia grower and I want to share with you everything I have learned as a beginner and how you can feel confident starting your zinnias too!
I didn’t even know how to identify a zinnia until last summer when I drove by a neighbor’s home, saw her flowers, and thought, “Those are GORGEOUS I need to ask her what they are!” So I did and that’s when she explained they are zinnias and do really well here!
I’m in Southern Utah so…HOT and zinnias love the heat!
Since we’ve done lots of outdoor projects like our cobblestone pathway, garden beds, and chicken coop this spring I wasn’t sure we’d get around to the zinnias but by golly I was determined!
I started out with this front corner of our yard that was just dirt and didn’t have any set plan so I figured it would be perfect for my “Zinnia Patch” which is what I decided to name it!

The first lesson I’ve learned is:
It’s worth it to properly prep your space!
I maybe sometimes am known to grow impatient and cut a corner or two when it comes to a project and this would be one of them. I created my outline with these leftover paver bricks I got on FB marketplace and instead of getting rid of all of the grass in the picture we just tilled inside the outlines which was really dumb because that came back to bite me later.
I ended up battling weeds and grass pretty good because it would grow in from the outside into my zinnia beds and ended up completely taking over two of the beds * sigh *. At least we know more for next year!
Tip when tilling: Our dirt was hard and pretty crappy so getting it wet helped so much to break it up and get out the weeds.

Our zinnia patch is about 20ft x 20ft with a 4ft path going down the middle in both directions.
I wet down one section at a time since it would dry quickly, sprinkled my zinnia seeds around, and raked over the dirt so there would be a thin layer of dirt on top.

I’ve seen others use this kind and here’s why they weren’t my favorite: I used two bags of these seeds for $10 each. The whole bag isn’t full only 1/4 of it is (like a flippin’ bag of doritos haha) and most of what’s in the bag is “inert matter” which is supposed to help the seeds not get blown away in the wind but weigh them down a bit. This particular bag said it has some kind of watering bead technology where beads change color if they need to be watered and that did diddly squat in my experience haha. I didn’t notice the water beads at all and we laid driplines so soak the whole area so our water was automatic anyways.

After about 20 days this is how my zinnia patch looked!
There are definitely zinnias popping up but not enough where I would get my full, colorful, thriving patch. You can also see where the grass is creeping in around the edges and wanted to join/take over the party.

After about a week of waiting to see if any more would pop up with no luck I decided to go all in and get these AMAZING SEEDS!
Here’s why I love these seeds:
There are ONLY seeds no “inert matter” in there! This bag contains 22,000+ seeds and this brand is “Cali Giant”. I sprinkled very generously in all four boxes, raked them in, used some in other places of my yard, and I still have half a bag left. This bag was $40 but absolutely worth every penny for how many seeds you receive.

Things really started to get going after adding in those new seeds!
After three weeks I came home from being out of town for a week to find my FIRST BLOOMS!

Now when I say I jumped out of the car when we pulled up to the house to go see my flowers I’m not even joking haha I was SO excited to have my first flowers because what I didn’t mention is how many nights I sat in the dark with my headlamp pulling weeds/grass that was trying to take over but I persisted and it paid off!

I made my first bouquet of slowers that I grew from all seeds! Did I mention I’n from Phoenix where it’s even hotter and I’ve never grown a thing in my life?! So this was a big deal haha

Blooms started popping open left and right once those first few broke free!
If you look in-between that open space on the ground you can see the ground is covered by weeds and grass. I learned the more seeds you plant the less weeds will be able to grow!
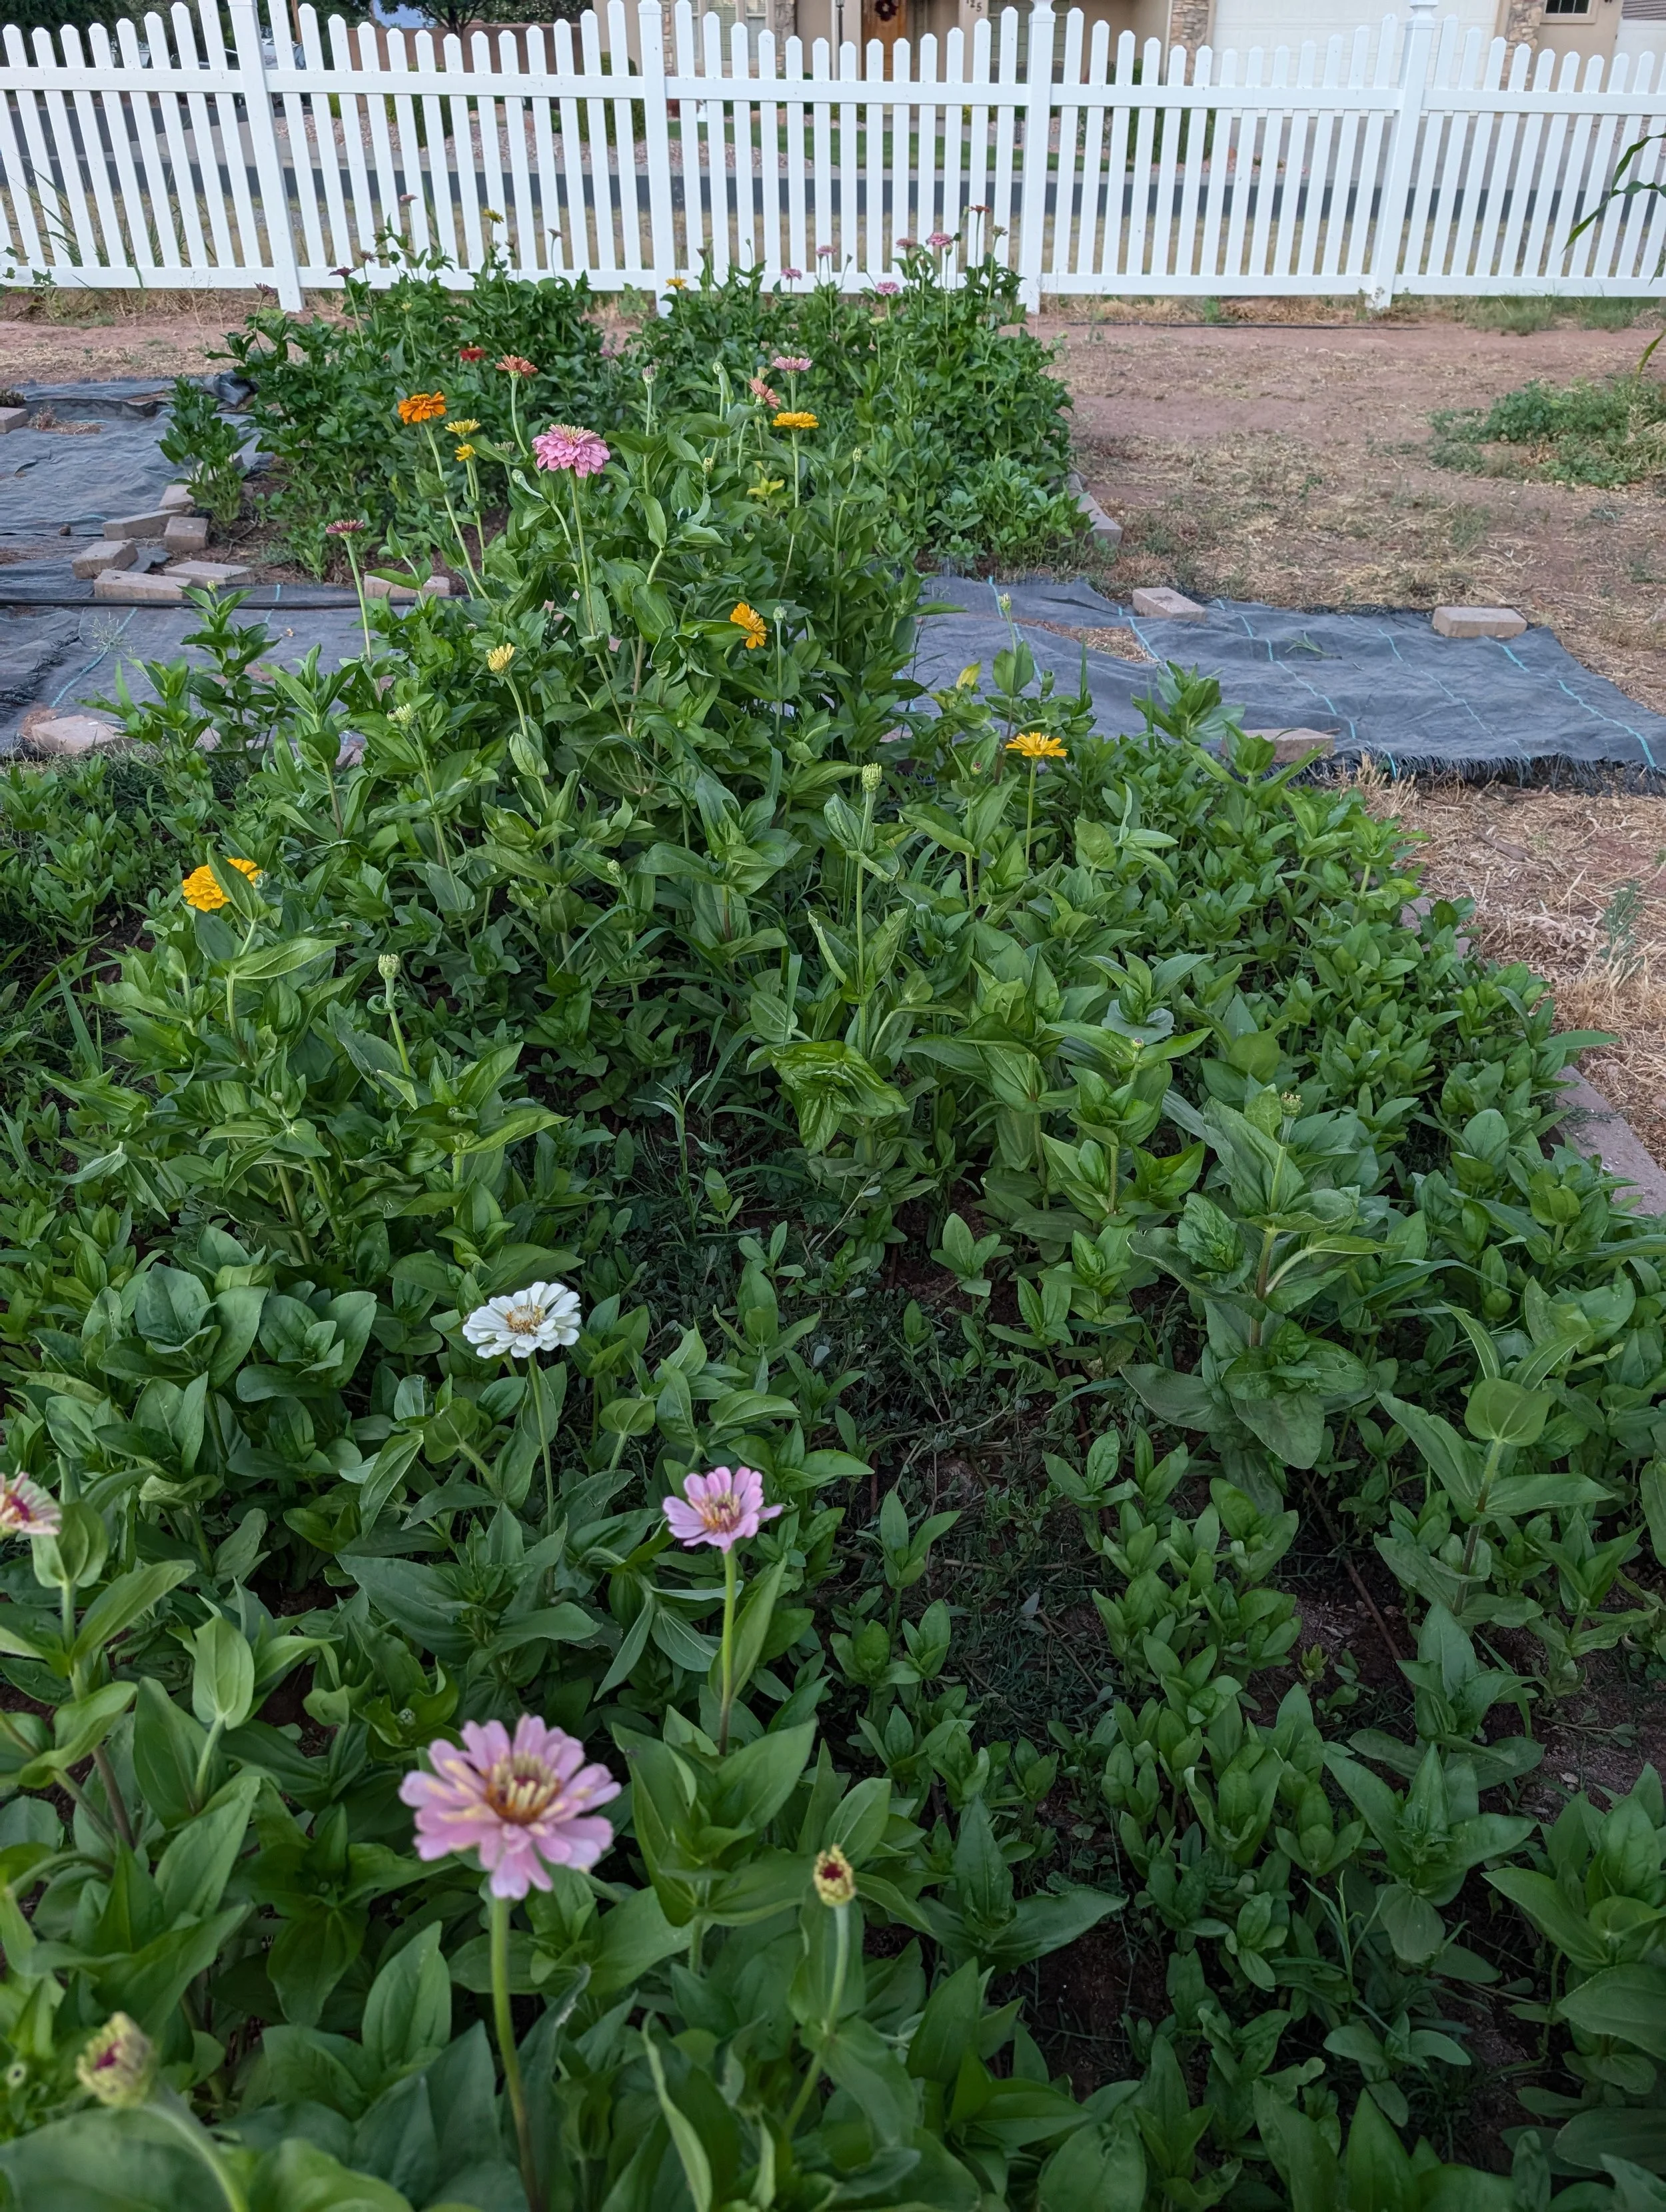
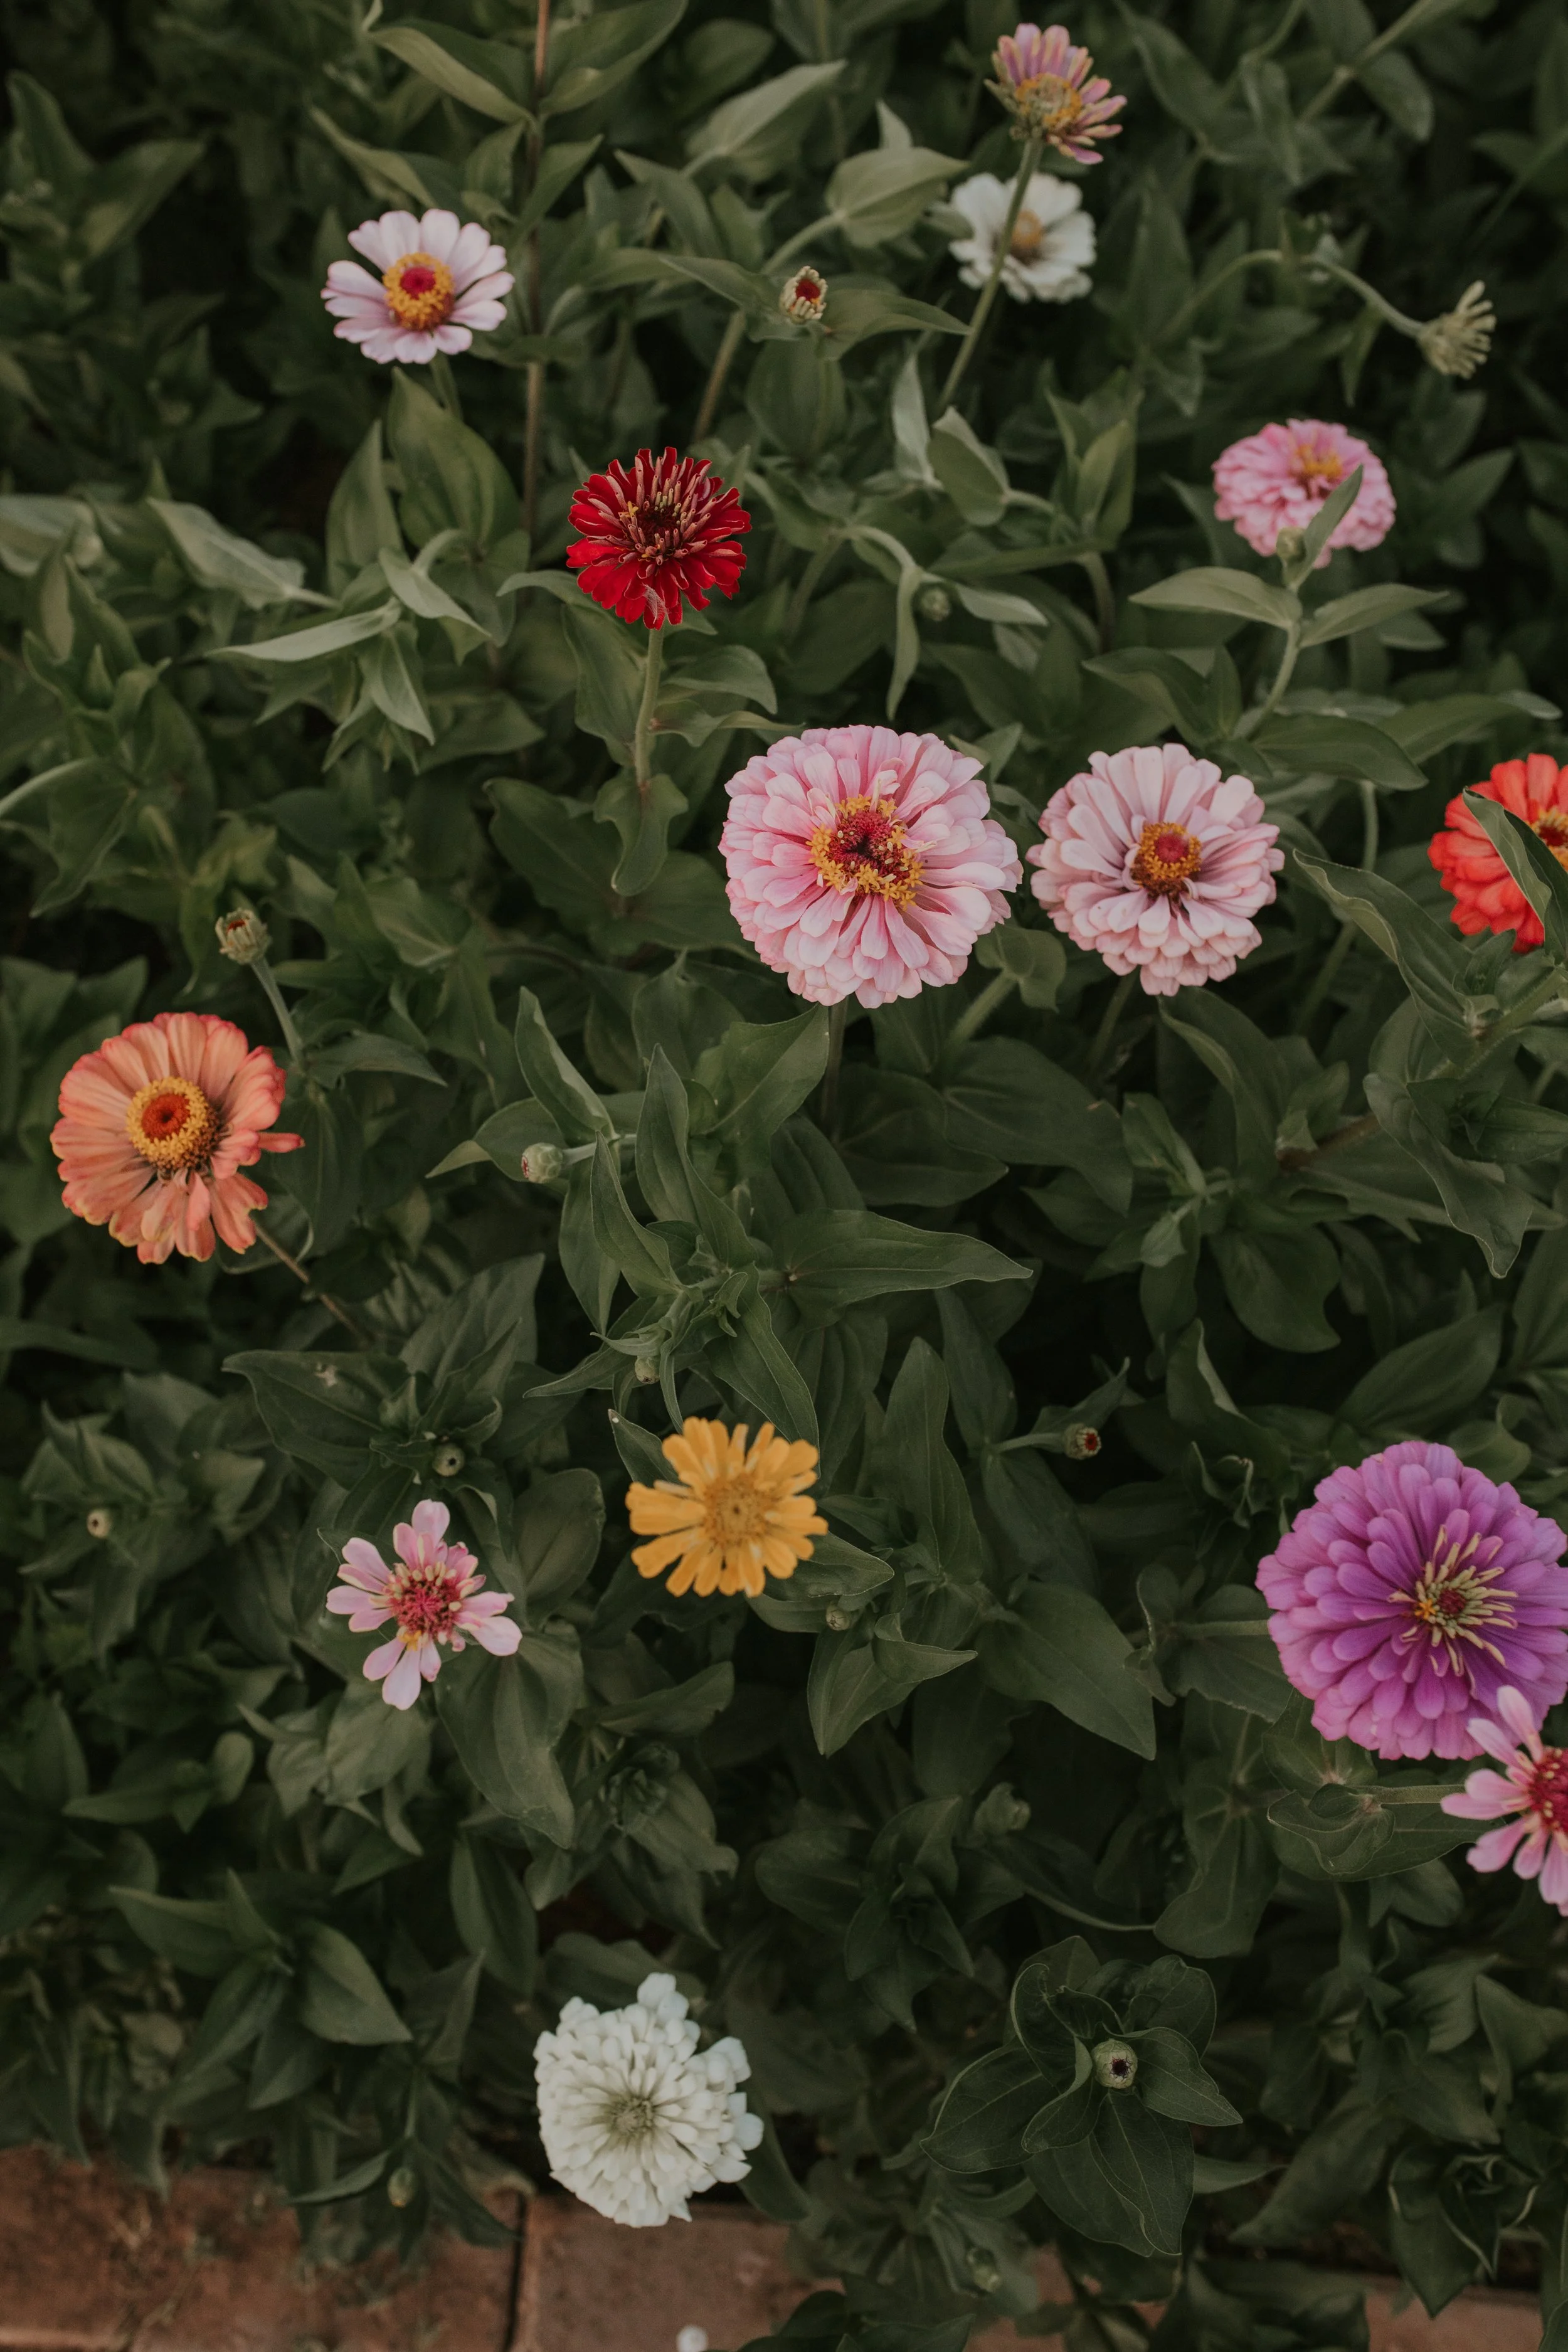
And here are all my zinnias currently on display! Just in time for us hosting the 4th of July festivities and I even made a patriotic bouquet! I will continue to plant a little more so I’ll have blooms going into fall!


Here’s what I learned:
It’s worth prepping your area as much as you can to avoid the headache later.
Invest in seeds to give you the best blooms which means more seeds to harvest and use for next season!
The more seeds the less weeds!
Join a zinnia Facebook page! I learned SO much from seeing other zinnias and the advice given in the community.
Here’s what my goals are for next year:
Prep my area better!!! Better tilling, better soil, and landscaping around the patch to reduce weeds.
Finish the pathway and improve the edging.
Try the mound method to make it easier to deal with weeds. The mound method is making a long raised mound and putting all the zinnias on that to avoid having space for weeds to grow.
Experiment with harvested seeds and purchased seeds to compare
I want to expand my growing area to also along the perimeter of our fence to grow as many blooms as possible!
Plant the Cut and come again variety where the more you cut the more they grow!
Lastly, sell my zinnias in little bouquets outside my gate!
Hmmm….as you can see we’ll be busy next year and I’ll be sure to share our progress, tips, and answer any questions you have!
Thanks so much for reading and happy growing!
xoxo,
