
Painted Checkerboard Floors
She’s a beauty isn’t she?!

Okay I just have to start by saying this was the trickiest project I've ever done and I wanted it to be over like…the whole time haha
However, how STUNNING did it turn out and now I just can't stop looking at it so yeah… Totally rewarding and worth it I'm so so glad I did it!
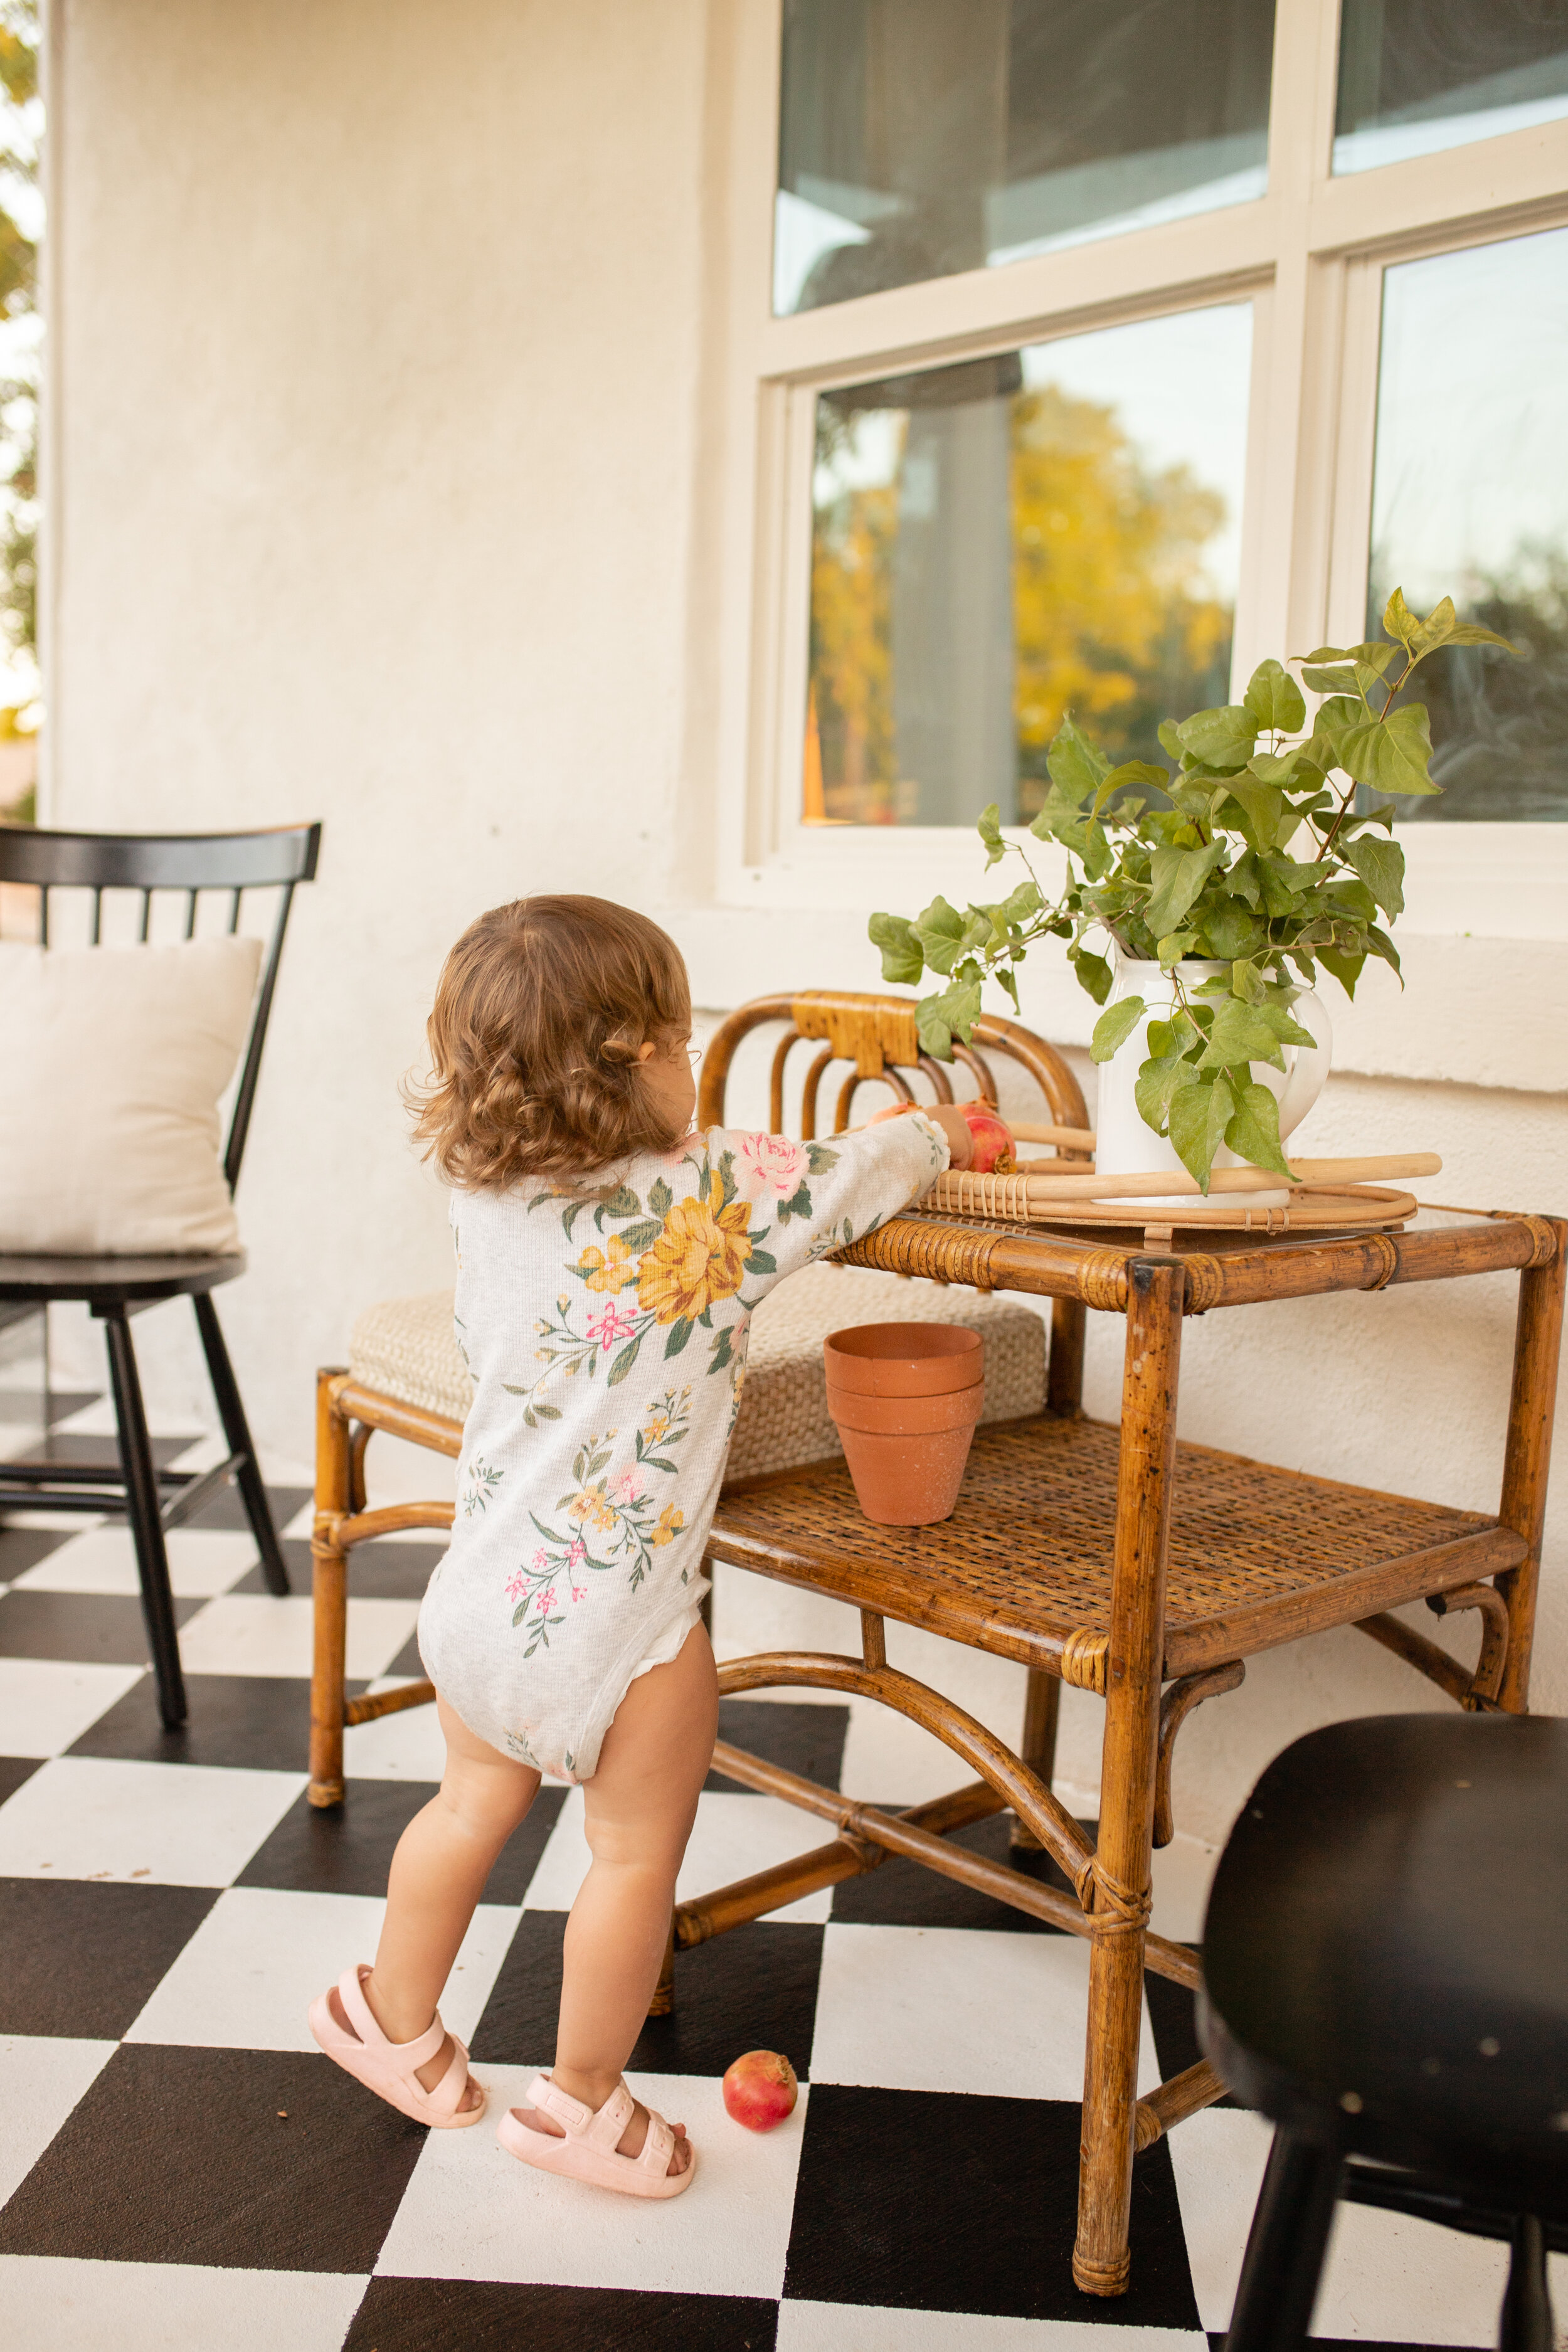
I'm just not going to sugar coat how tedious it was but it's most definitely doable and honestly a really simple process! I think having a toddler and a dog definitely made it 1,000 times more difficult, but I'm hecka proud of myself for getting this done in just a few days especially with those circumstances.
What You'll Need:
Power Washer (Mine is Ryobi brand bit any on will do!)
Paint roller ( a roller made for concrete/rough texture is ideal)
Paint tray ( I would get a pack with several in it)
Paint/porch paint- Base color I did white paint
10x10 Perfect square template (You can really use anything! Wood, metal, a stencil, or foam board) for how small or large squares you want!
Frog tape (I used about 2 1/2 rolls) This amazon link is a better deal than Home Depot
Exterior Paint- Squares on top I did “Black” with no undertones
Clear Seal Top coat (barely made a dent a little goes a long way)
Twine or string
Chalk (To make your own chalk line)

Total Cost: $96
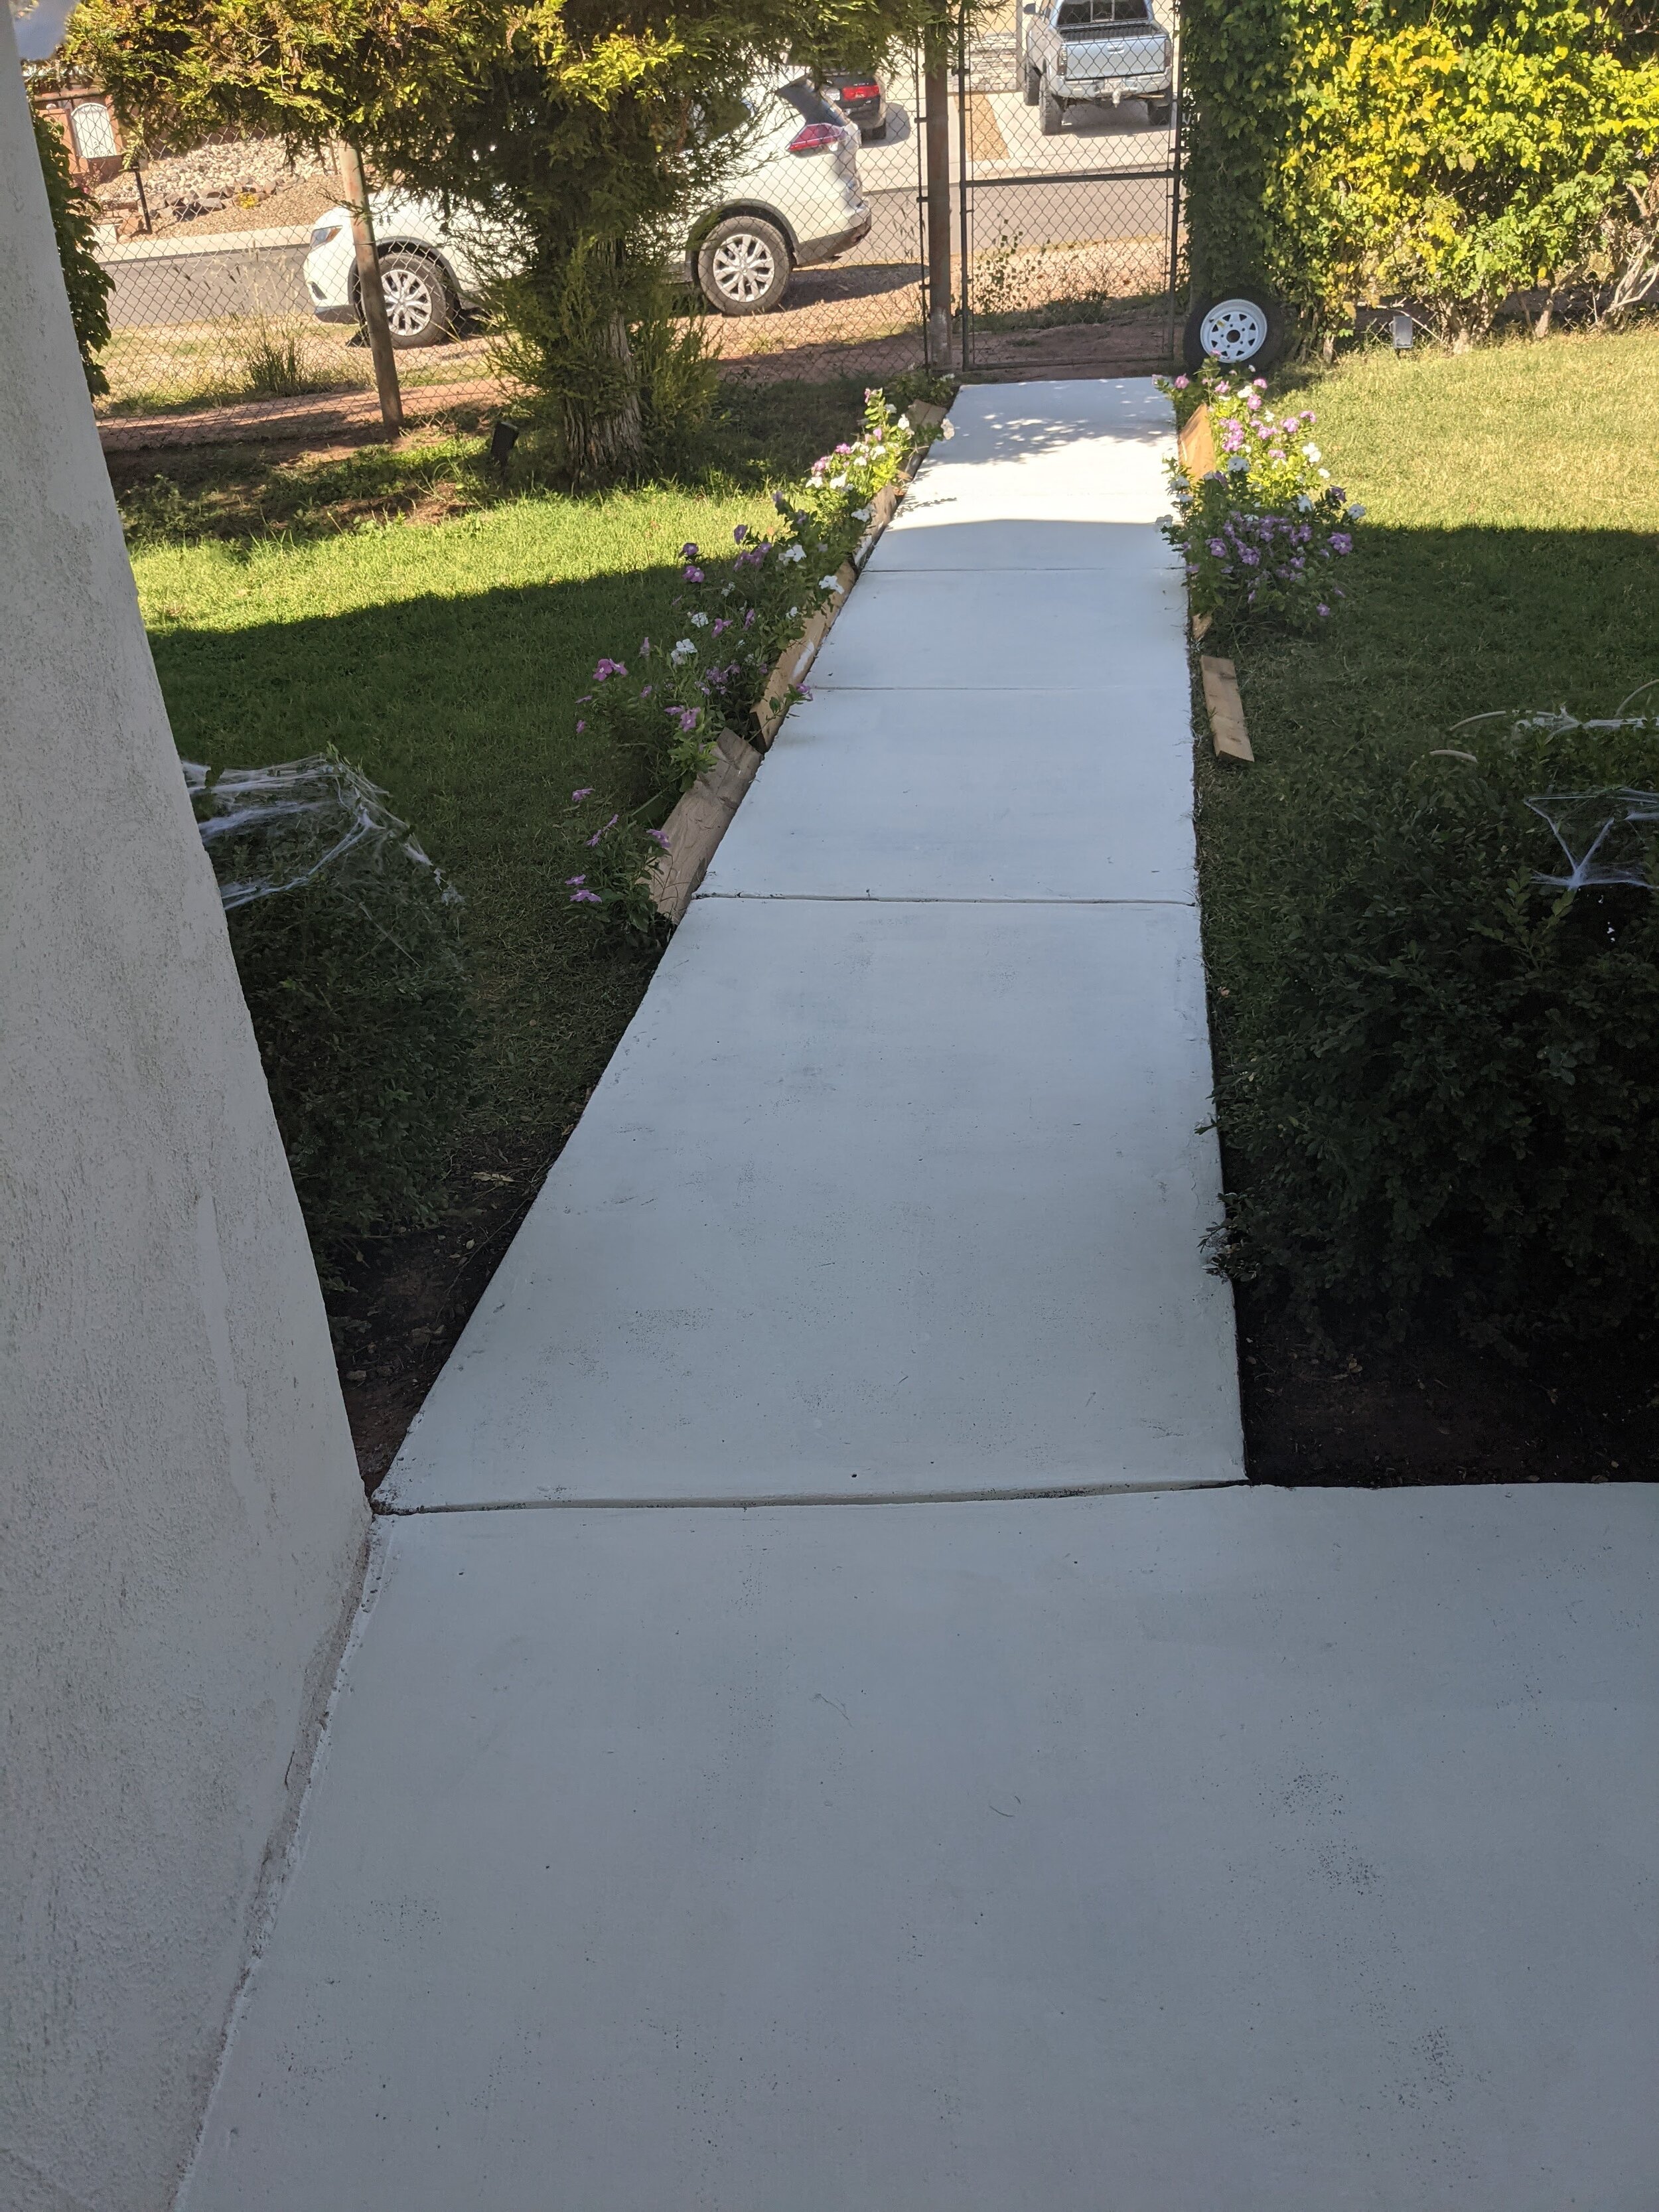
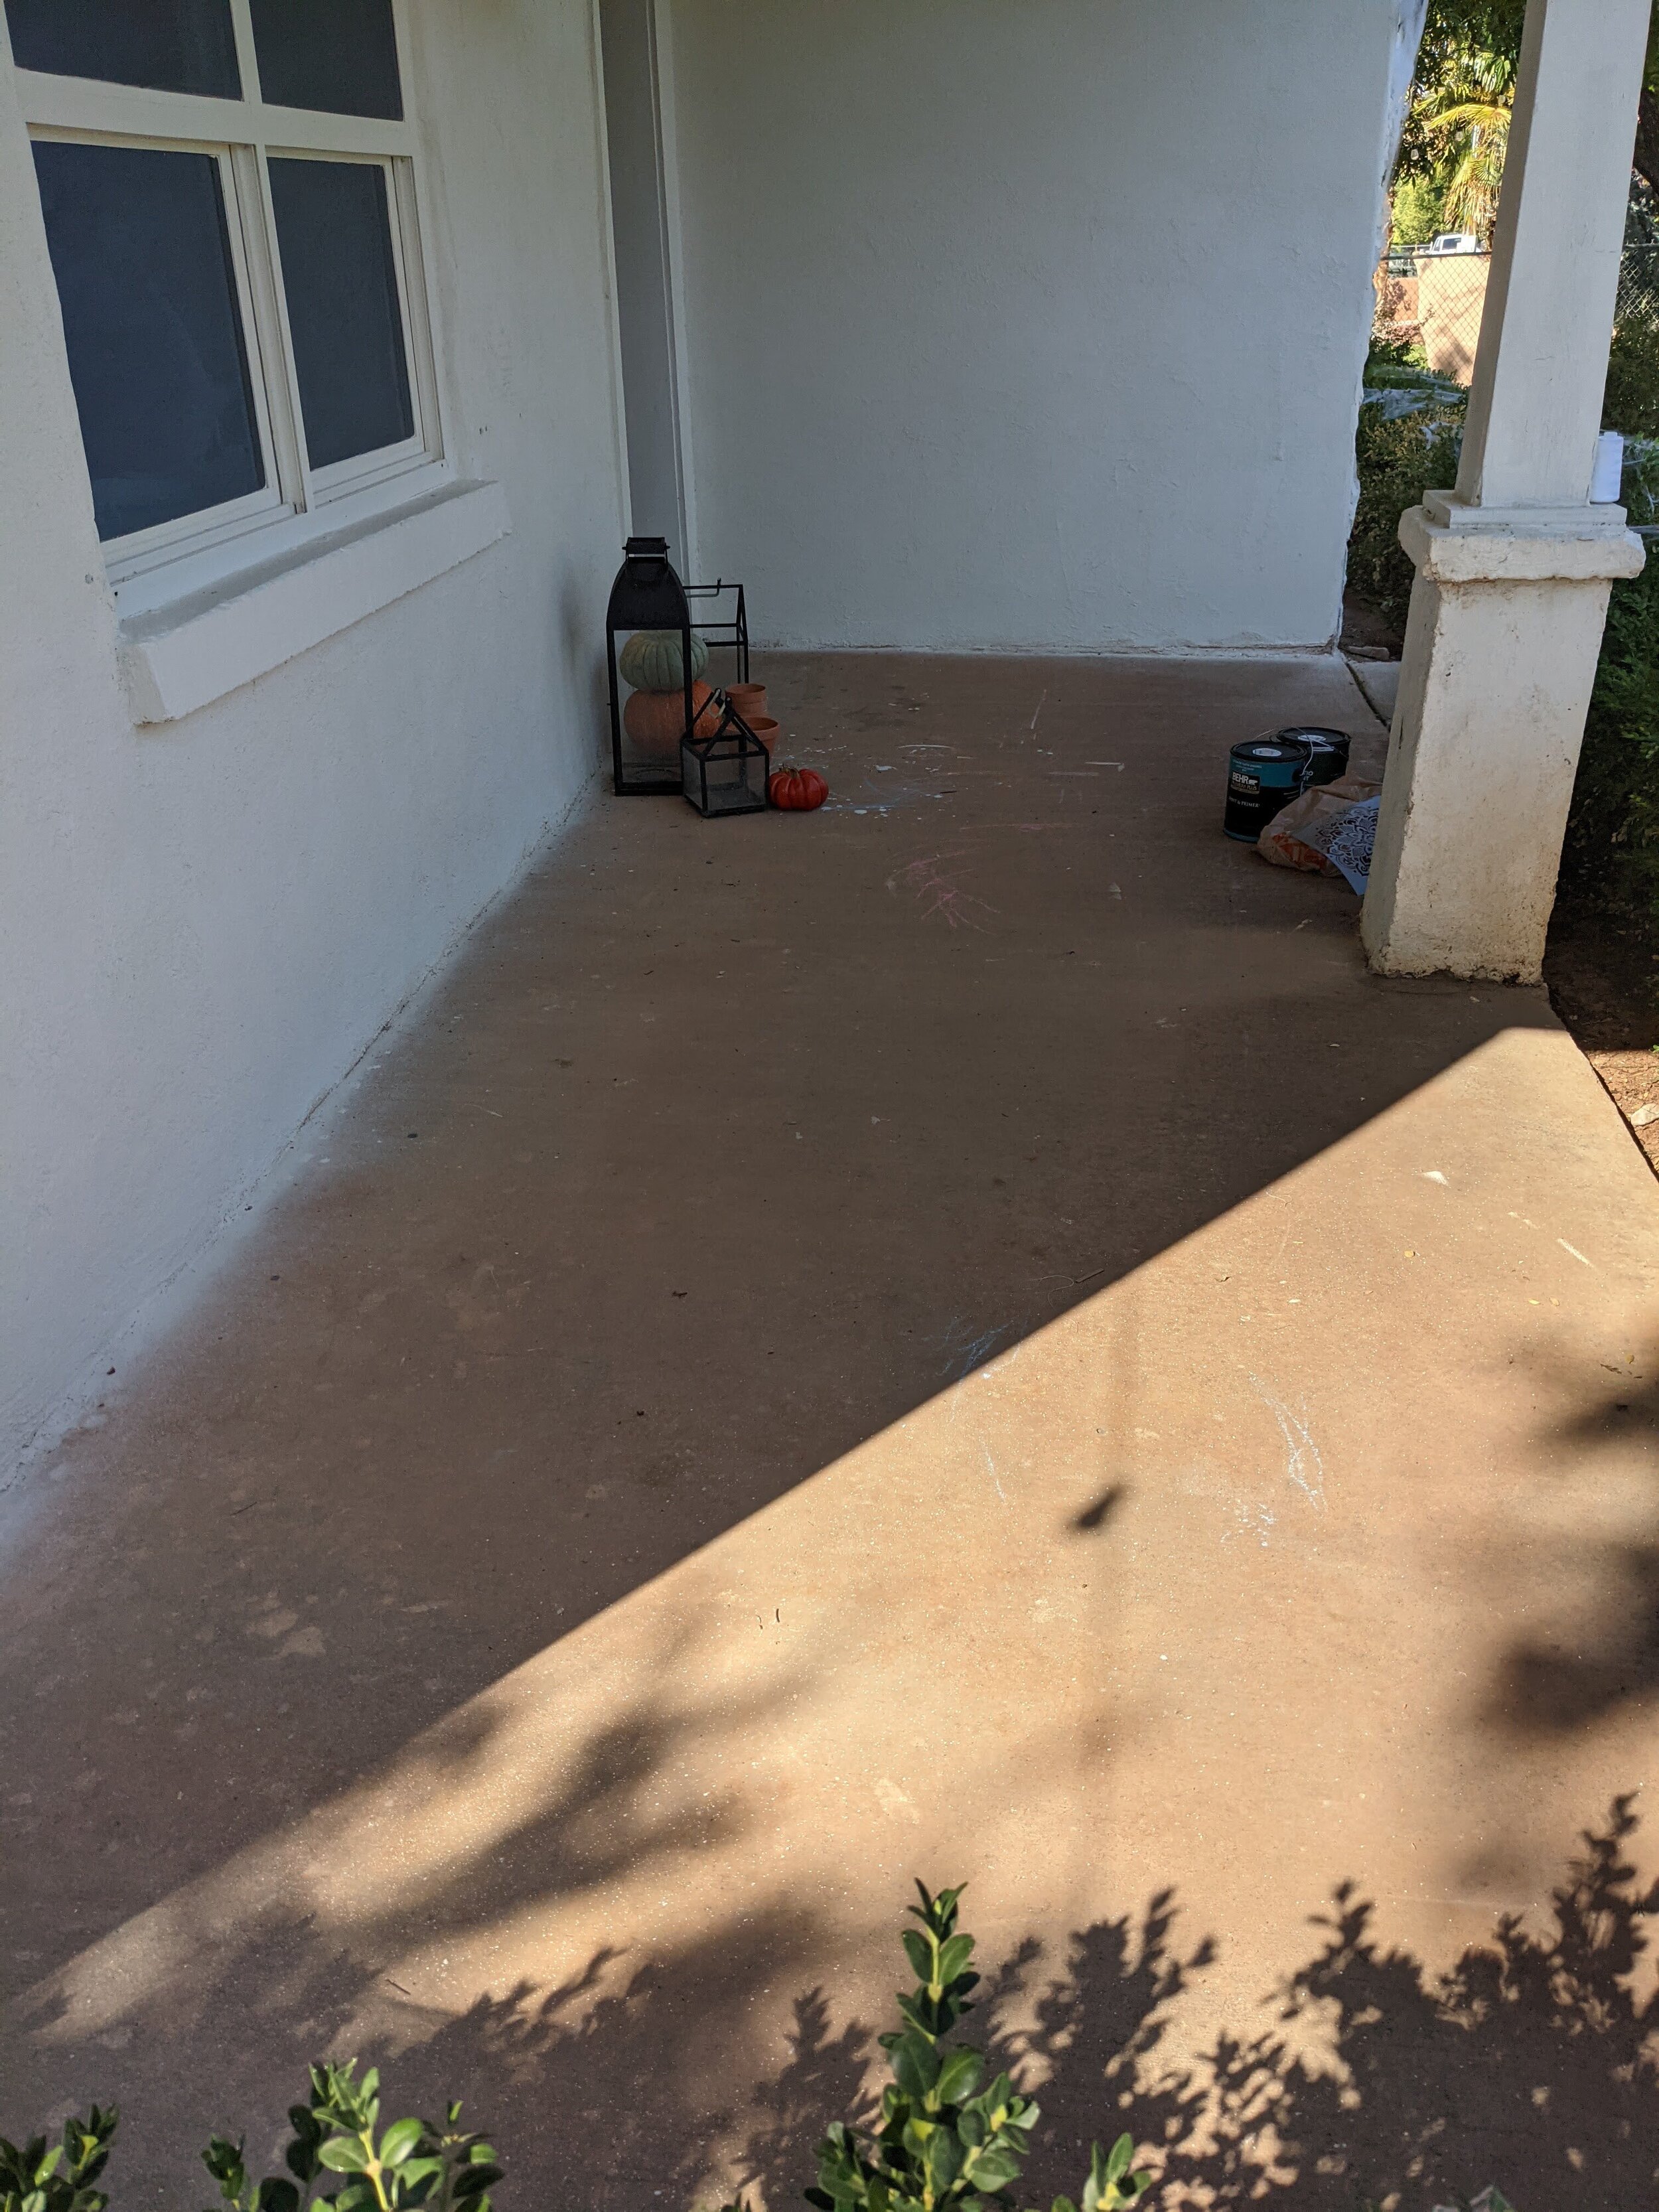
So our porch and sidewalk are just *meh* all worn from years of water sitting on the concrete from sprinklers and tinted red because…well we live in St. George Utah so that equals red dirt!
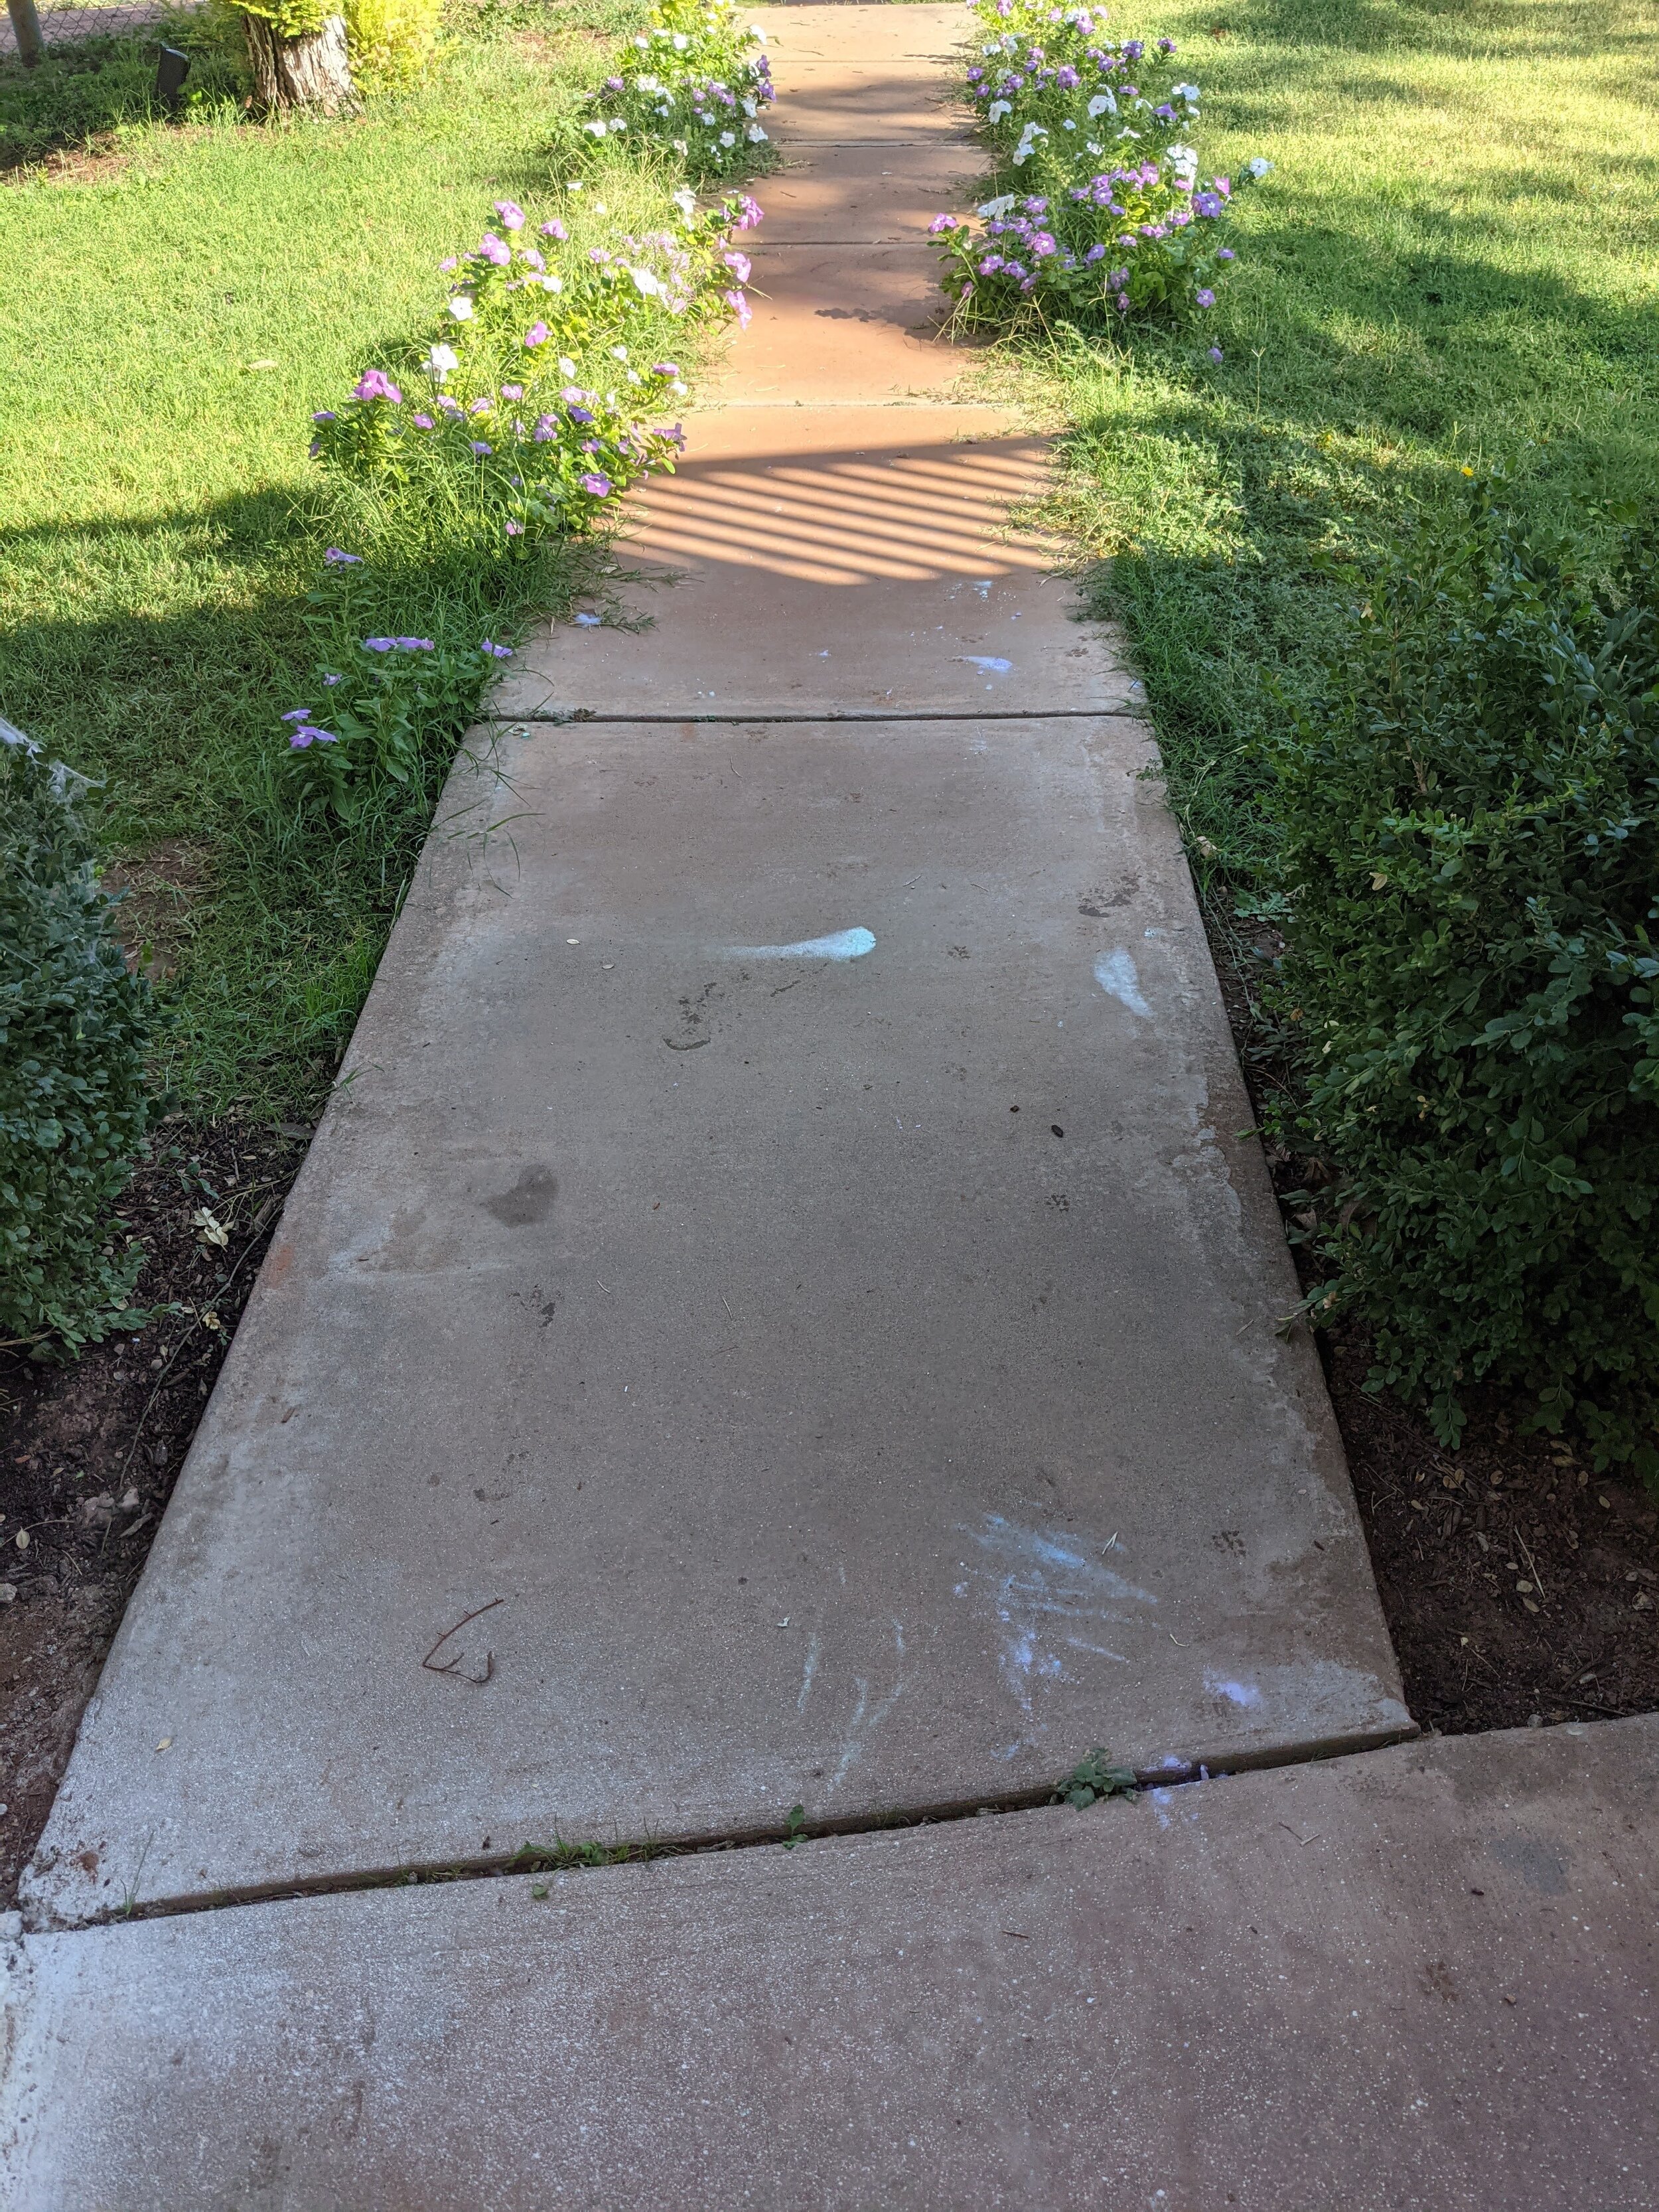
I knew I wanted to do something unique so I consulted Pinterest and was loving the idea of a stencil at first but knowing myself I wasn't sure if I would get sick of it quickly or not so as I kept looking I realized checkerboard is just the “t i m e l e s s” look this porch space needs! As I started looking for directions how to do this I quickly realized not only were there very few tutorials how to paint a checkerboard floor, but that this was going to be more difficult than I thought.
STEP 1: PREP SURFACE
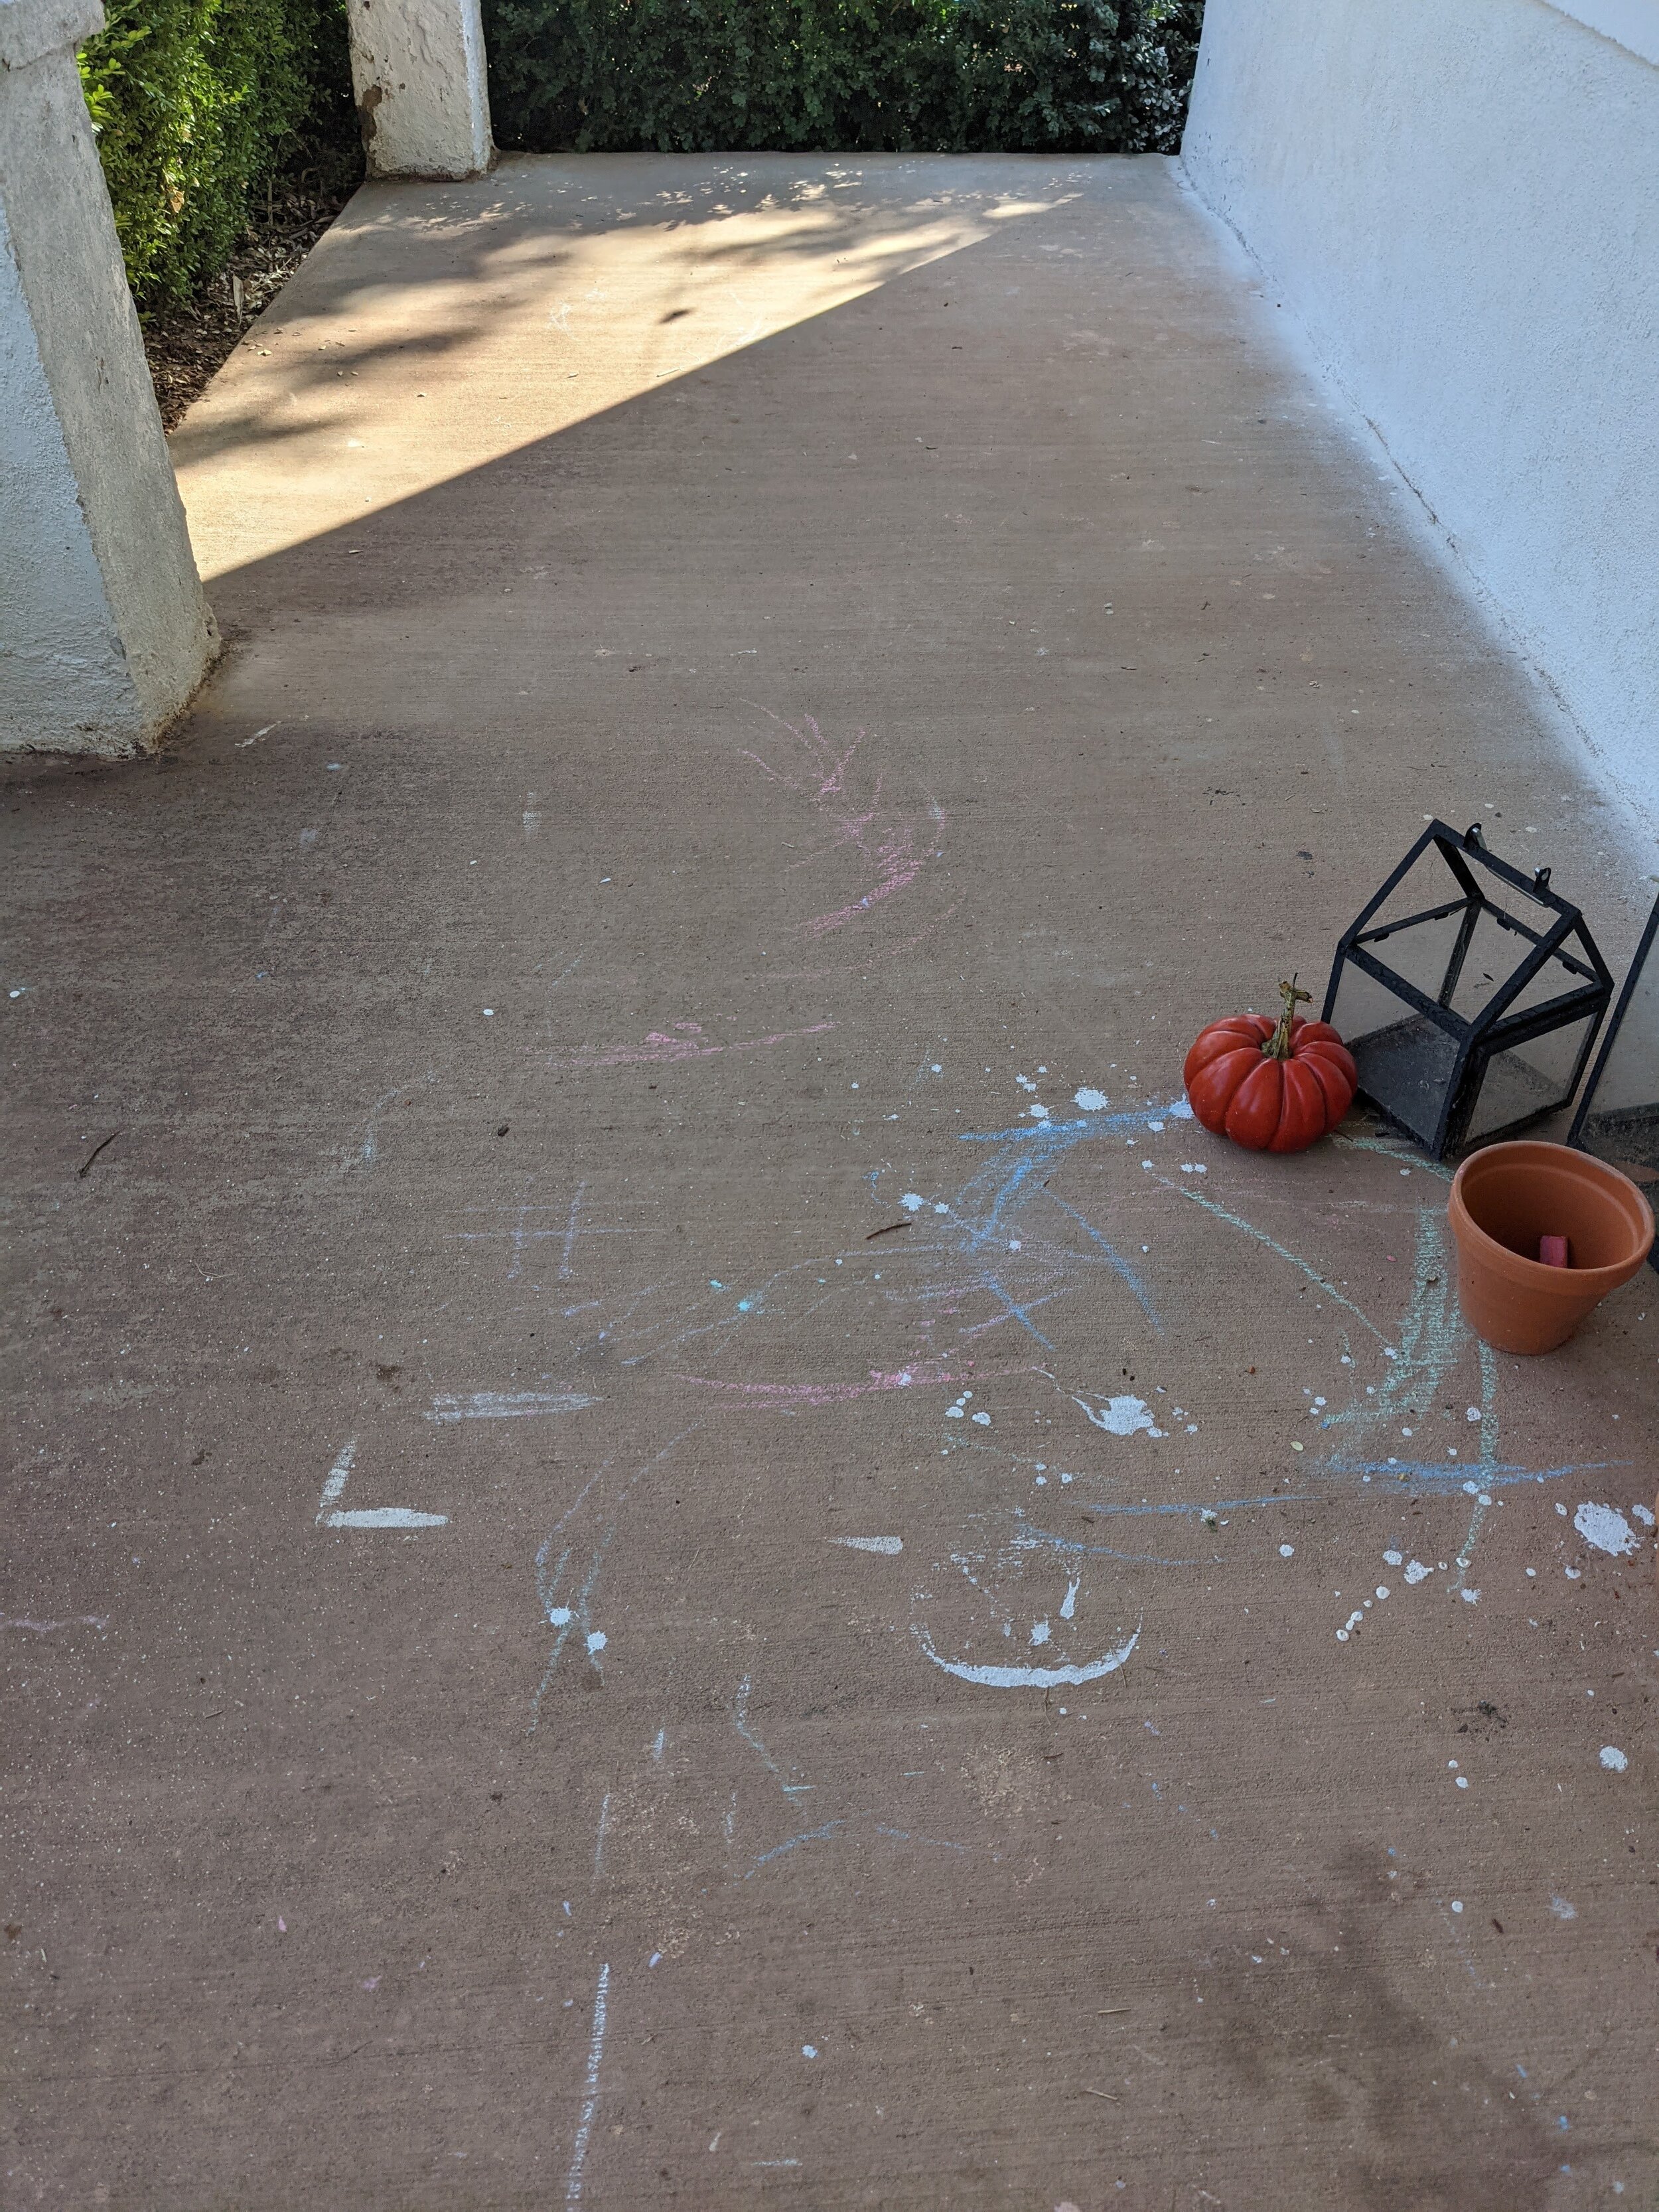
Getting the concrete clean and prepped is your first step! I used my Ryobi Power Washer and gave everything a nice good spray down. ( I knew I'd regret putting my Halloween decorations up early because now they're in all of my pictures…)
Others have recommended to fill concrete cracks or apply a primer but I just went ahead with the concrete paint so fingers crossed!

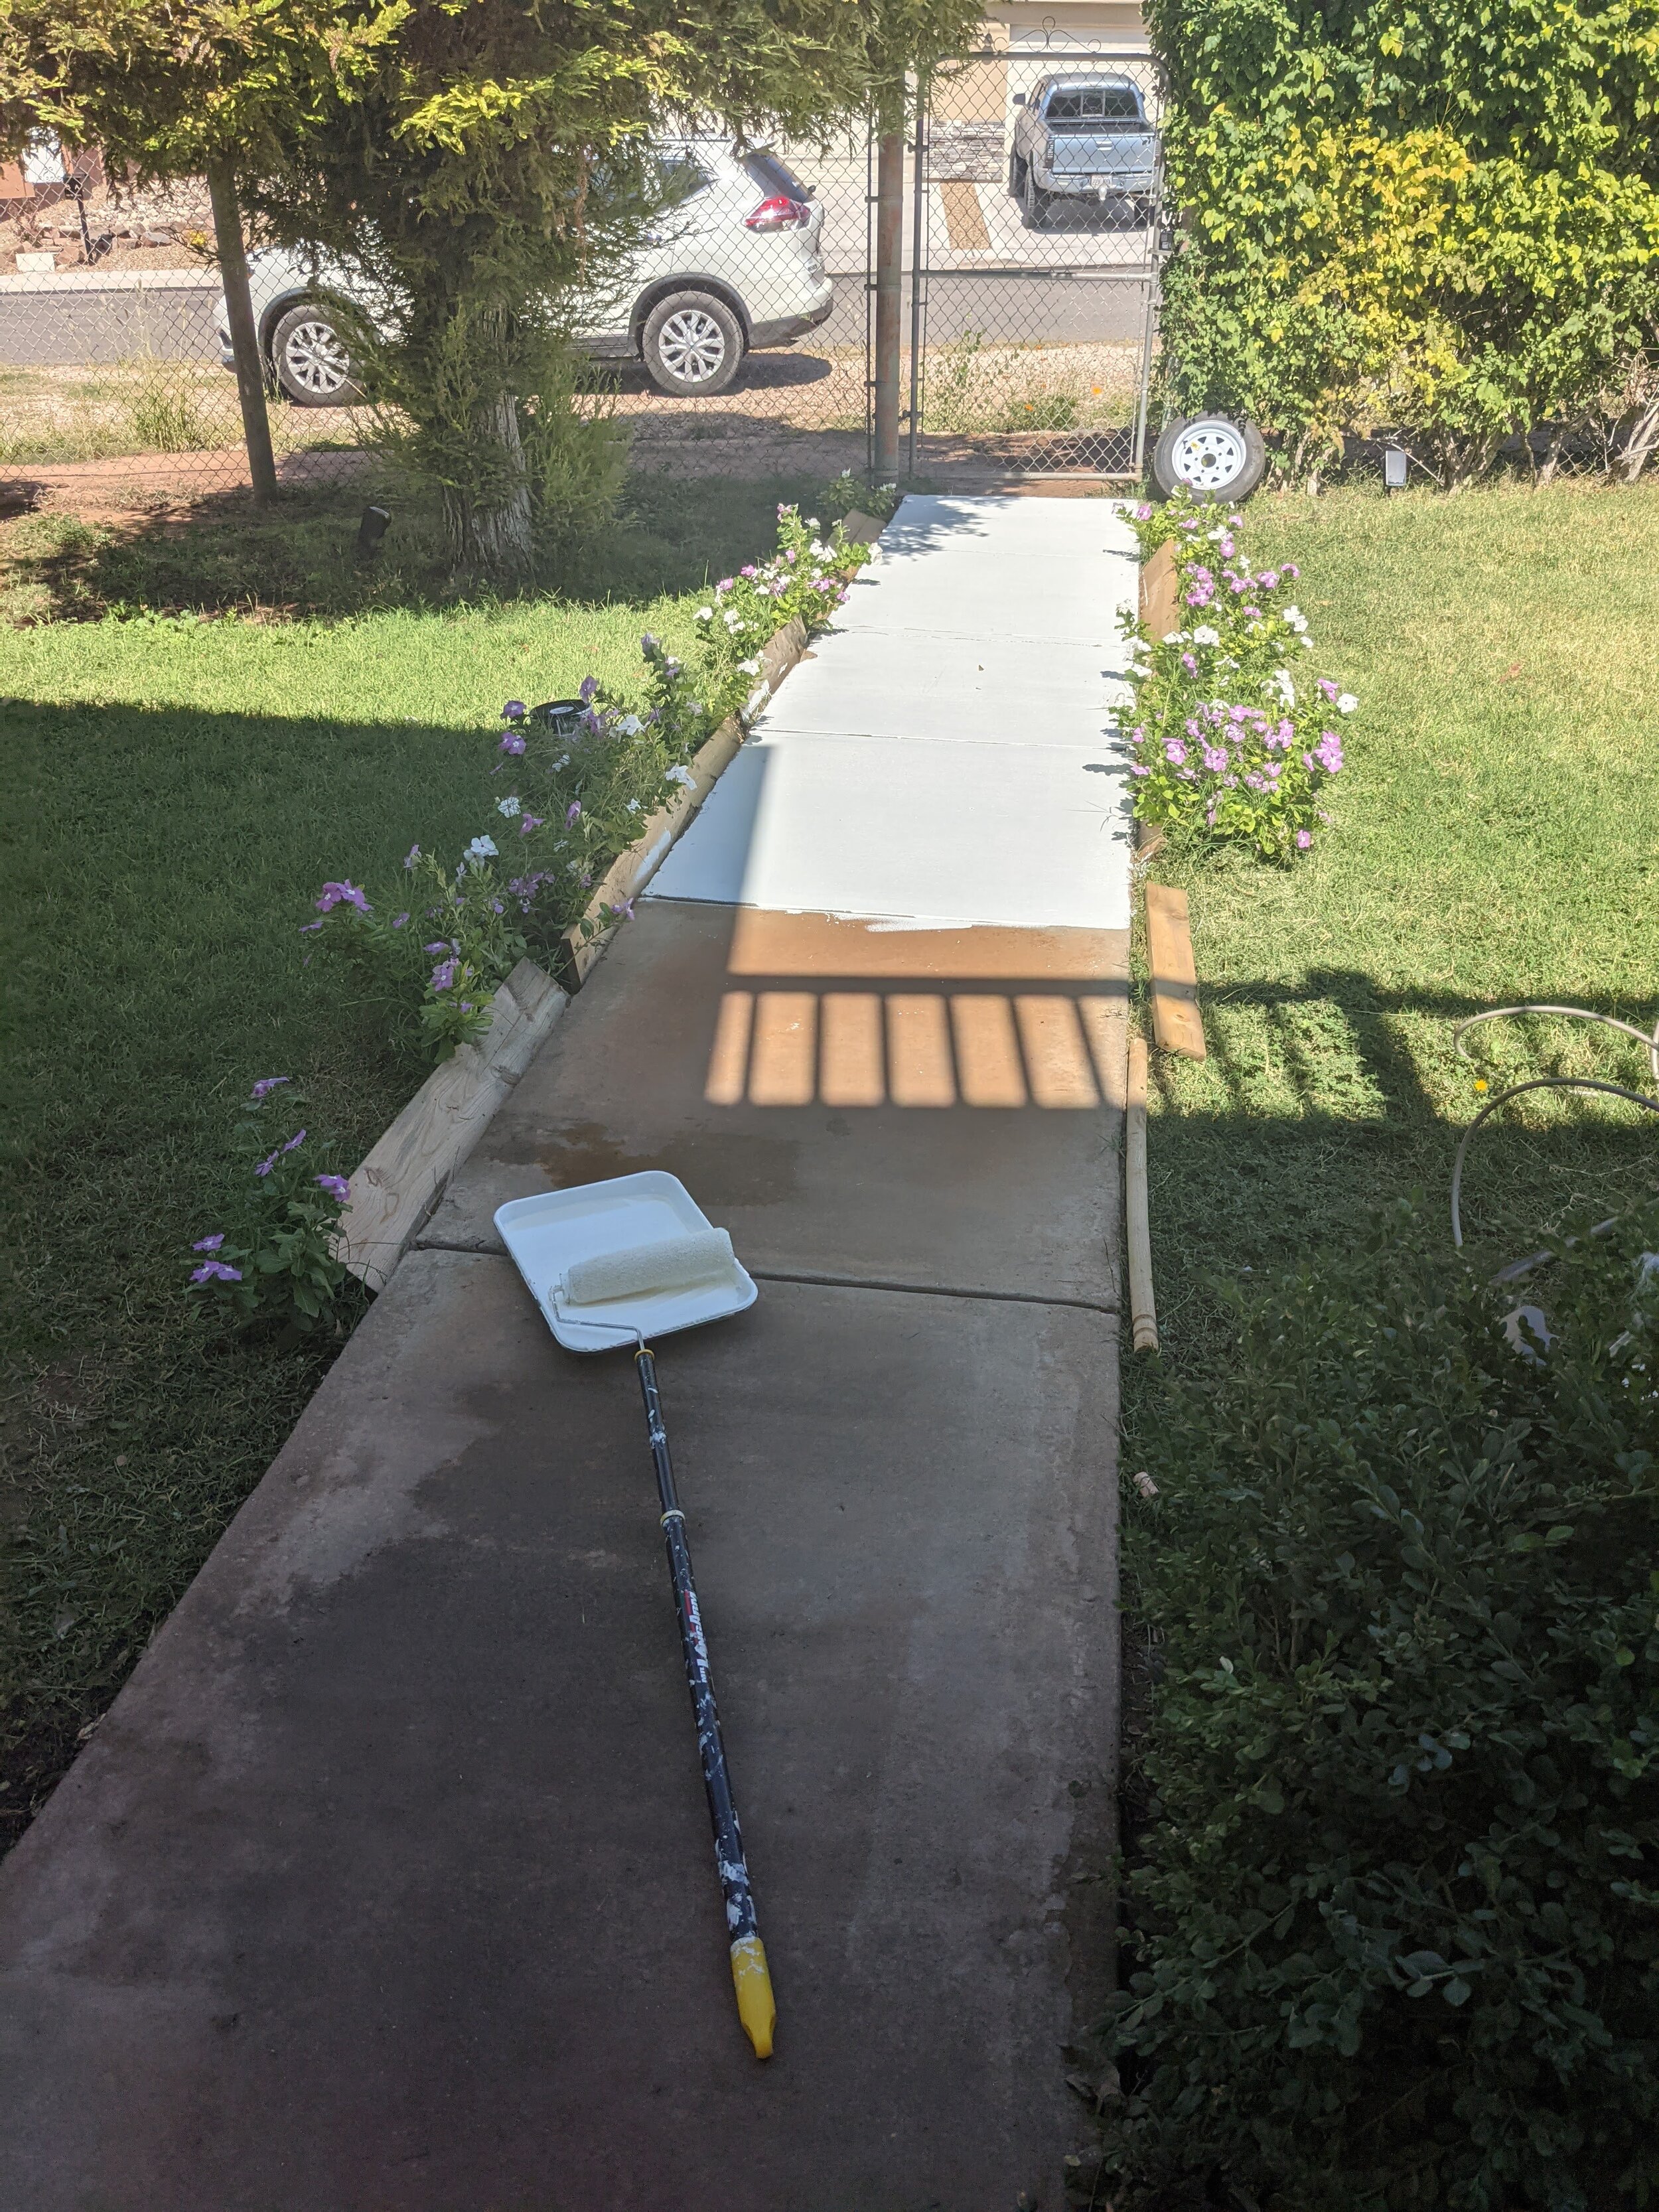
Since I painted along the sidewalk and has grass and flowers spilling over I used scrap wood and pushed the flowers back out of the way so I wouldn’t need to cut them.

dn't need to cut them.
STEP 2: BASE PAINT
Once your concrete flooring is dry it's time to start applying your porch/patio concrete paint!
Some tips that I learned: You can only buy the concrete paint color in a gallon about $35, you can have it mixed to any color so I went with “Sleek White”-Behr that is the se color as color the interior of my house, and when using this paint I realized my concrete is more textured than I thought so the paint didn't go as far as I figured it would. I used the entire gallon on my sidewalk and porch and could have definitely done a second coat but I knew half of it would be covered by another color so I decided not to stress.
I was definitely panicking as I started painting because of what a crazy difference it was! Going from the ugly concrete to stark white was quite a shock! I had Dallin come outside and reassure me it would look good so I wouldn't panic haha
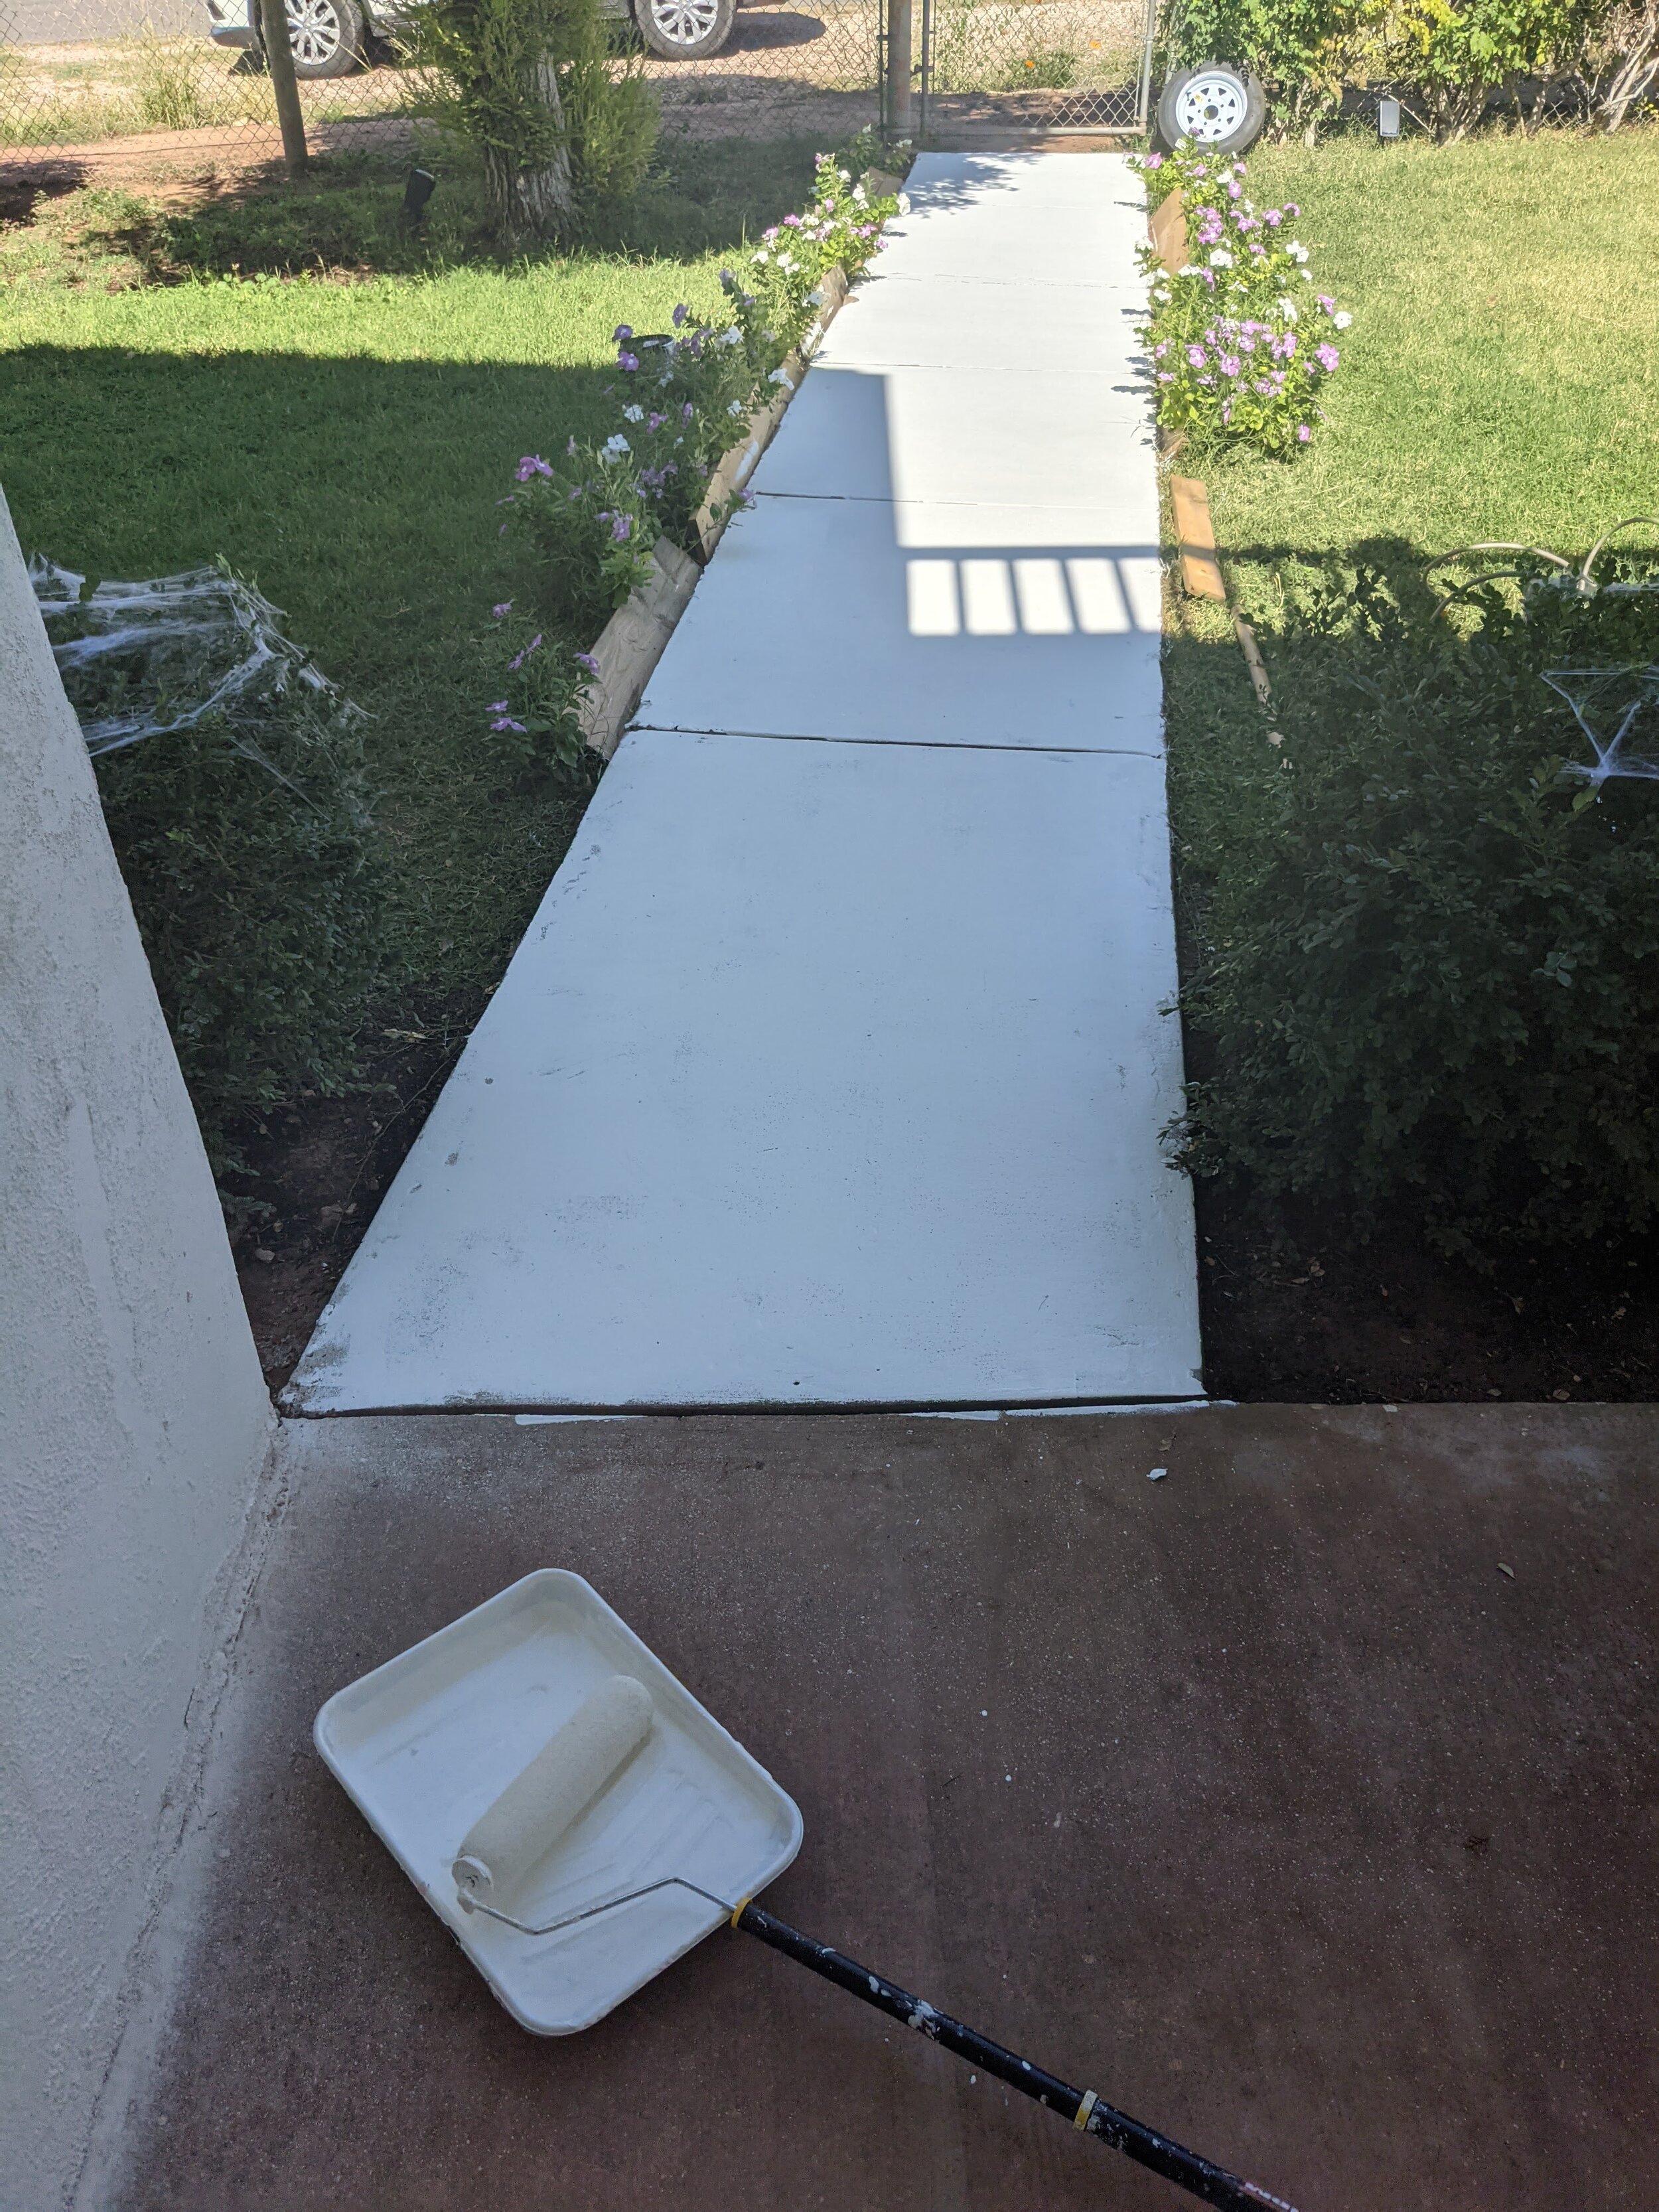

I was a bit happier once the porch was finished and the ugly concrete was gone so I could better envision my vison!
STEP 3: PICK YOUR SQUARE
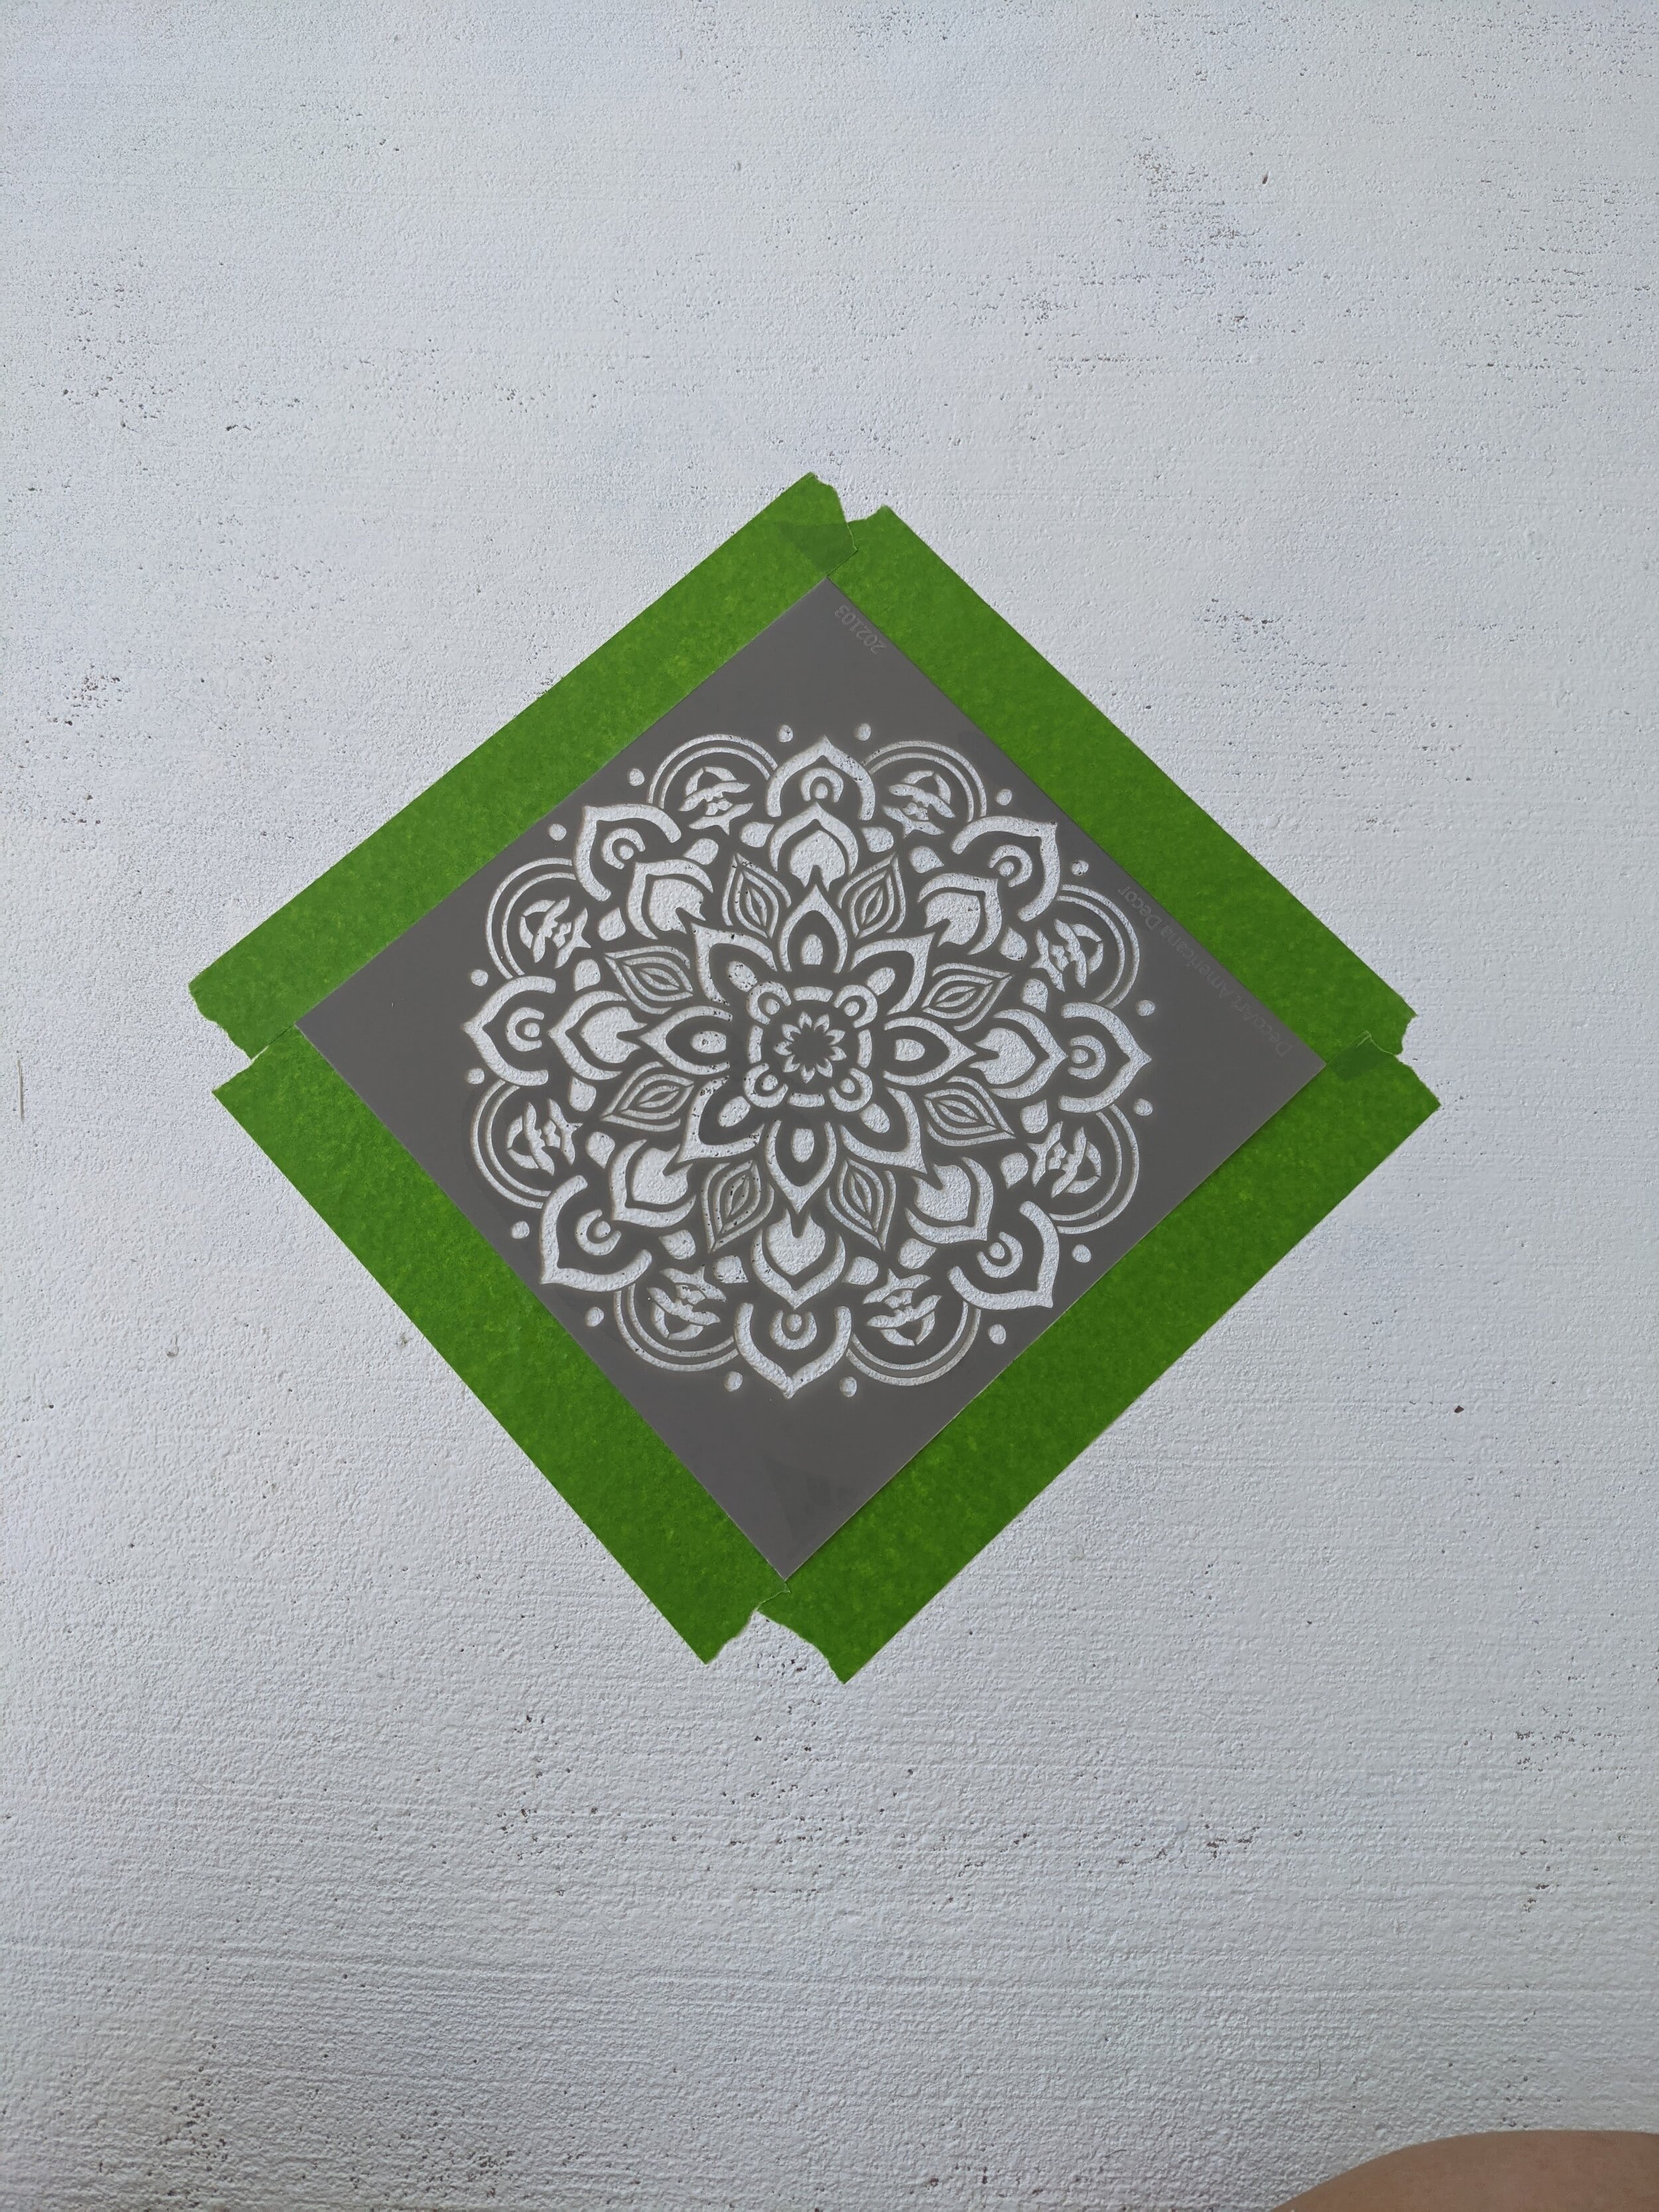
I struggled finding a perfect square mostly because I did this project on a whim (are we surprised) so while I was wandering around home depot the only decent option I found was an actual stencil made for doing a design but I thought I would just use the outside as an outline.
Long story short, below are two examples of what I tried but found didn't quite work. I ripped up all of that tape because the corners weren't lining up and I quickly realized if the square/stencil moves in the beginning it'll throw off the whole process and look wonky towards the end.
I made my first square in the corner and tried to move out from there but having an 1880's home means my house walls aren't straight so that wasn't working. I needed a solution for a straight line and a better square.
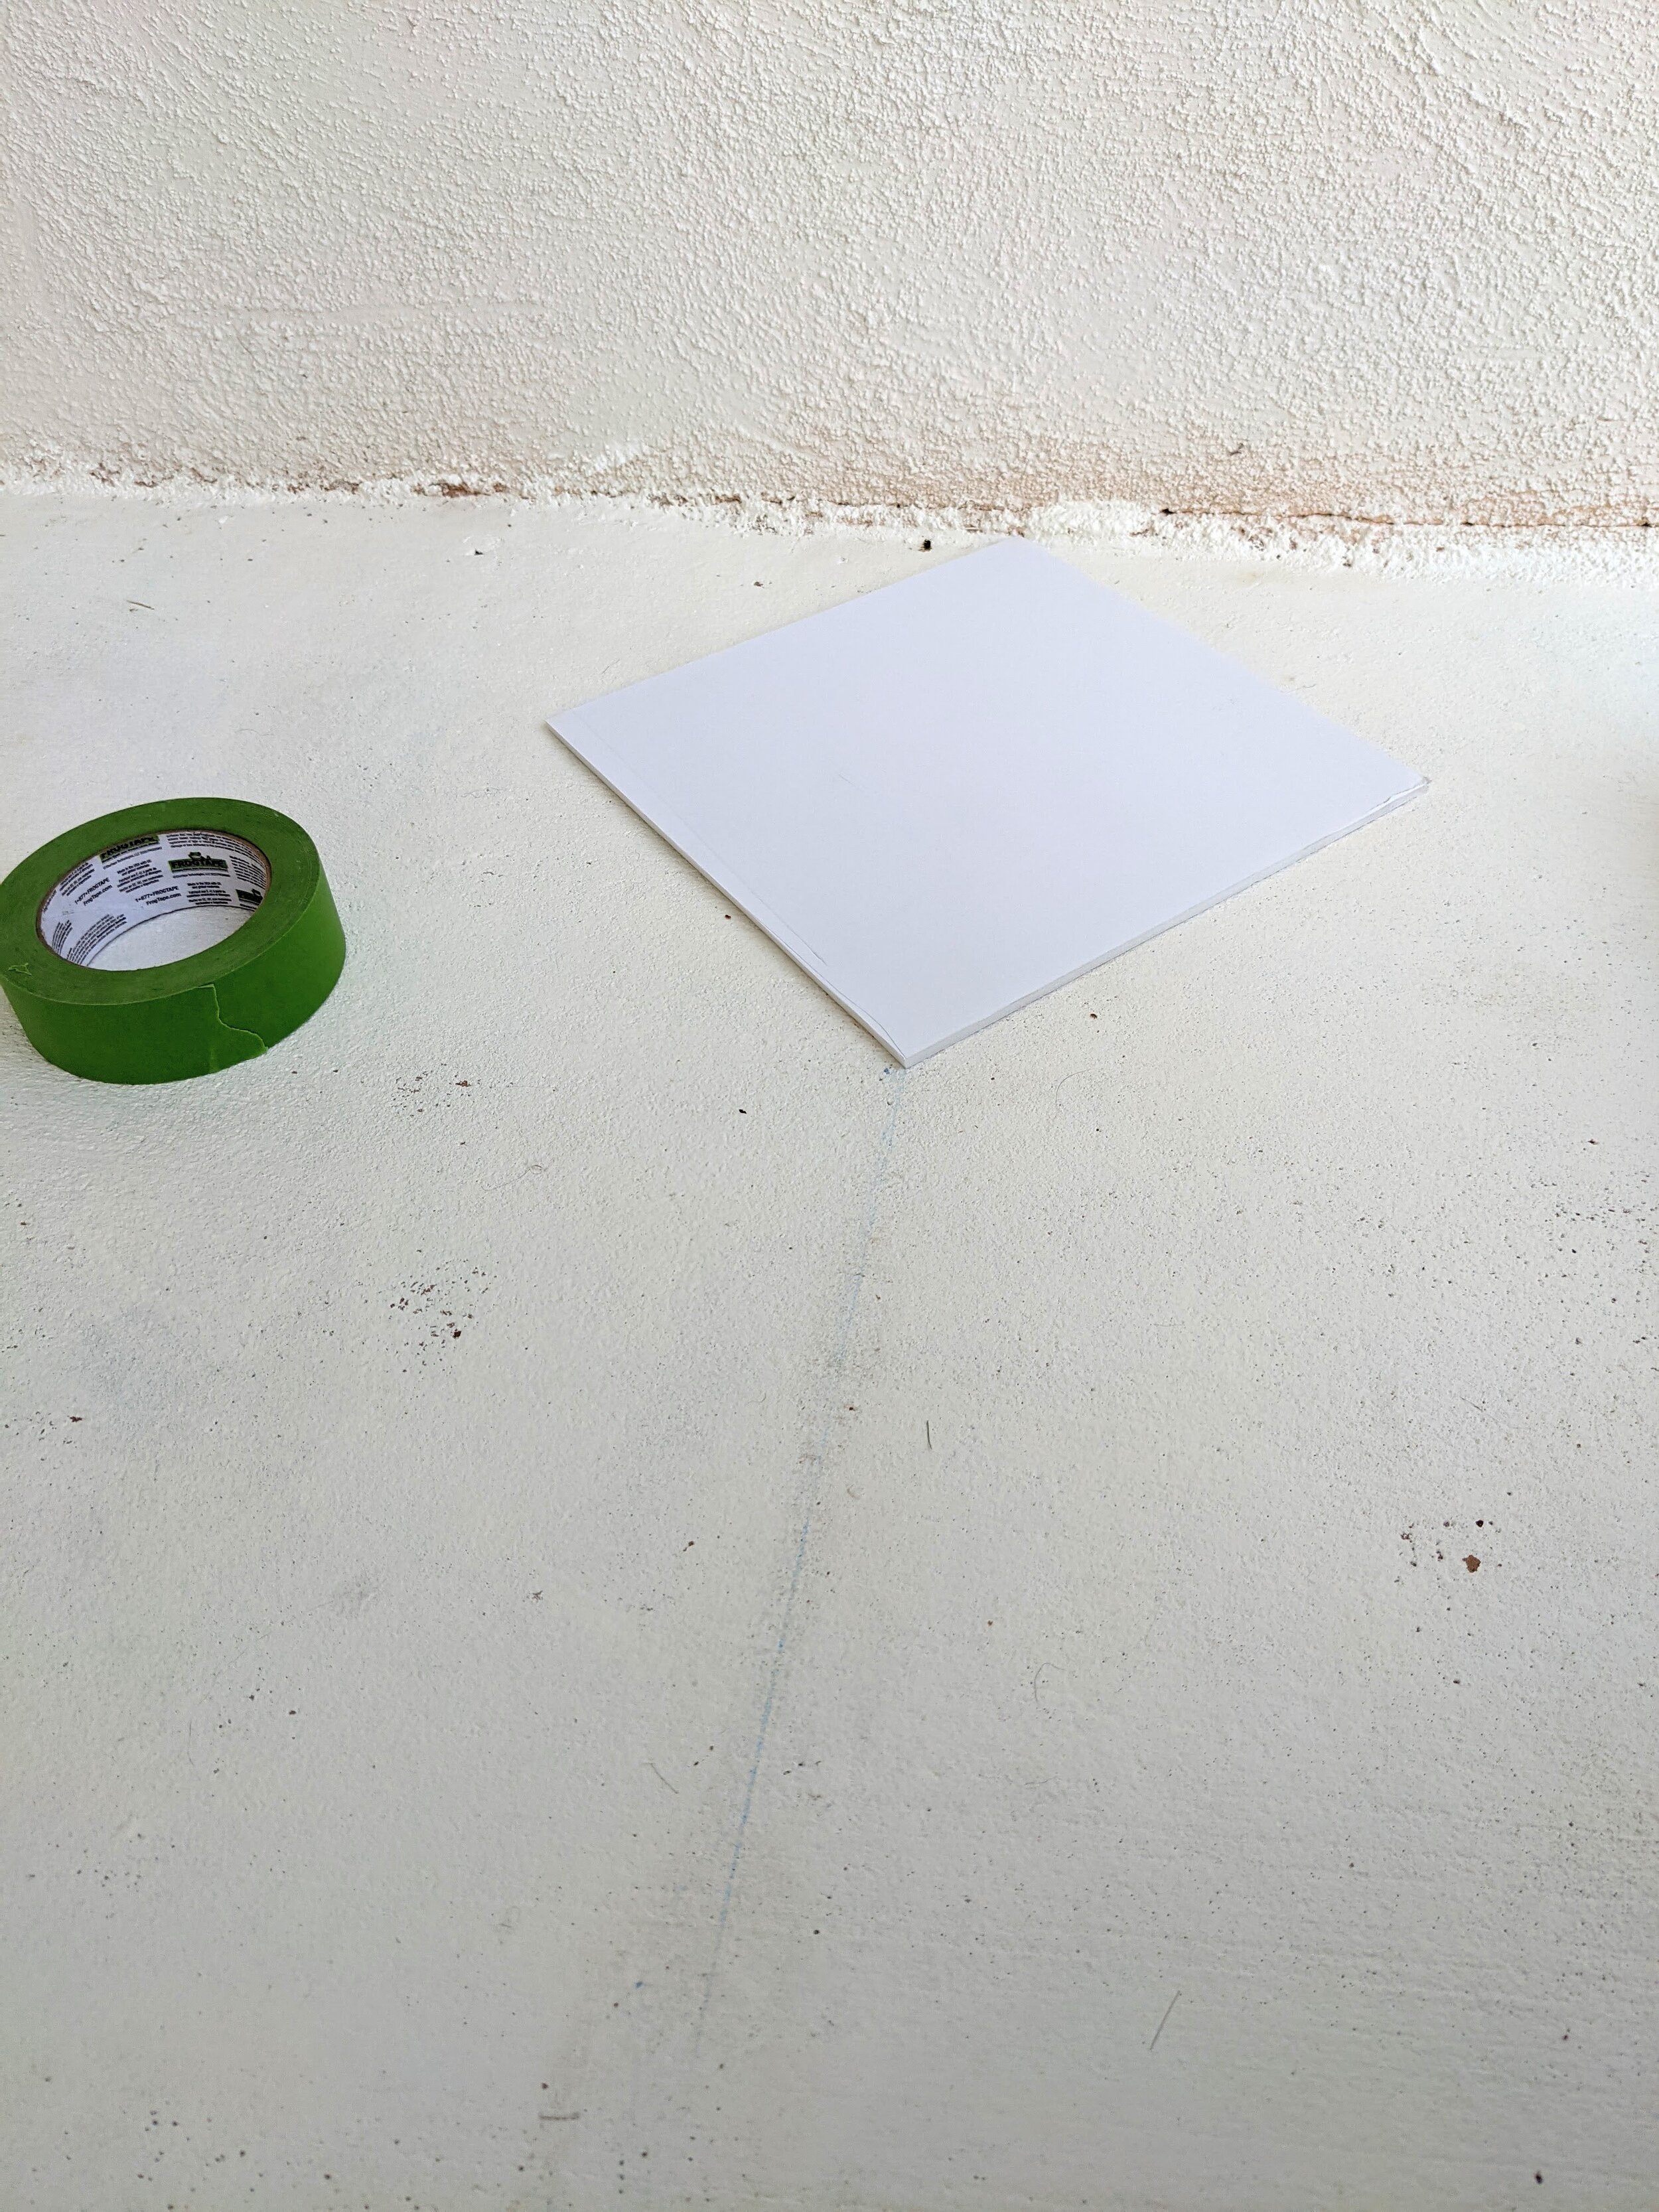
I somehow had a couple foam boards on hand and decided to try and make myself a better square! I traced the outside of my stencil from the store and used a corner from the foam board so two of my sides were already straight.
I went nice and slow with my razor blade and after two tries had a really good square to work with! I’ve heard Staples will cut a foam board into a perfect square which in hindsight would’ve made life so much easier.
I somehow had a couple foam boards on hand and decided to try and make myself a better square! I traced the outside of my stencil from the store and used a corner from the foam board so two of my sides were already straight.
I went nice and slow with my razor blade and after two tries had a really good square to work with! I've heard Staples will cut a foam board into a perfect square which in hindsight would've made life so much easier.
STEP 4: TAPING THE CHECKERBOARD PATTERN!
Boy oh boy this was the trickiest part for me.
Most concrete probably has a line or two going through it to go off of, but ours was one big slab so I came up with a quick solution!
Making a line:
I took some light/fine twine, lined the entire string in blue chalk (thanks to my daughter, Cove), I held the string at one end of the porch while Dallin held the other end, hold it close to the ground, pull tight then pull the string up (like playing a guitar) and let it smack down onto the ground creating a perfect chalked line!
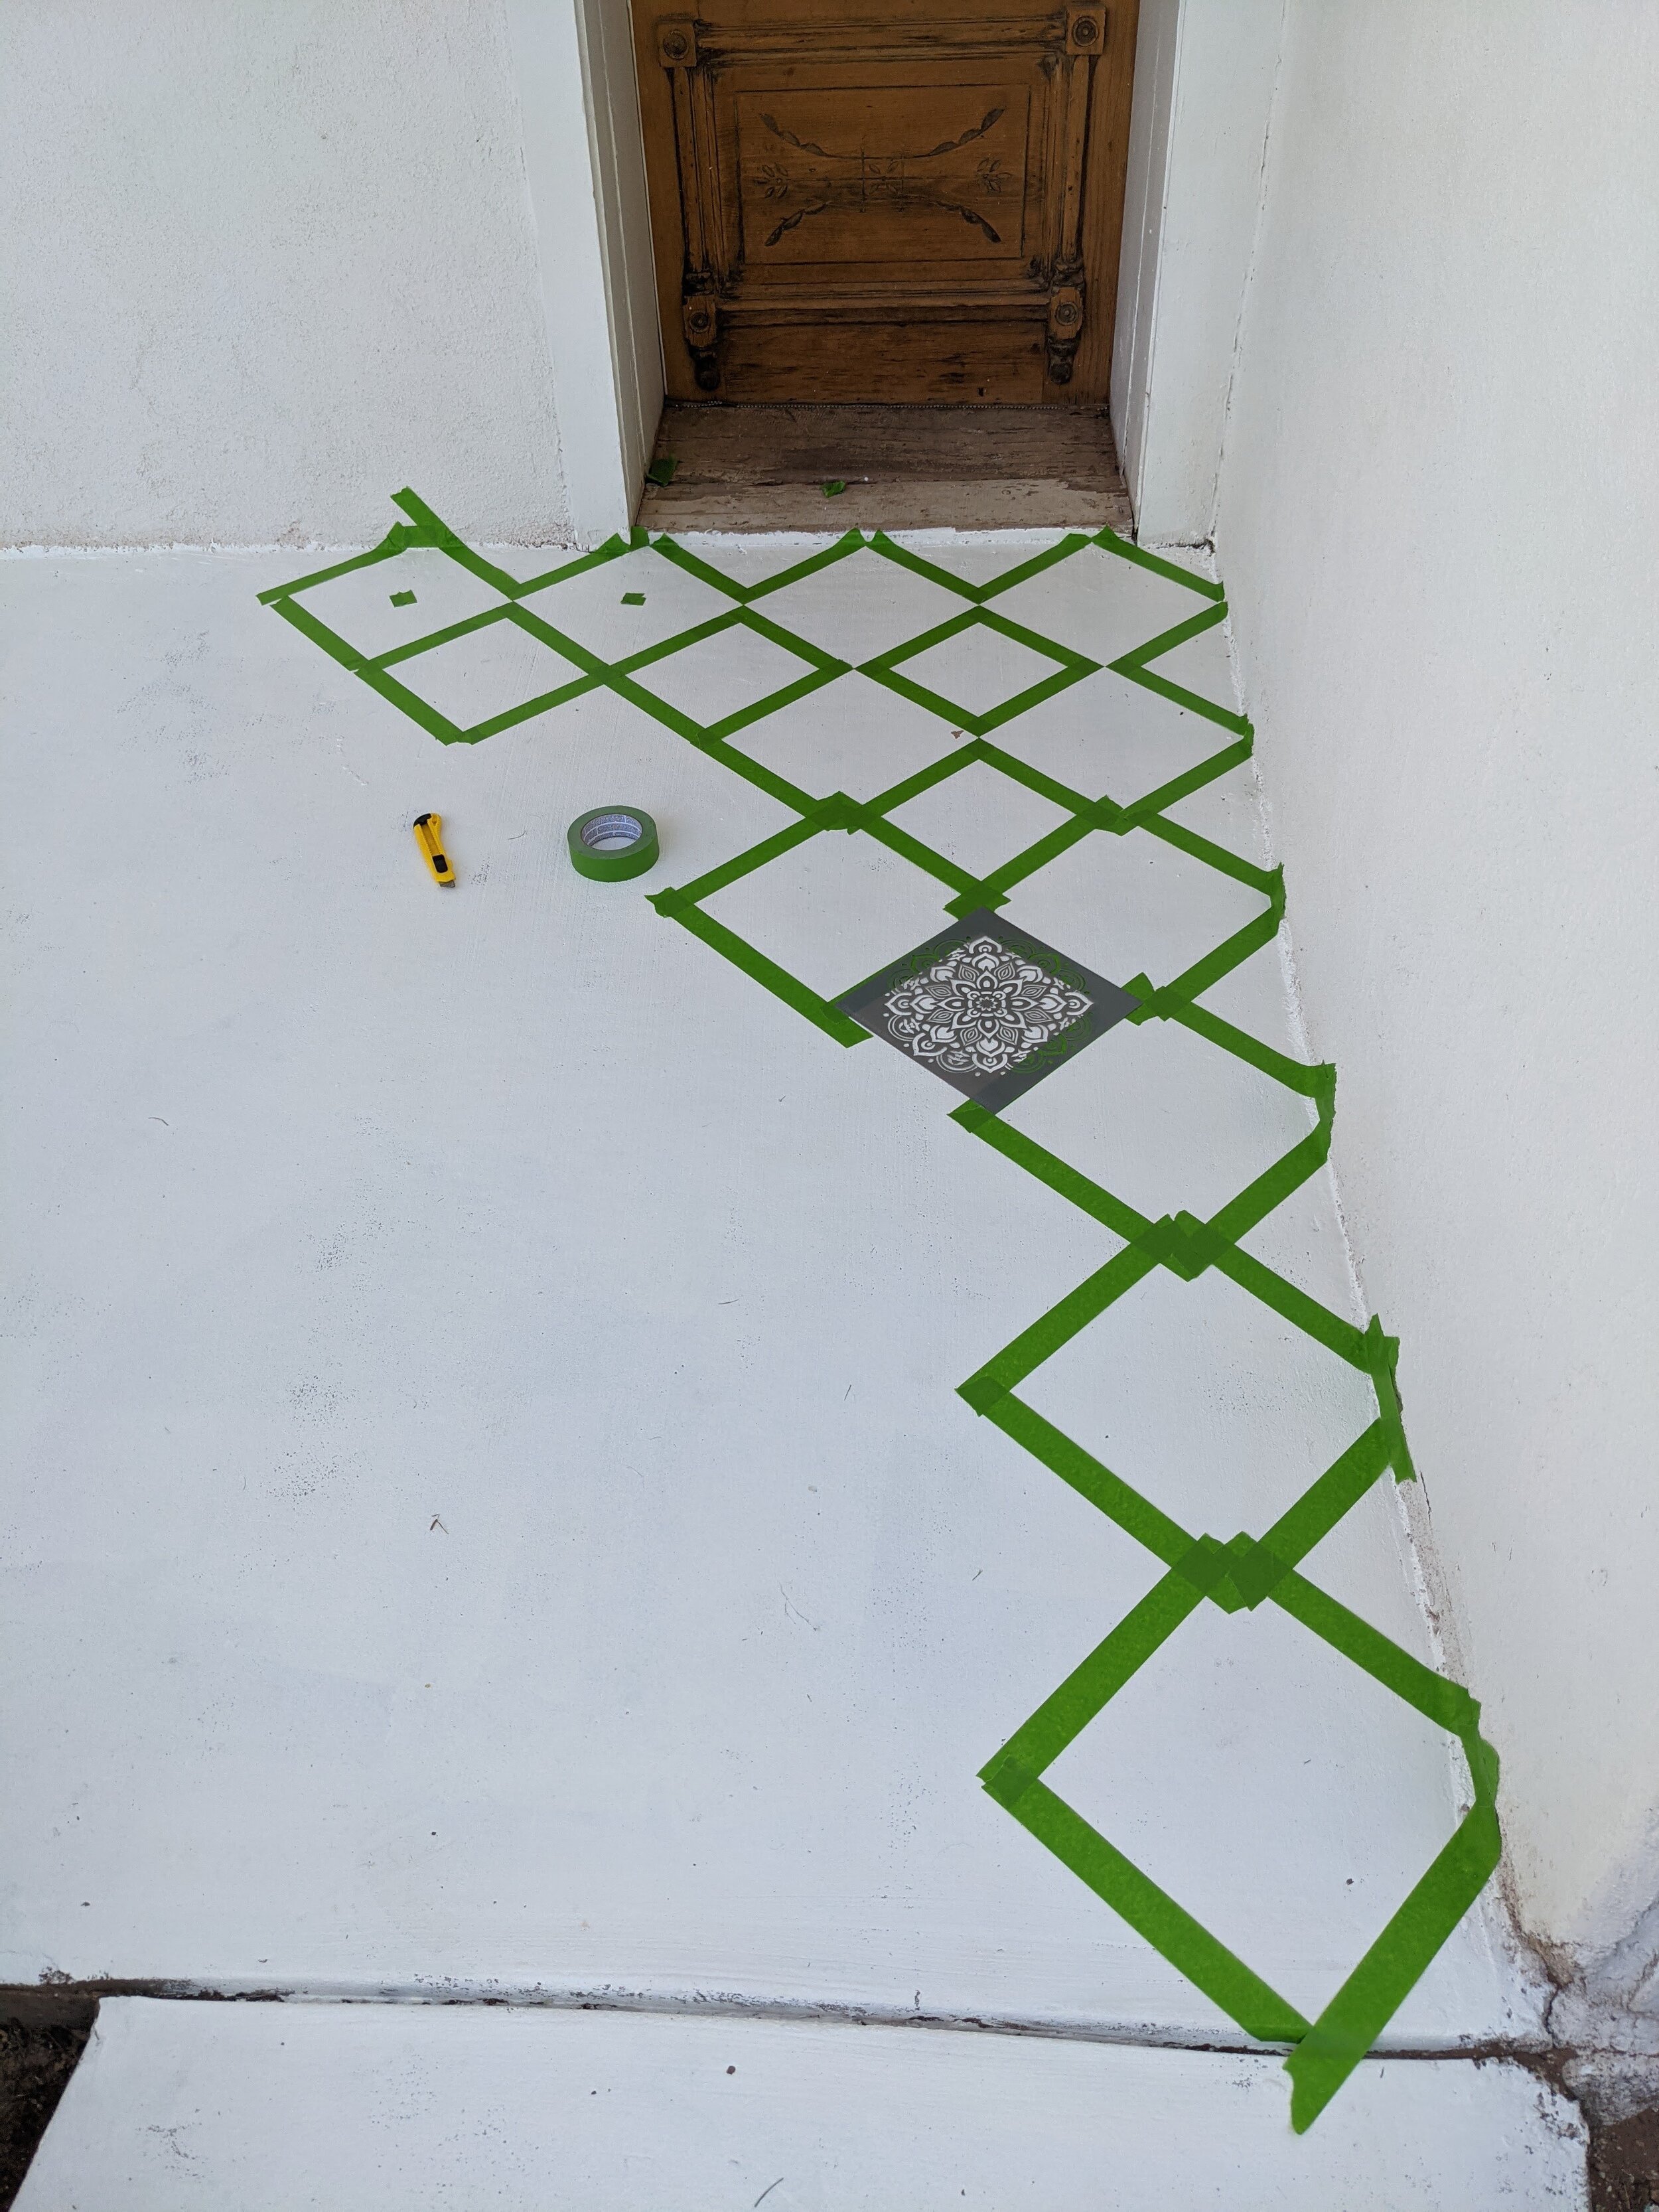
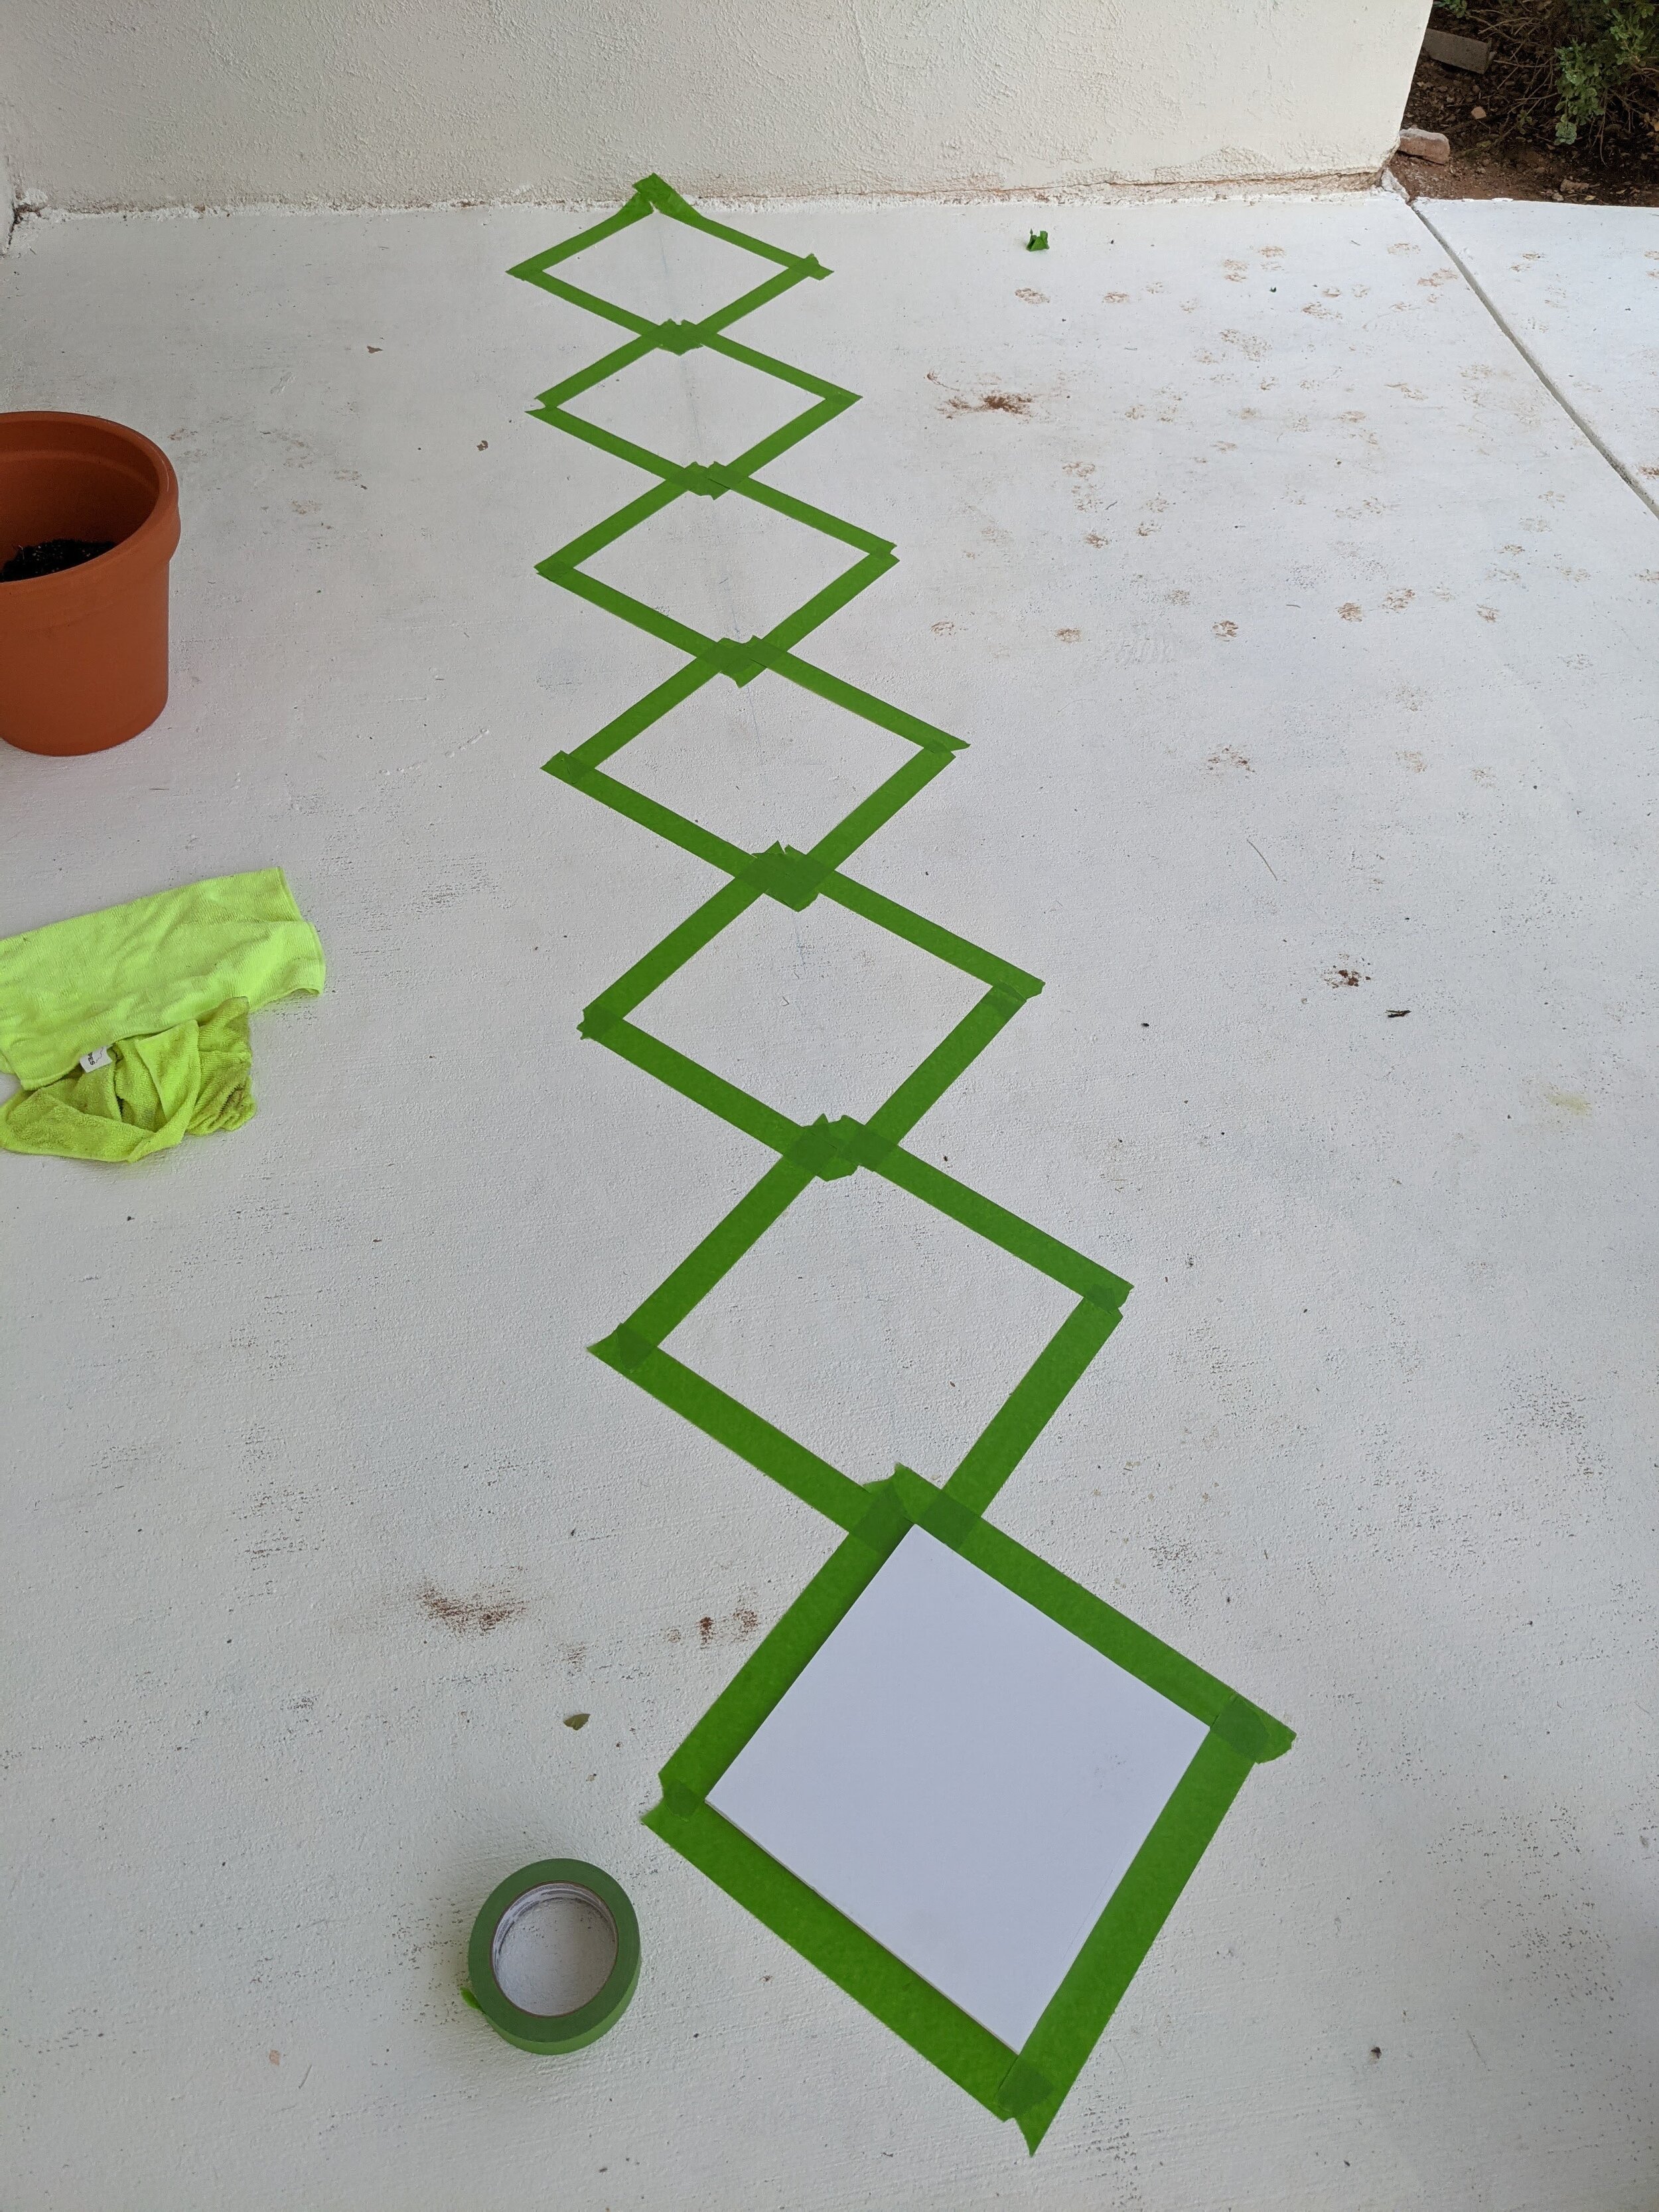
Use Frog Tape or other painter's tape around your square and go along the line you're using while making sure the top and bottom corners are on the line. It looks funny at first but just make sure corners are touching. Line up the corner of what you taped with the corner of your square so it'll overlay what you just taped. Should look something like this
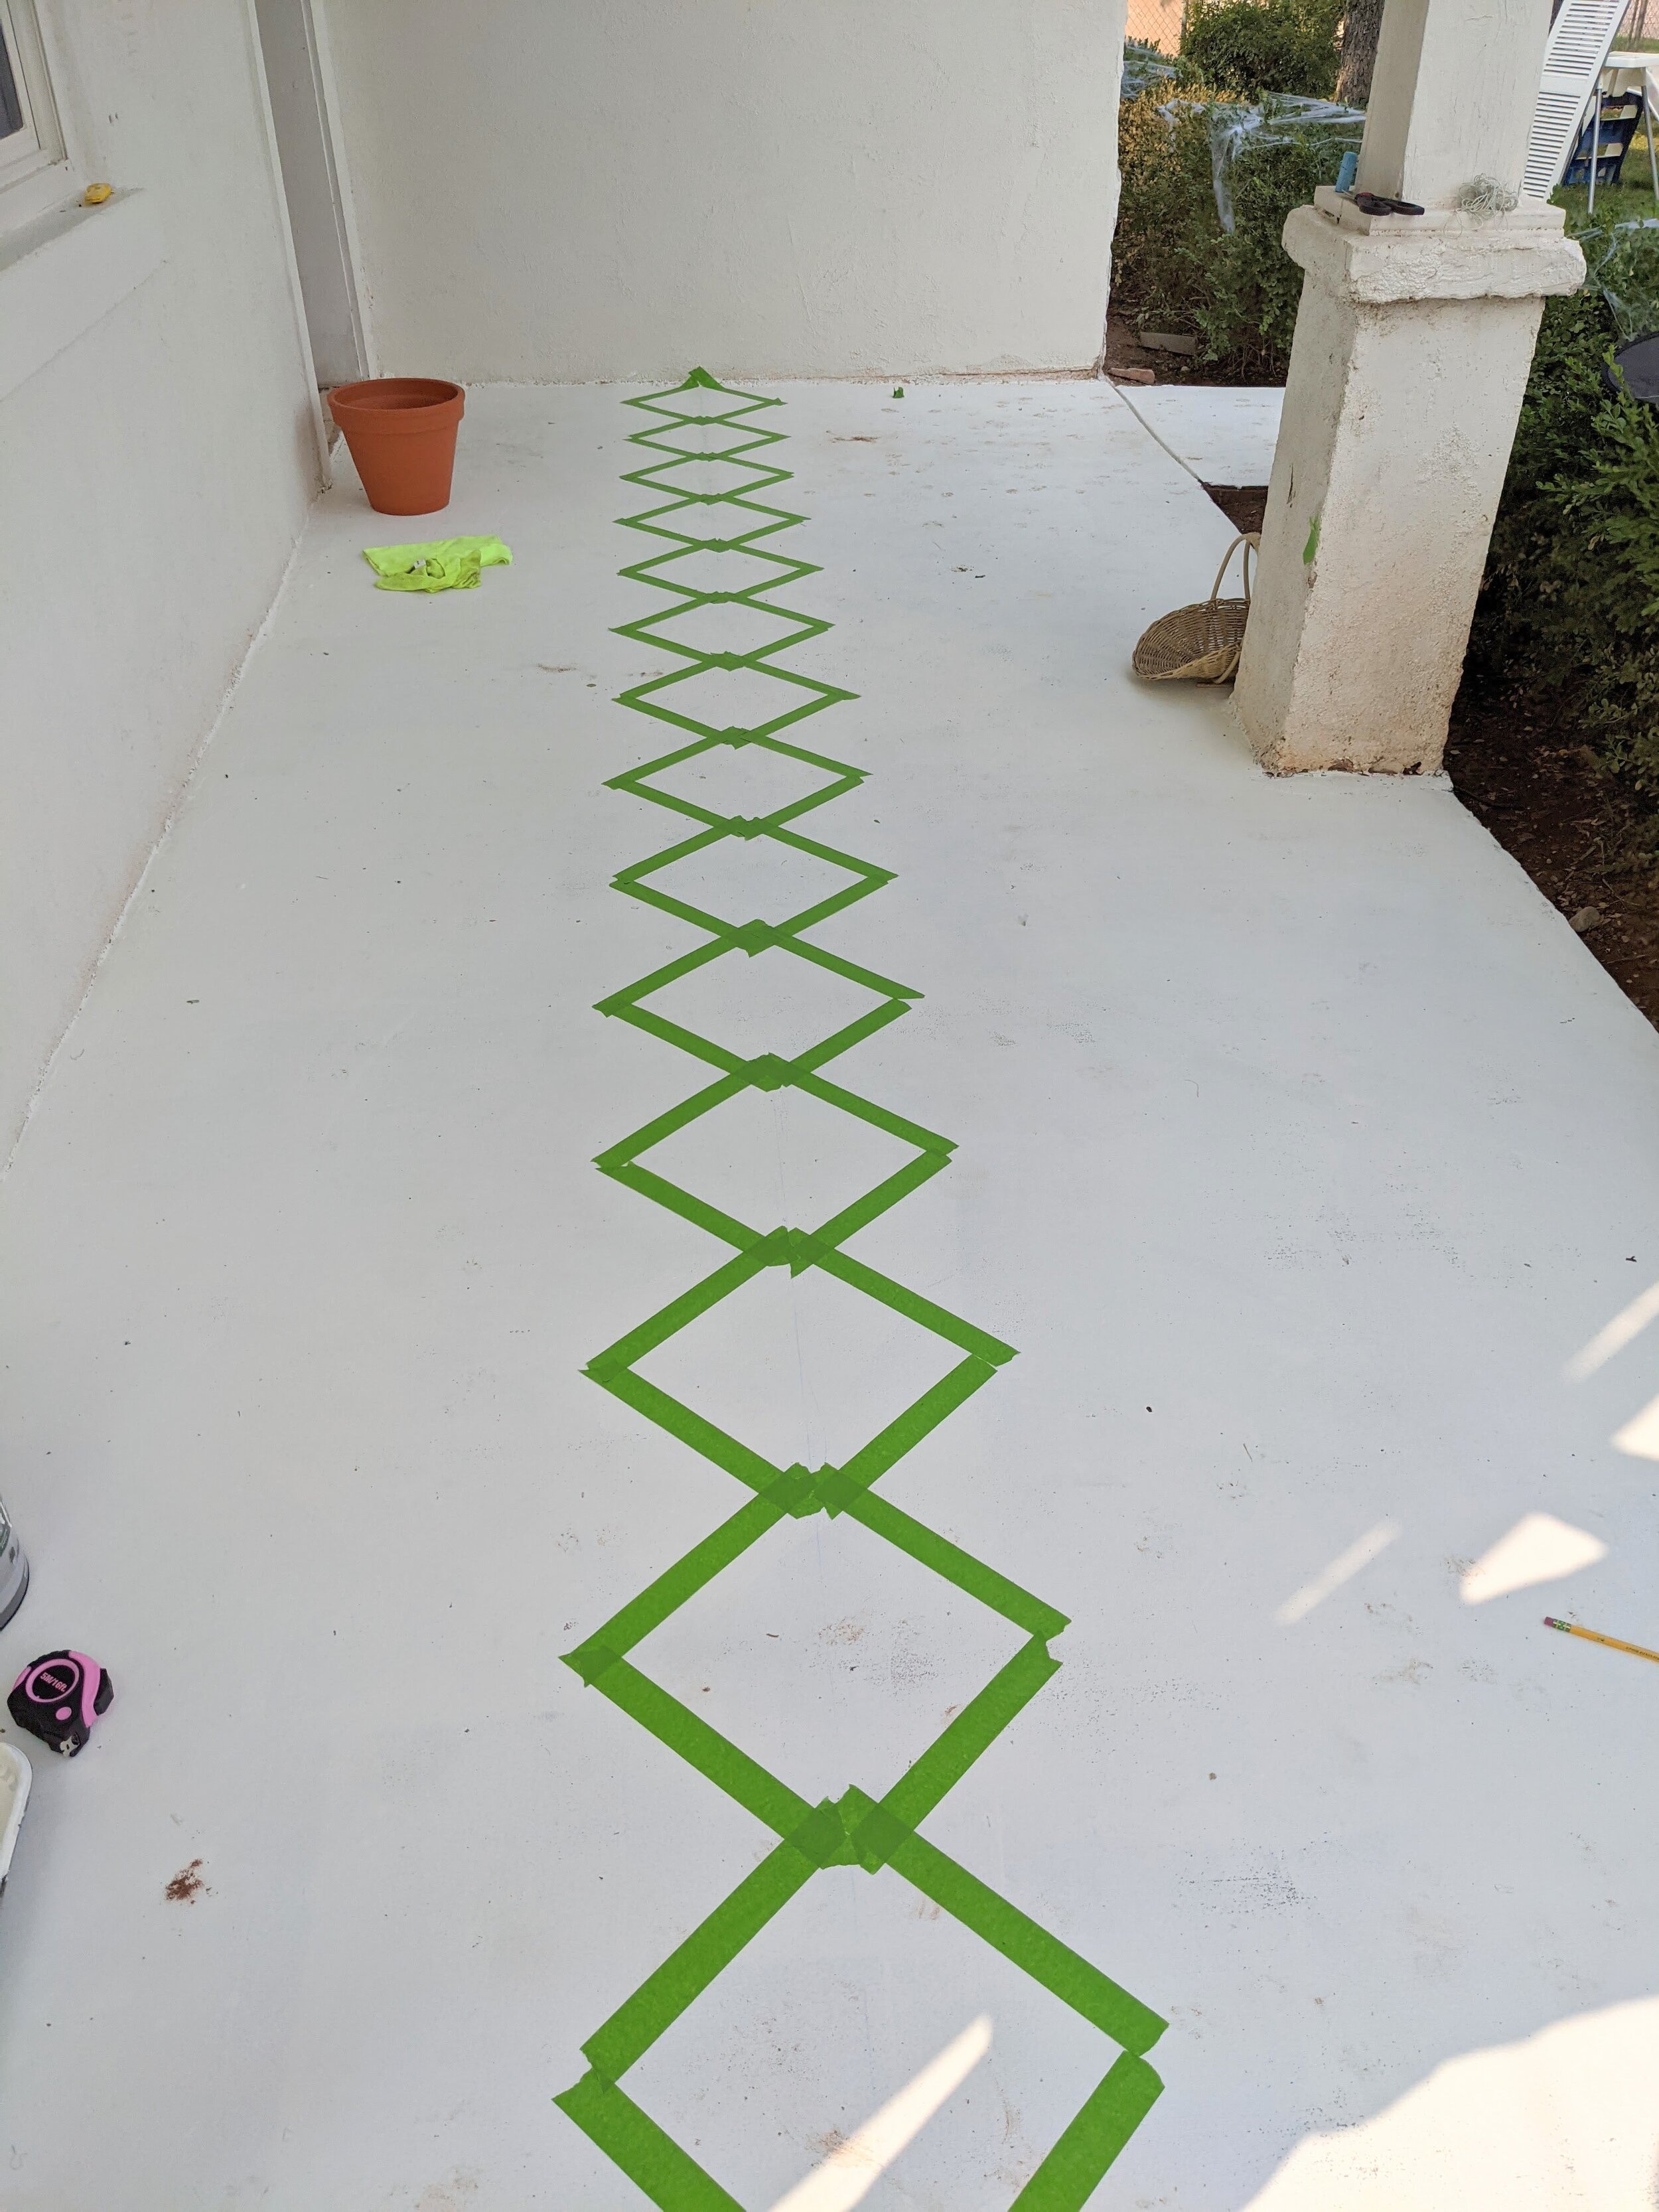
So close yet so far haha Keeping this white porch "clean" while doing this process over a couple days might have been one of the trickiest parts thanks to muddy paw prints from our pup and boot prints from construction workers coming in and out working on our laundry room upstairs.

Aaaand of course I ran out of tape right here haha Back to Home Depot we go!

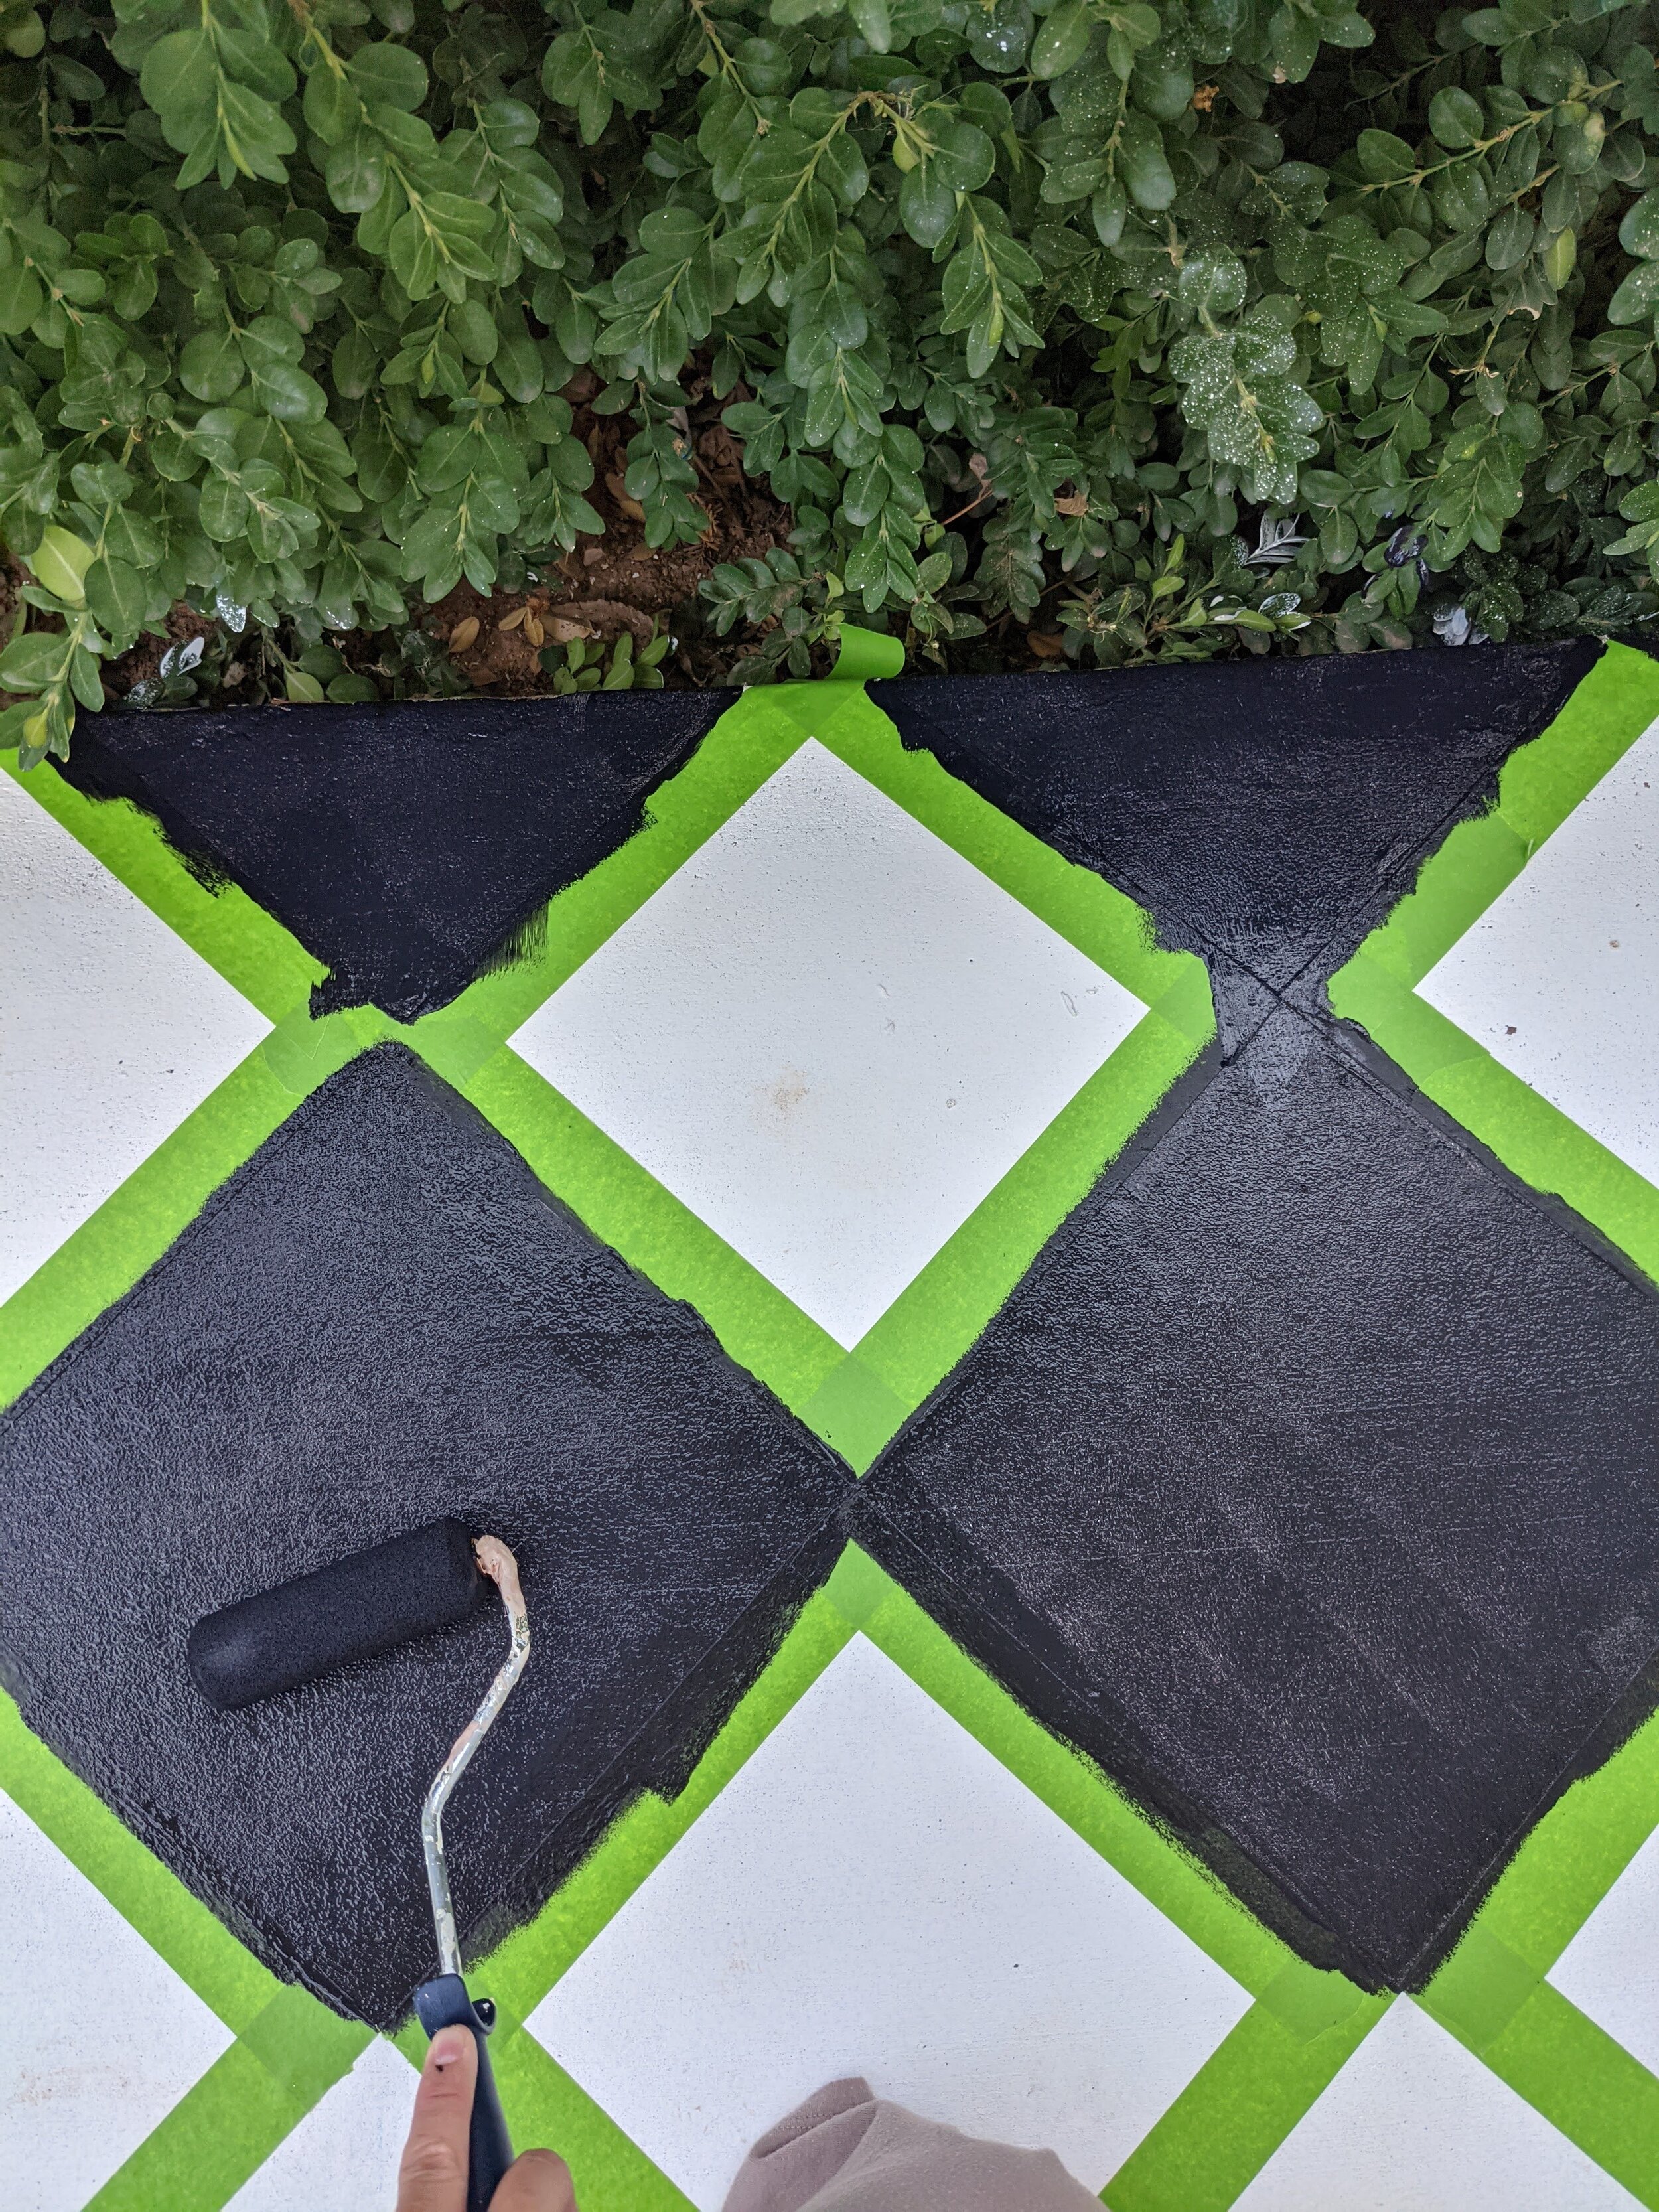
STEP 5: CUTTING CORNERS
Now is time time to cut the corner out of our squares to create that diamond/checkered shape! I kind of cut as I taped (as you can see in the above pictures) so now you'll get your razor blade/exacto knife.
Dallin got me my own pink tool kit (how cute, right?) for my birthday the day before I started cutting corners so this razor blade came just in time because I used it a LOT for perfectly straight cuts!
Below you can see the corners that have been cut or in other words getting rid of the overlapping tape to create the corners.
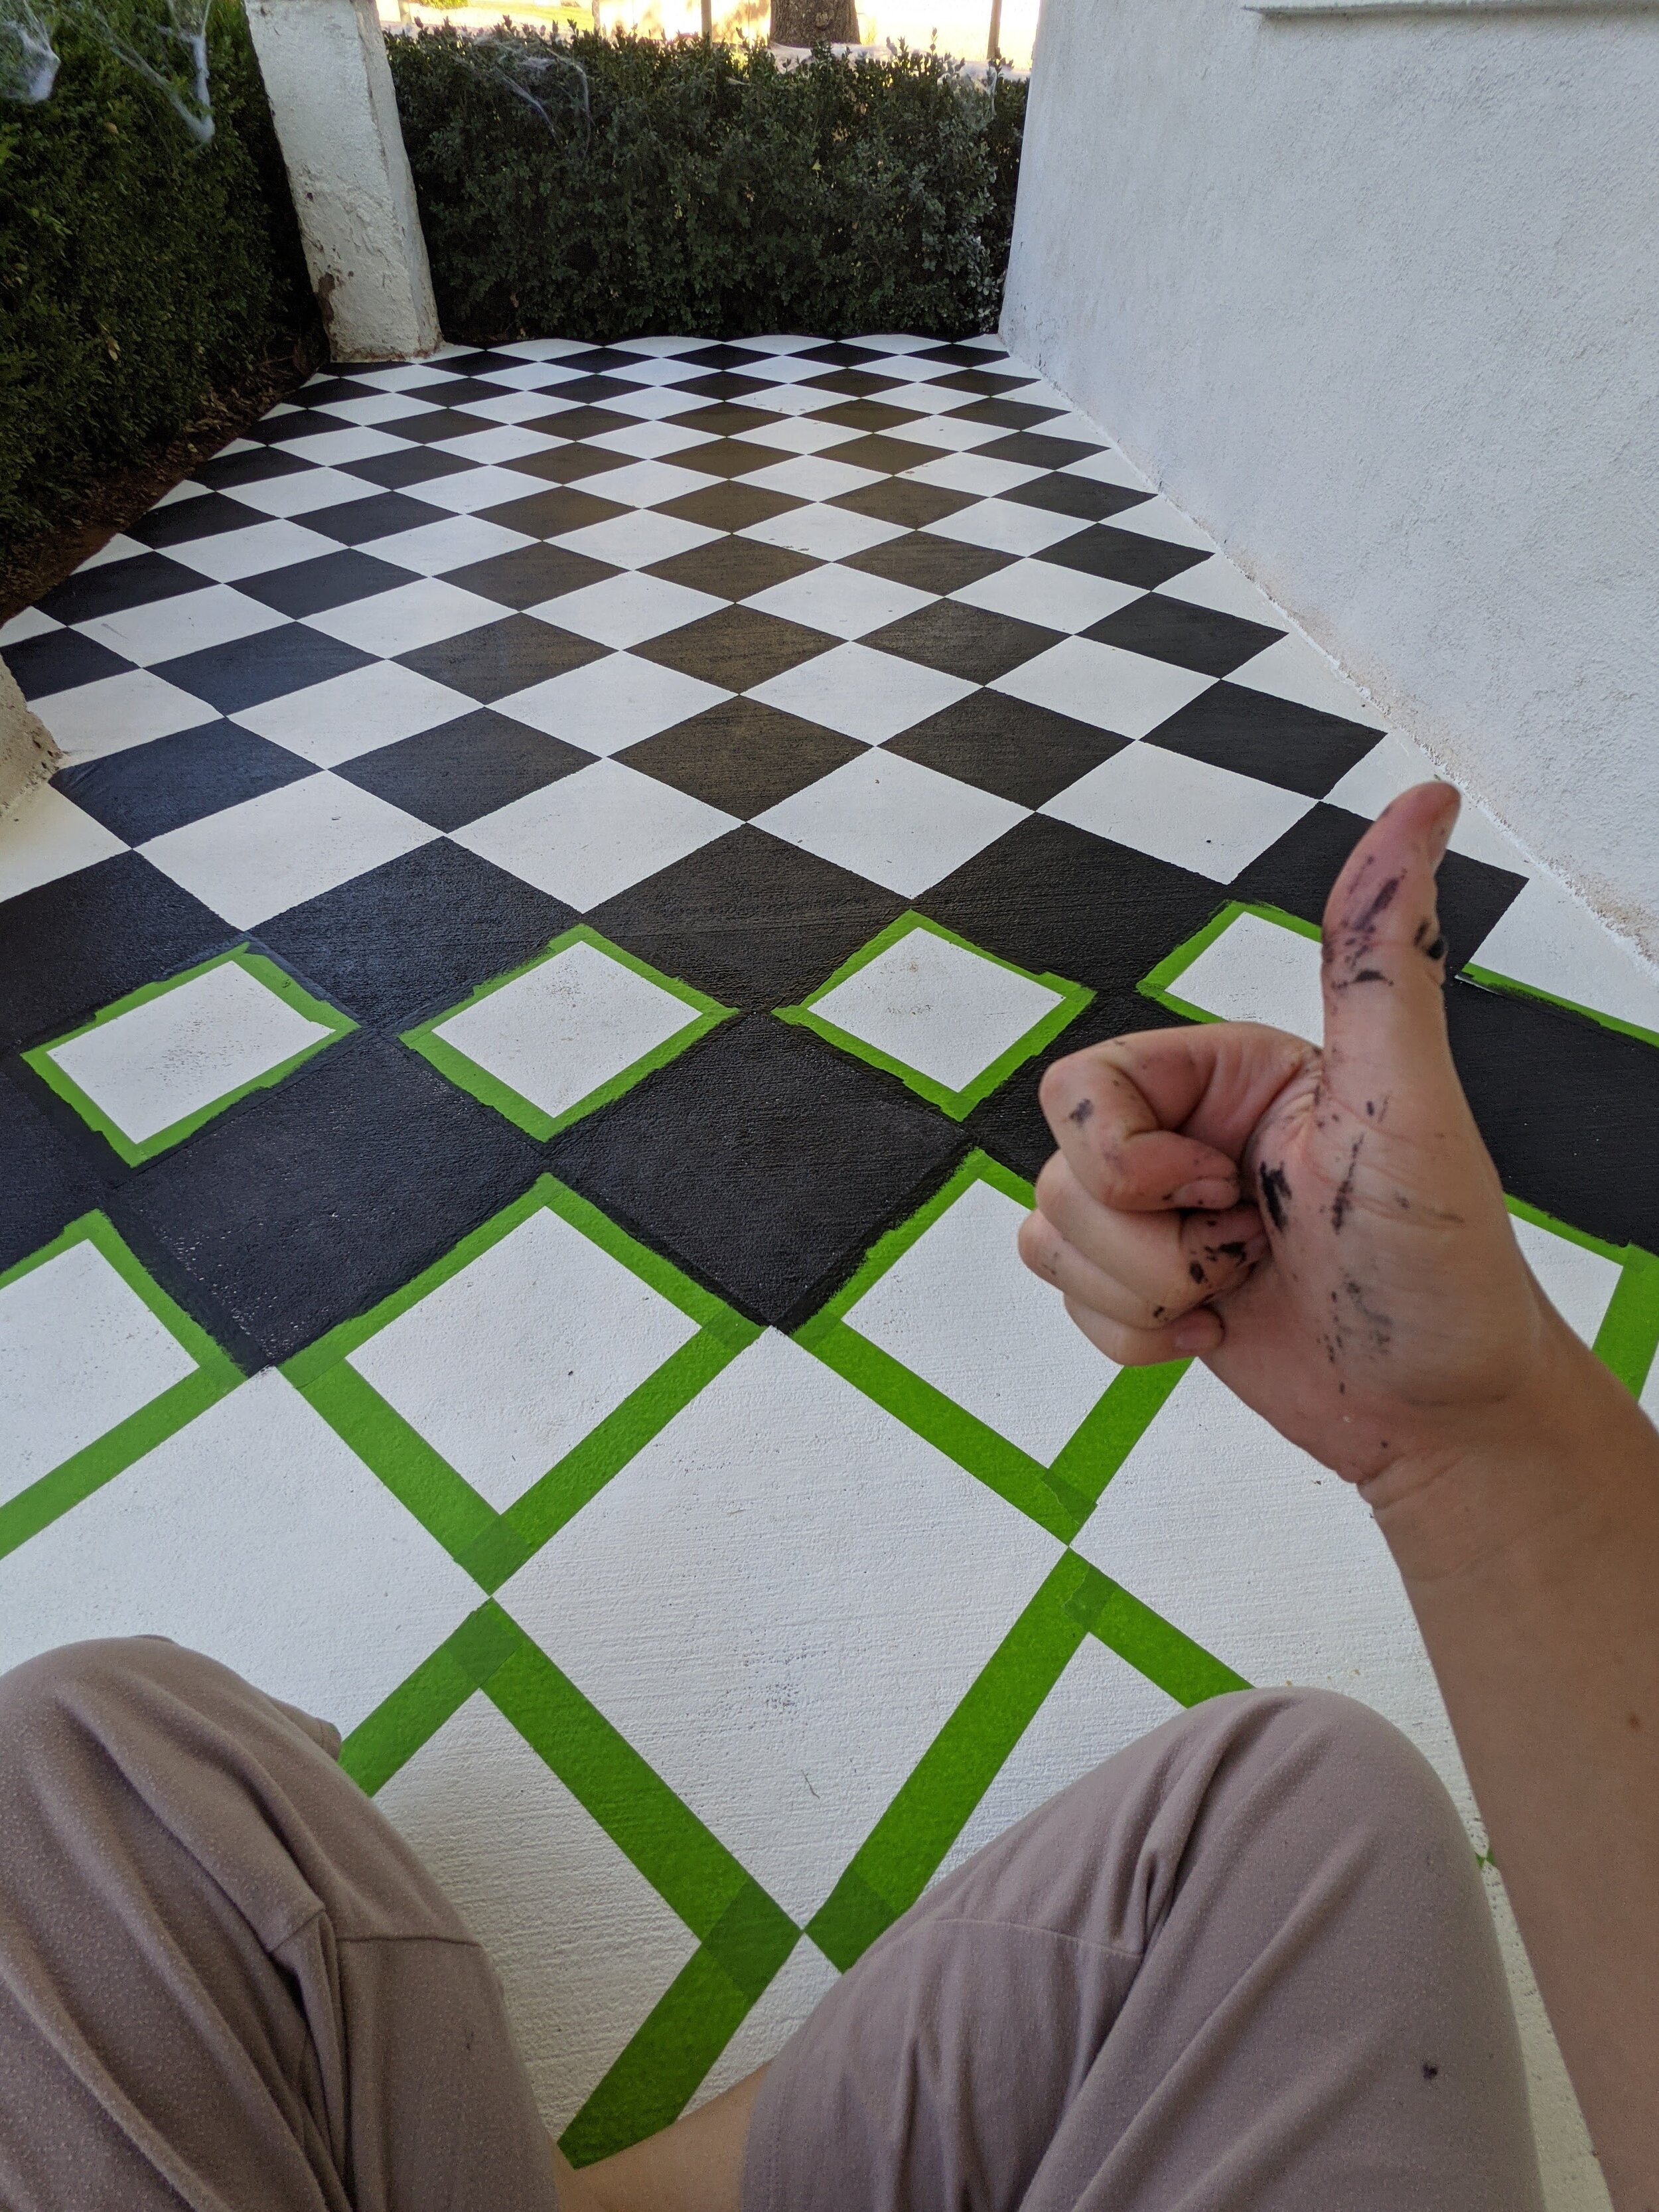
*I placed green tape on the squares I knew would be painted so I didn't get confused*

STEP 6: PAINT THE SQUARES
Time to paint!! That feels so good to say after doing all. that. taping.
First off, let me show you my inspo and how I couldn't choose between grey and black.
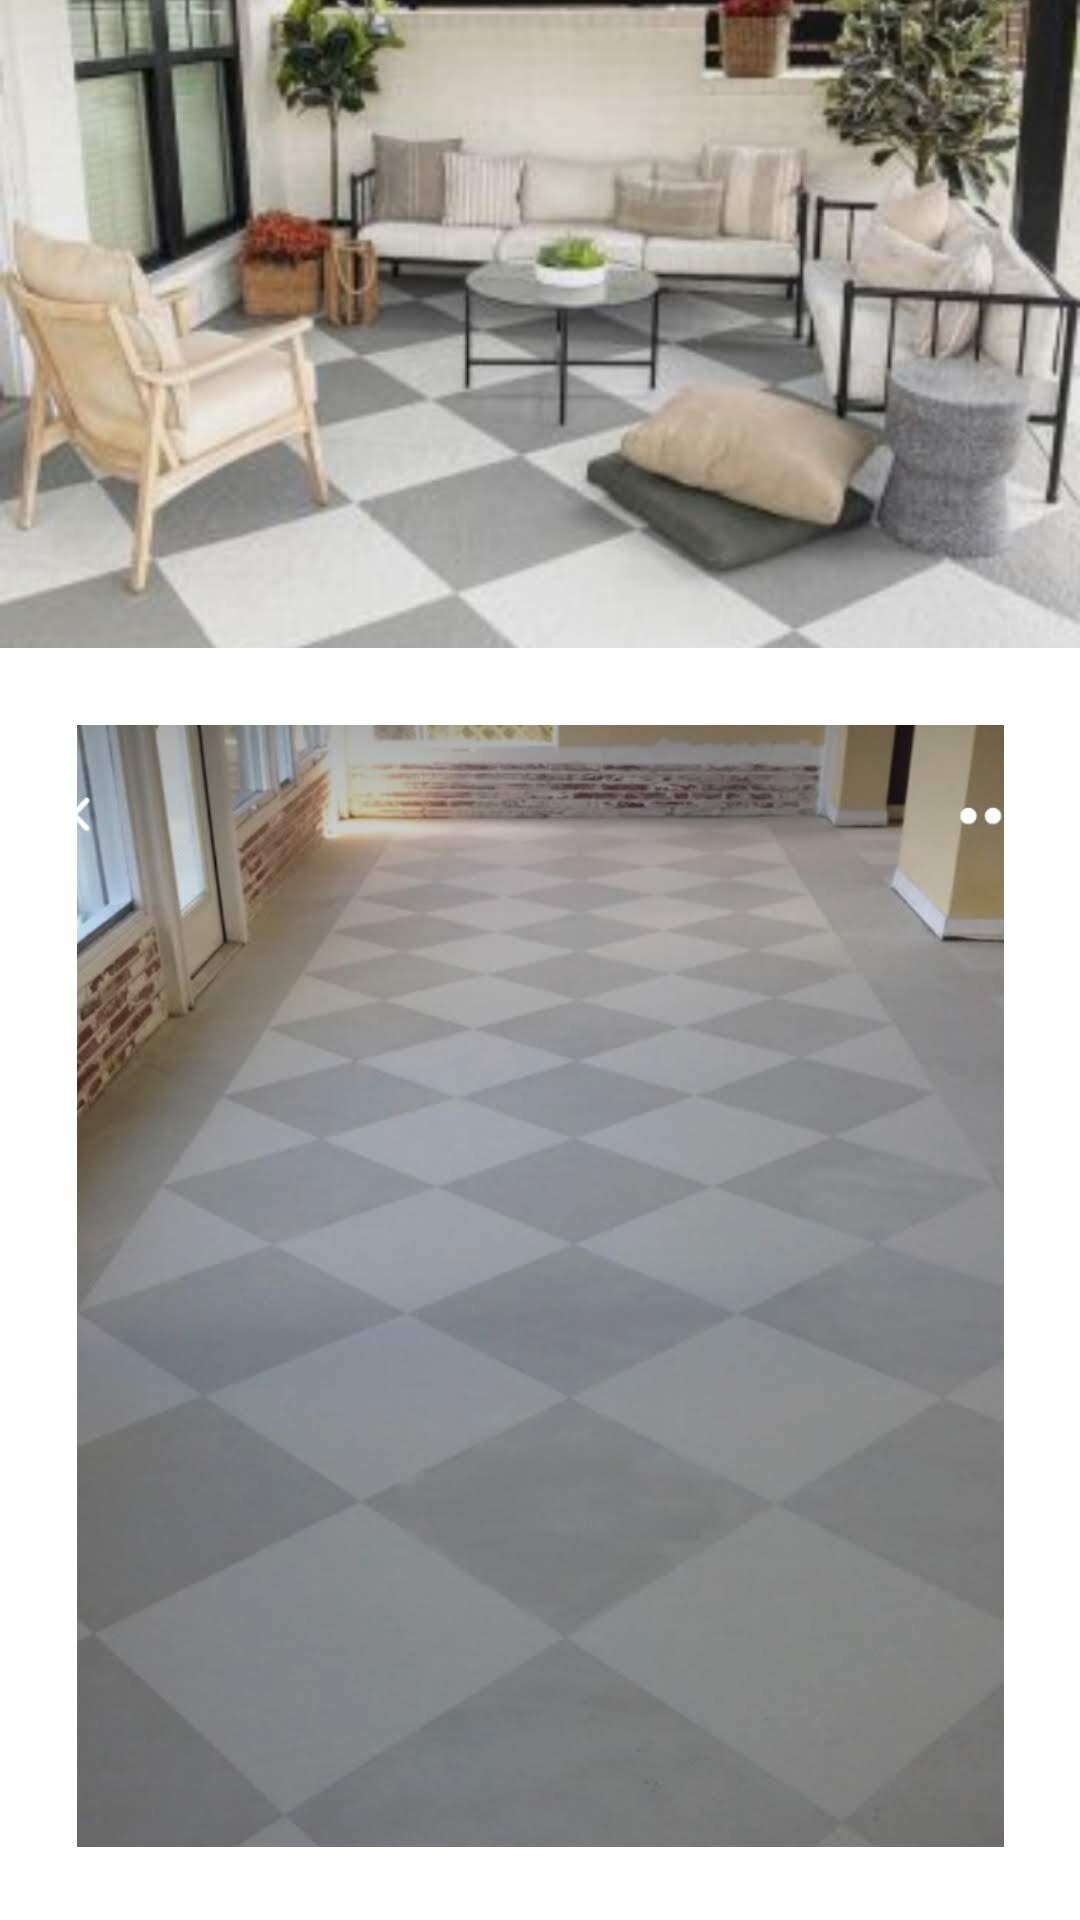
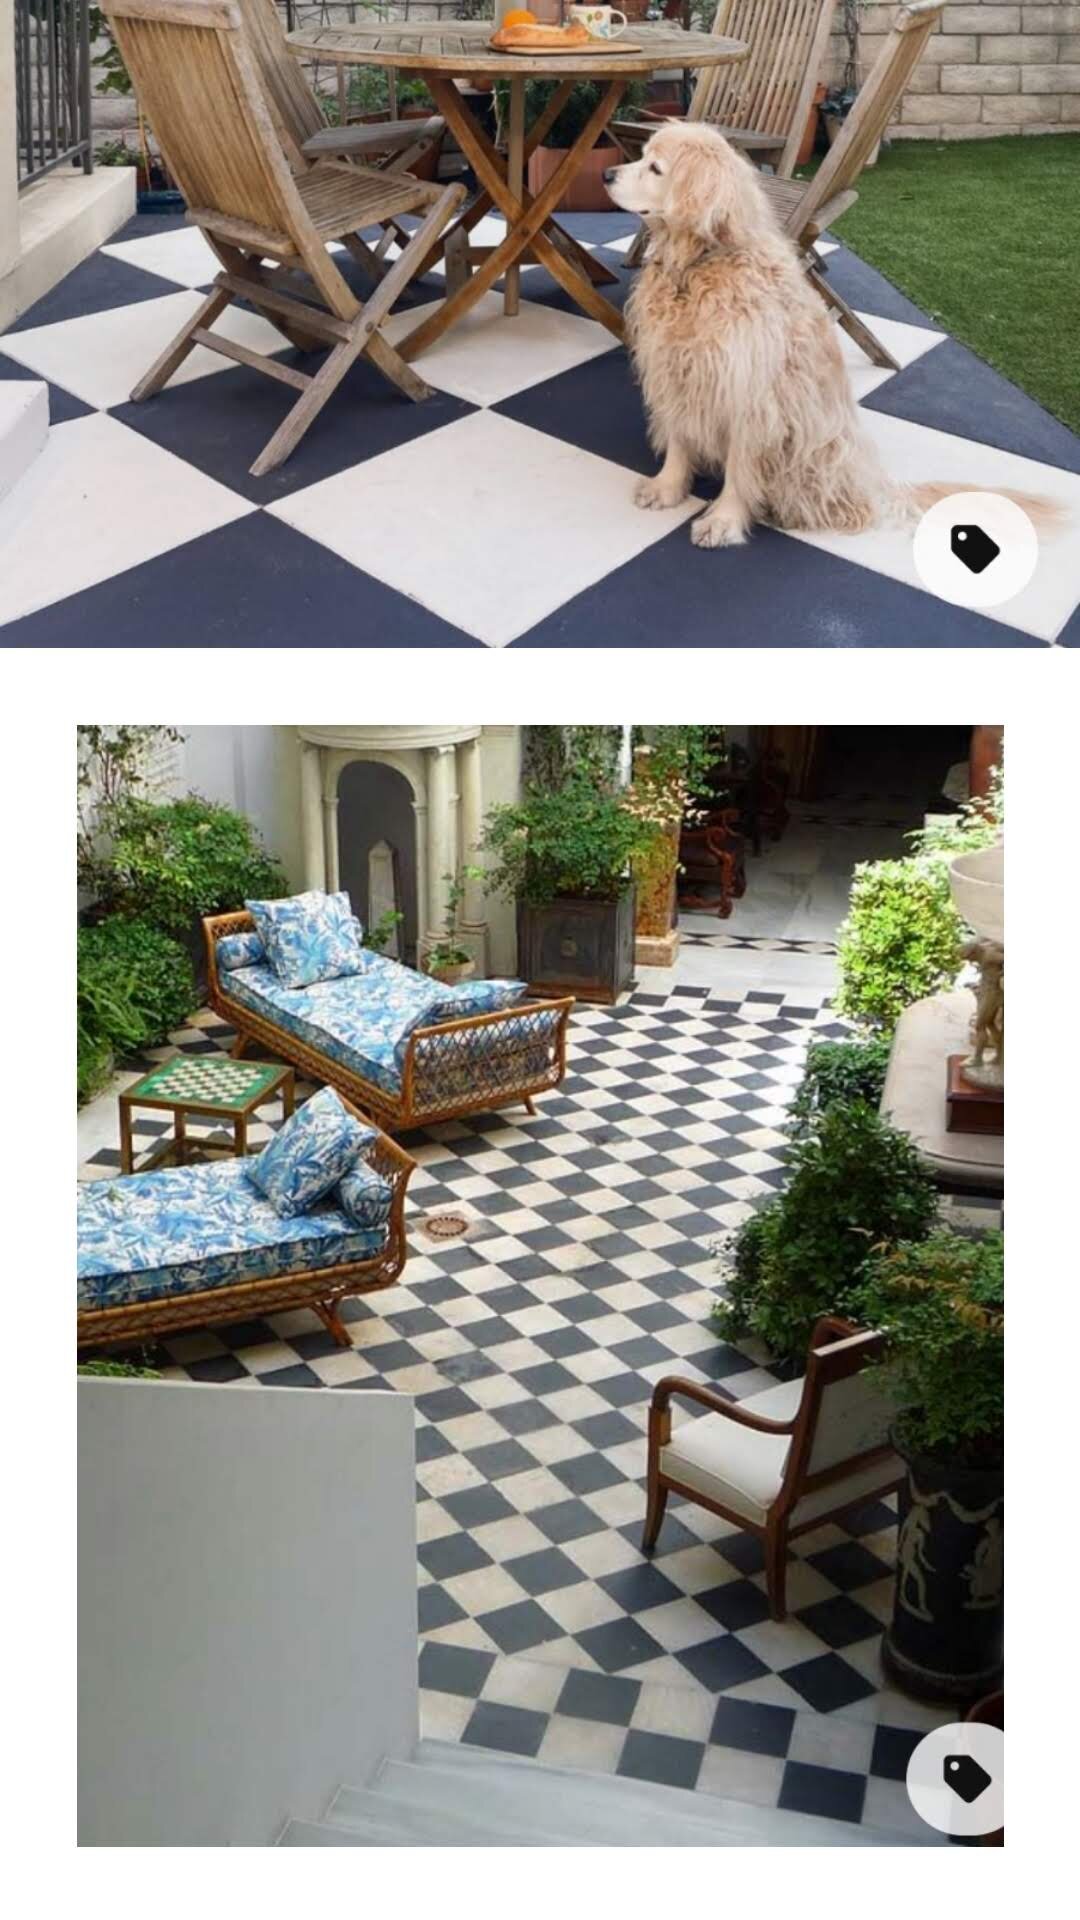
I thought the grey would be softer and more cottage-like but I love the classiness and drama of the black (I'm dramatic in case you're new here). I did a poll on my Instagram and was surprised to see over 120+ people voted for grey checkerboard and about 50 voted for black checkerboard.
Moving forward with the grey I purchased a gallon of "Agreeable Grey" which was a color I found online and planned on using for the floor and also my house shutters. When I got it mixed I knew in my gut it was TOO much of a light color. I didn't want to cause any trouble at the store and took it anyway thinking maybe it would end up looking good.
NOPE.
I knew I wanted to have black and white checkerboard floors.

This color was so similar to the white I'm not sure you would have even seen the checkerboard pattern and after all that prep and taping? We might as well make it worth it!
I switched gears and already had black exterior paint left over from another project and decided to go for it!!
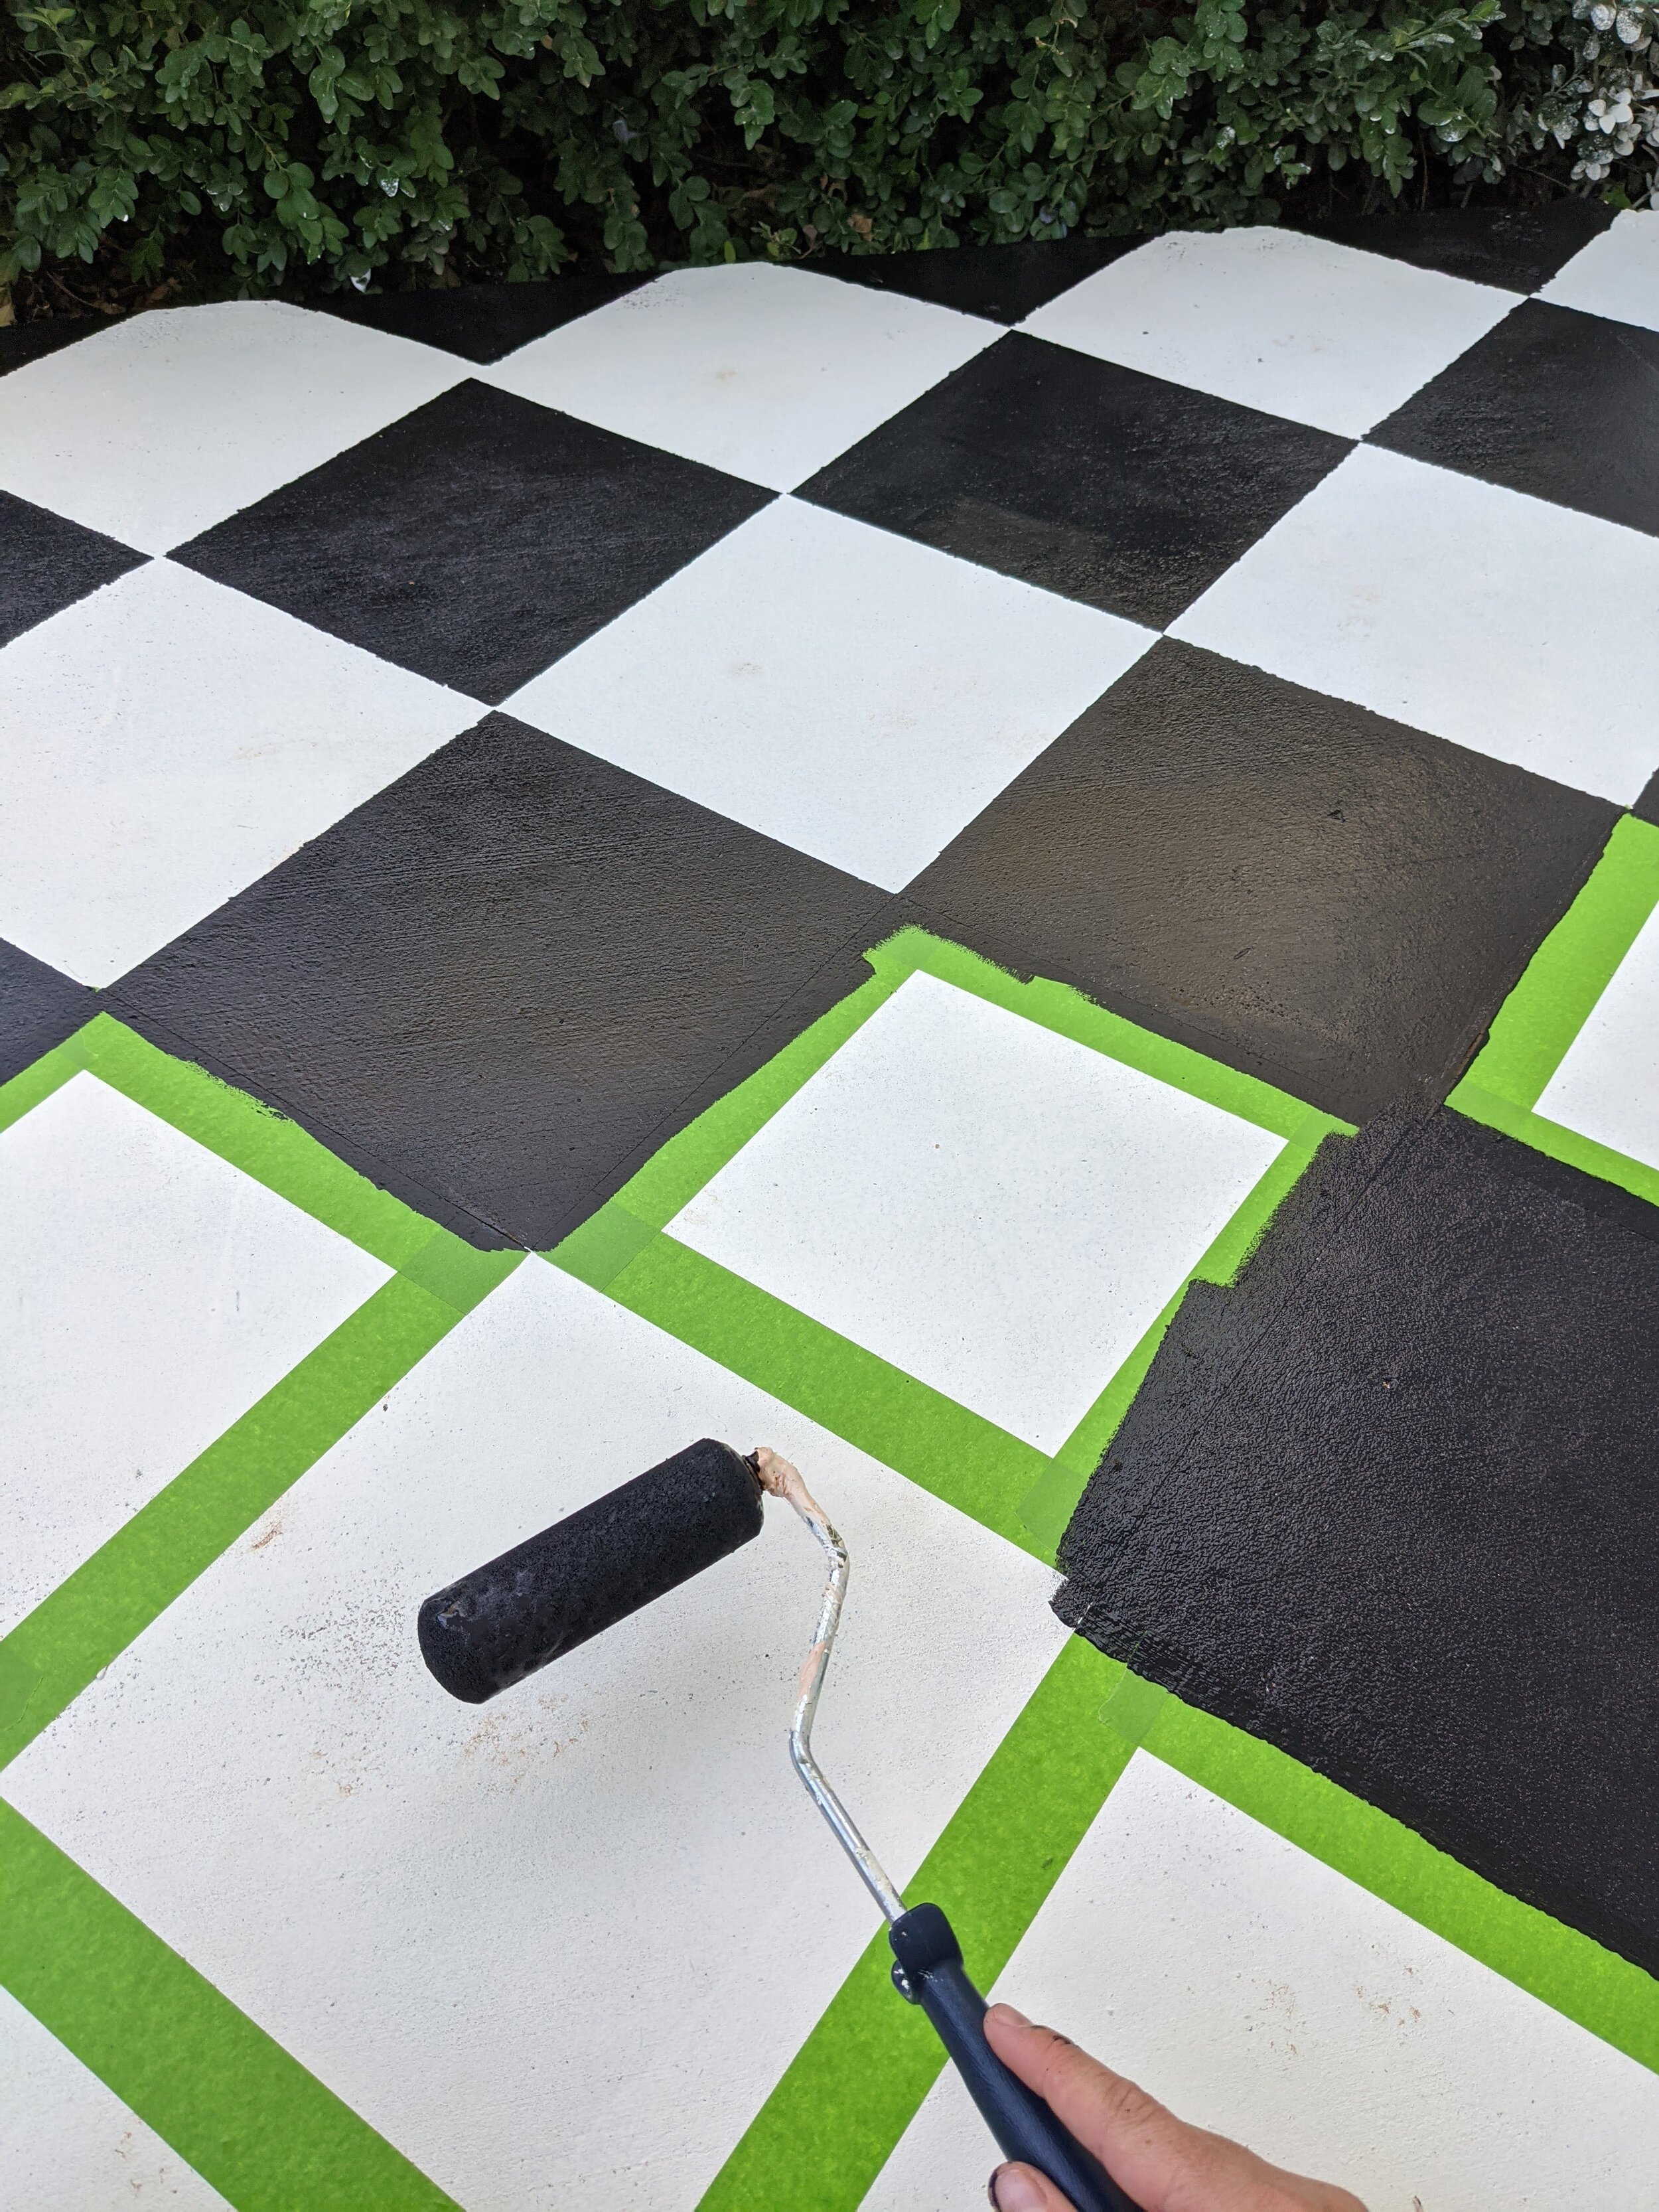
I recommend using a smaller foam paint brush for more control and pulling up the tape with wet paint to prevent it to peel paint when dry. I also barely made a dent in the black paint you could totally get a quart instead of a gallon.

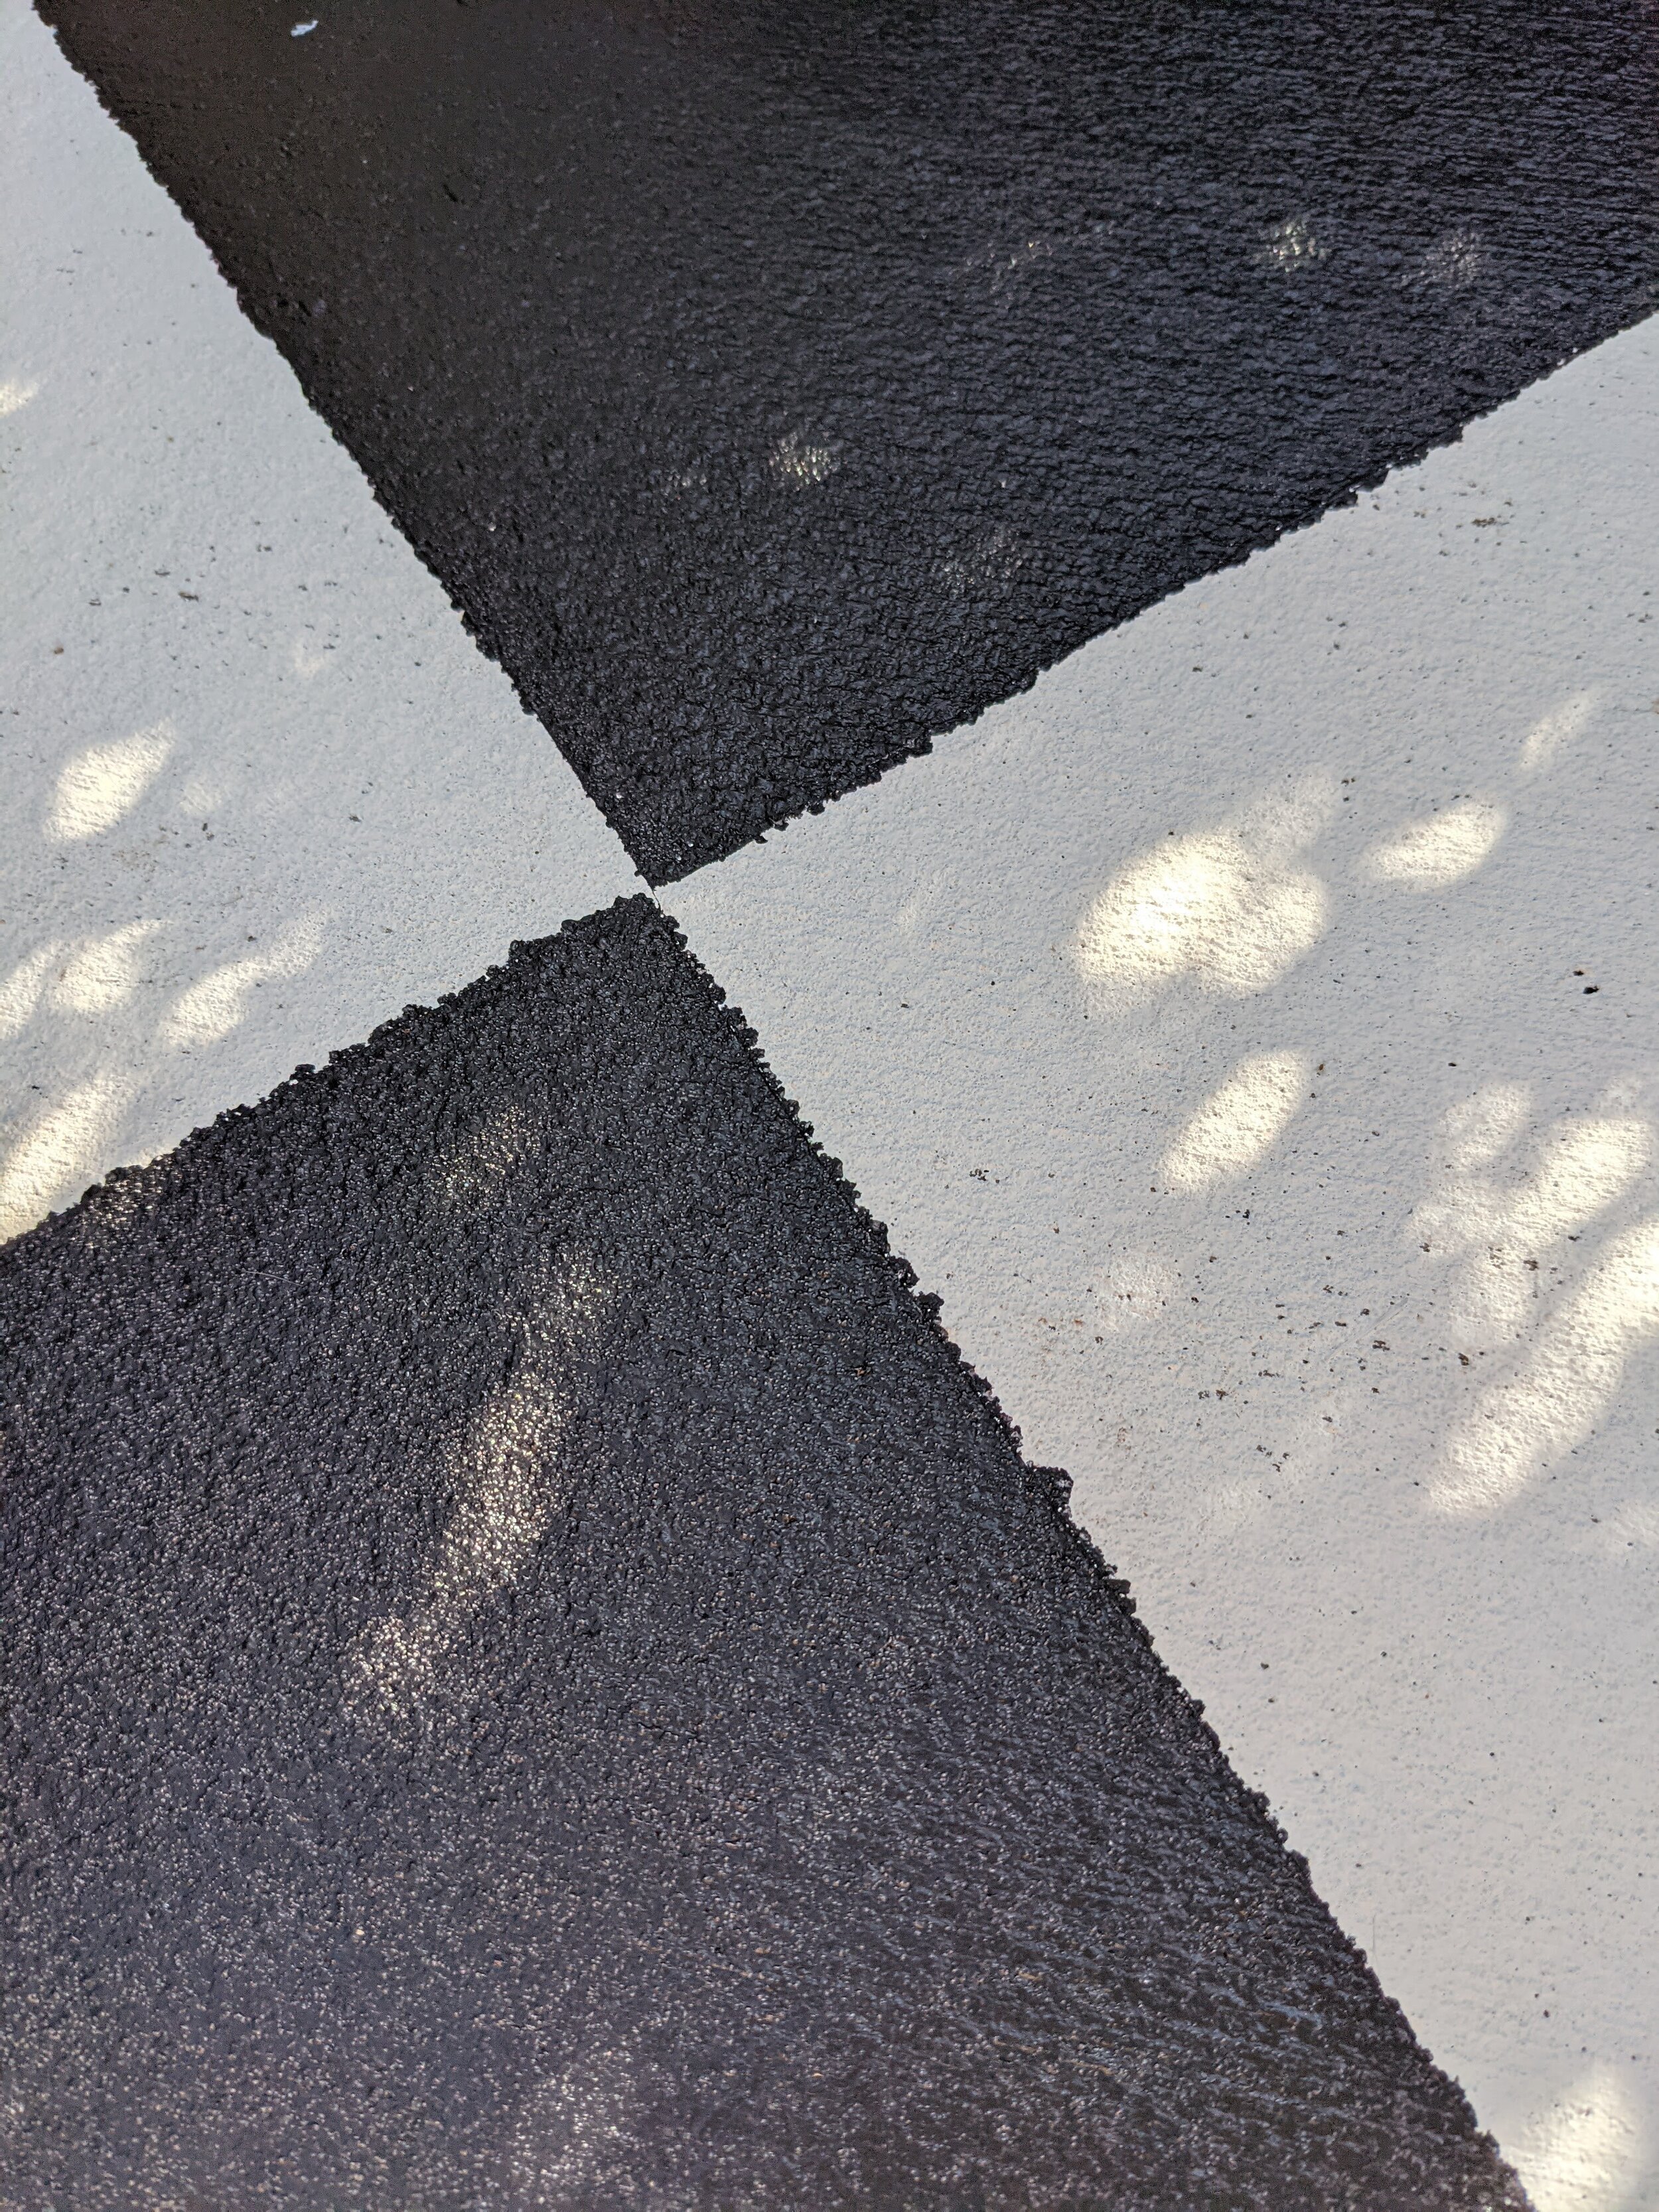
Some spots did peel up the base paint and I'm still not sure if it's because I should've prepped the concrete floor more, if I laid the base paint coat on too thick in some areas, or if the tape stuck better in some areas.
Either way, I got a crazy amount of messages saying how much people loved the paint chipping and how much character it gave it so…bonus!

STEP 7: TOUCH UPS
I let the black squares dry over night and knew there were some spots to touch up before the last step. I think I had too much paint on my roller at the beginning so there was a bit of bleeding under the tape.
Thank goodness I had juuust enough white paint left that barely covered the bottom of the paint can so I could do a few touch ups!
I took a small flat paint brush and went along the sides that were especially bumpy. I really could've done that to probably every side but had to stop somewhere so I made sure to focus mainly on the entryway where everyone will see it the most!
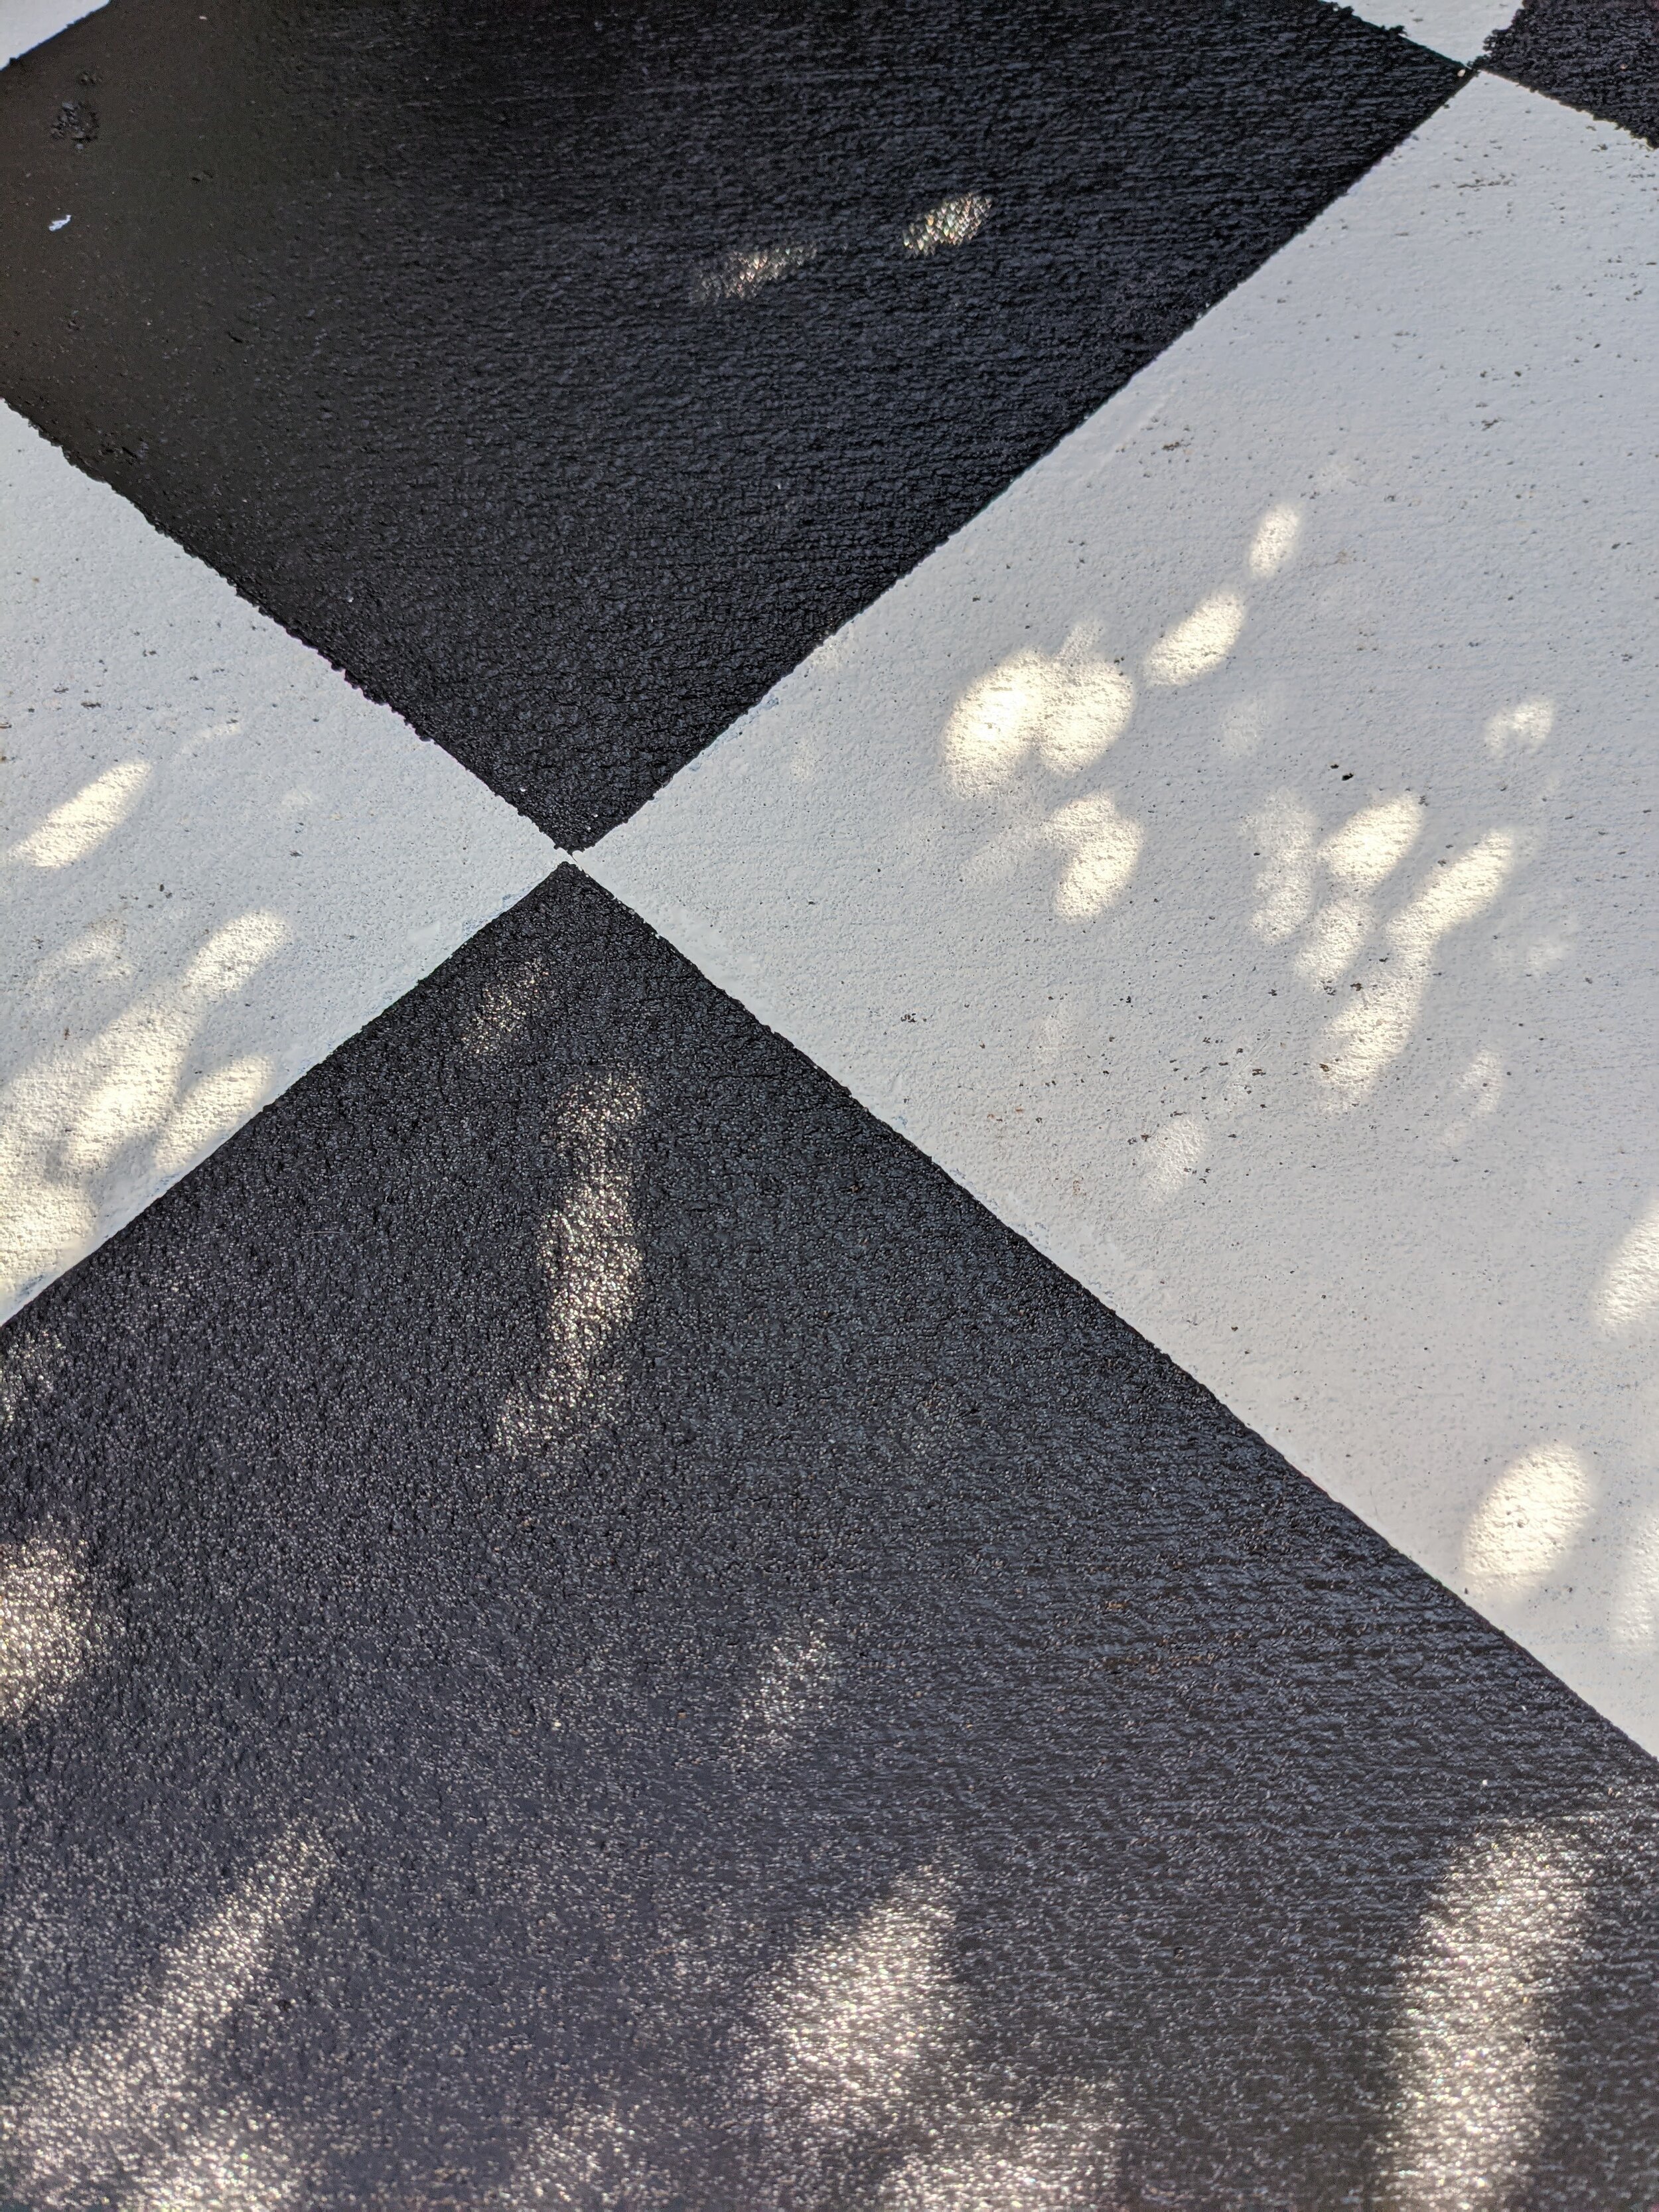
STEP 8: TOP COAT
Just one more step!! Putting on that top coat was such an odd experience haha I mean it's clear, right? I could only tell where I had already painted because of some bubbles otherwise its easy to lose track of where you've been. Using a concrete roller was great for covering the textured surface.
The top coat I used recommends only using one layer and is a satin finish which has just enough sheen without it looking like a shiny basketball court haha It also makes it easier to clean and will prevent the paint from chipping so a top coat is a must!

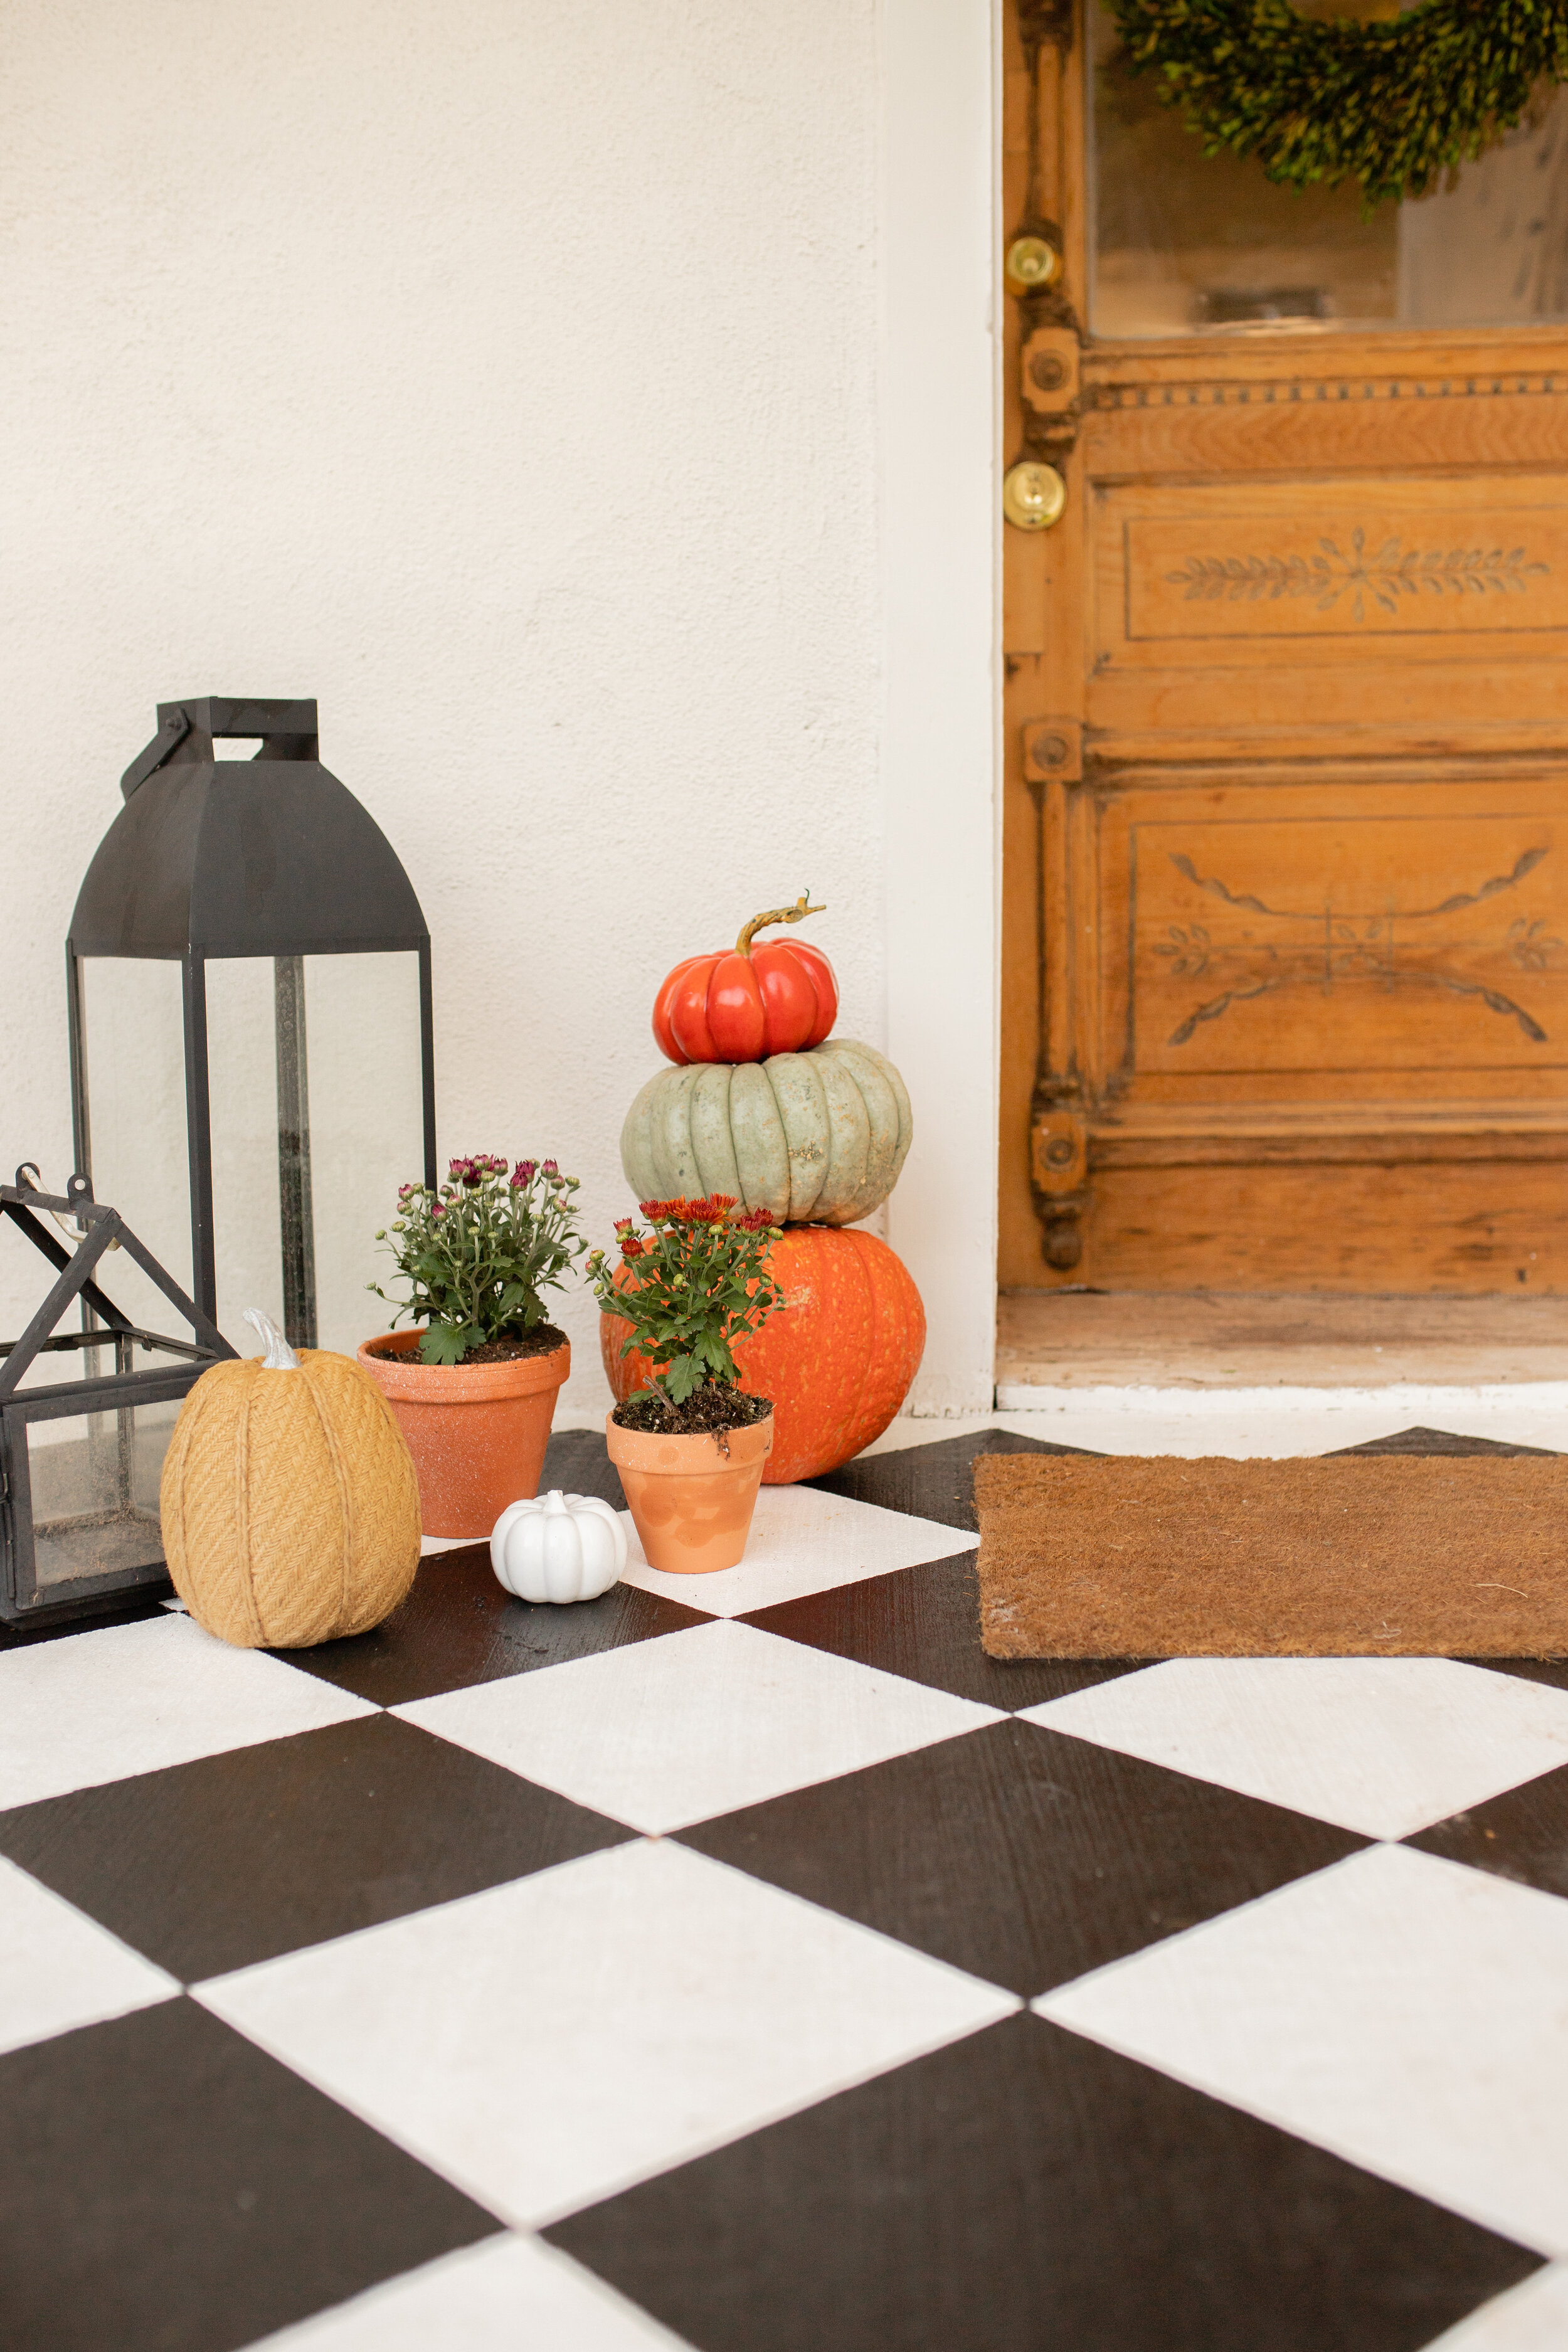
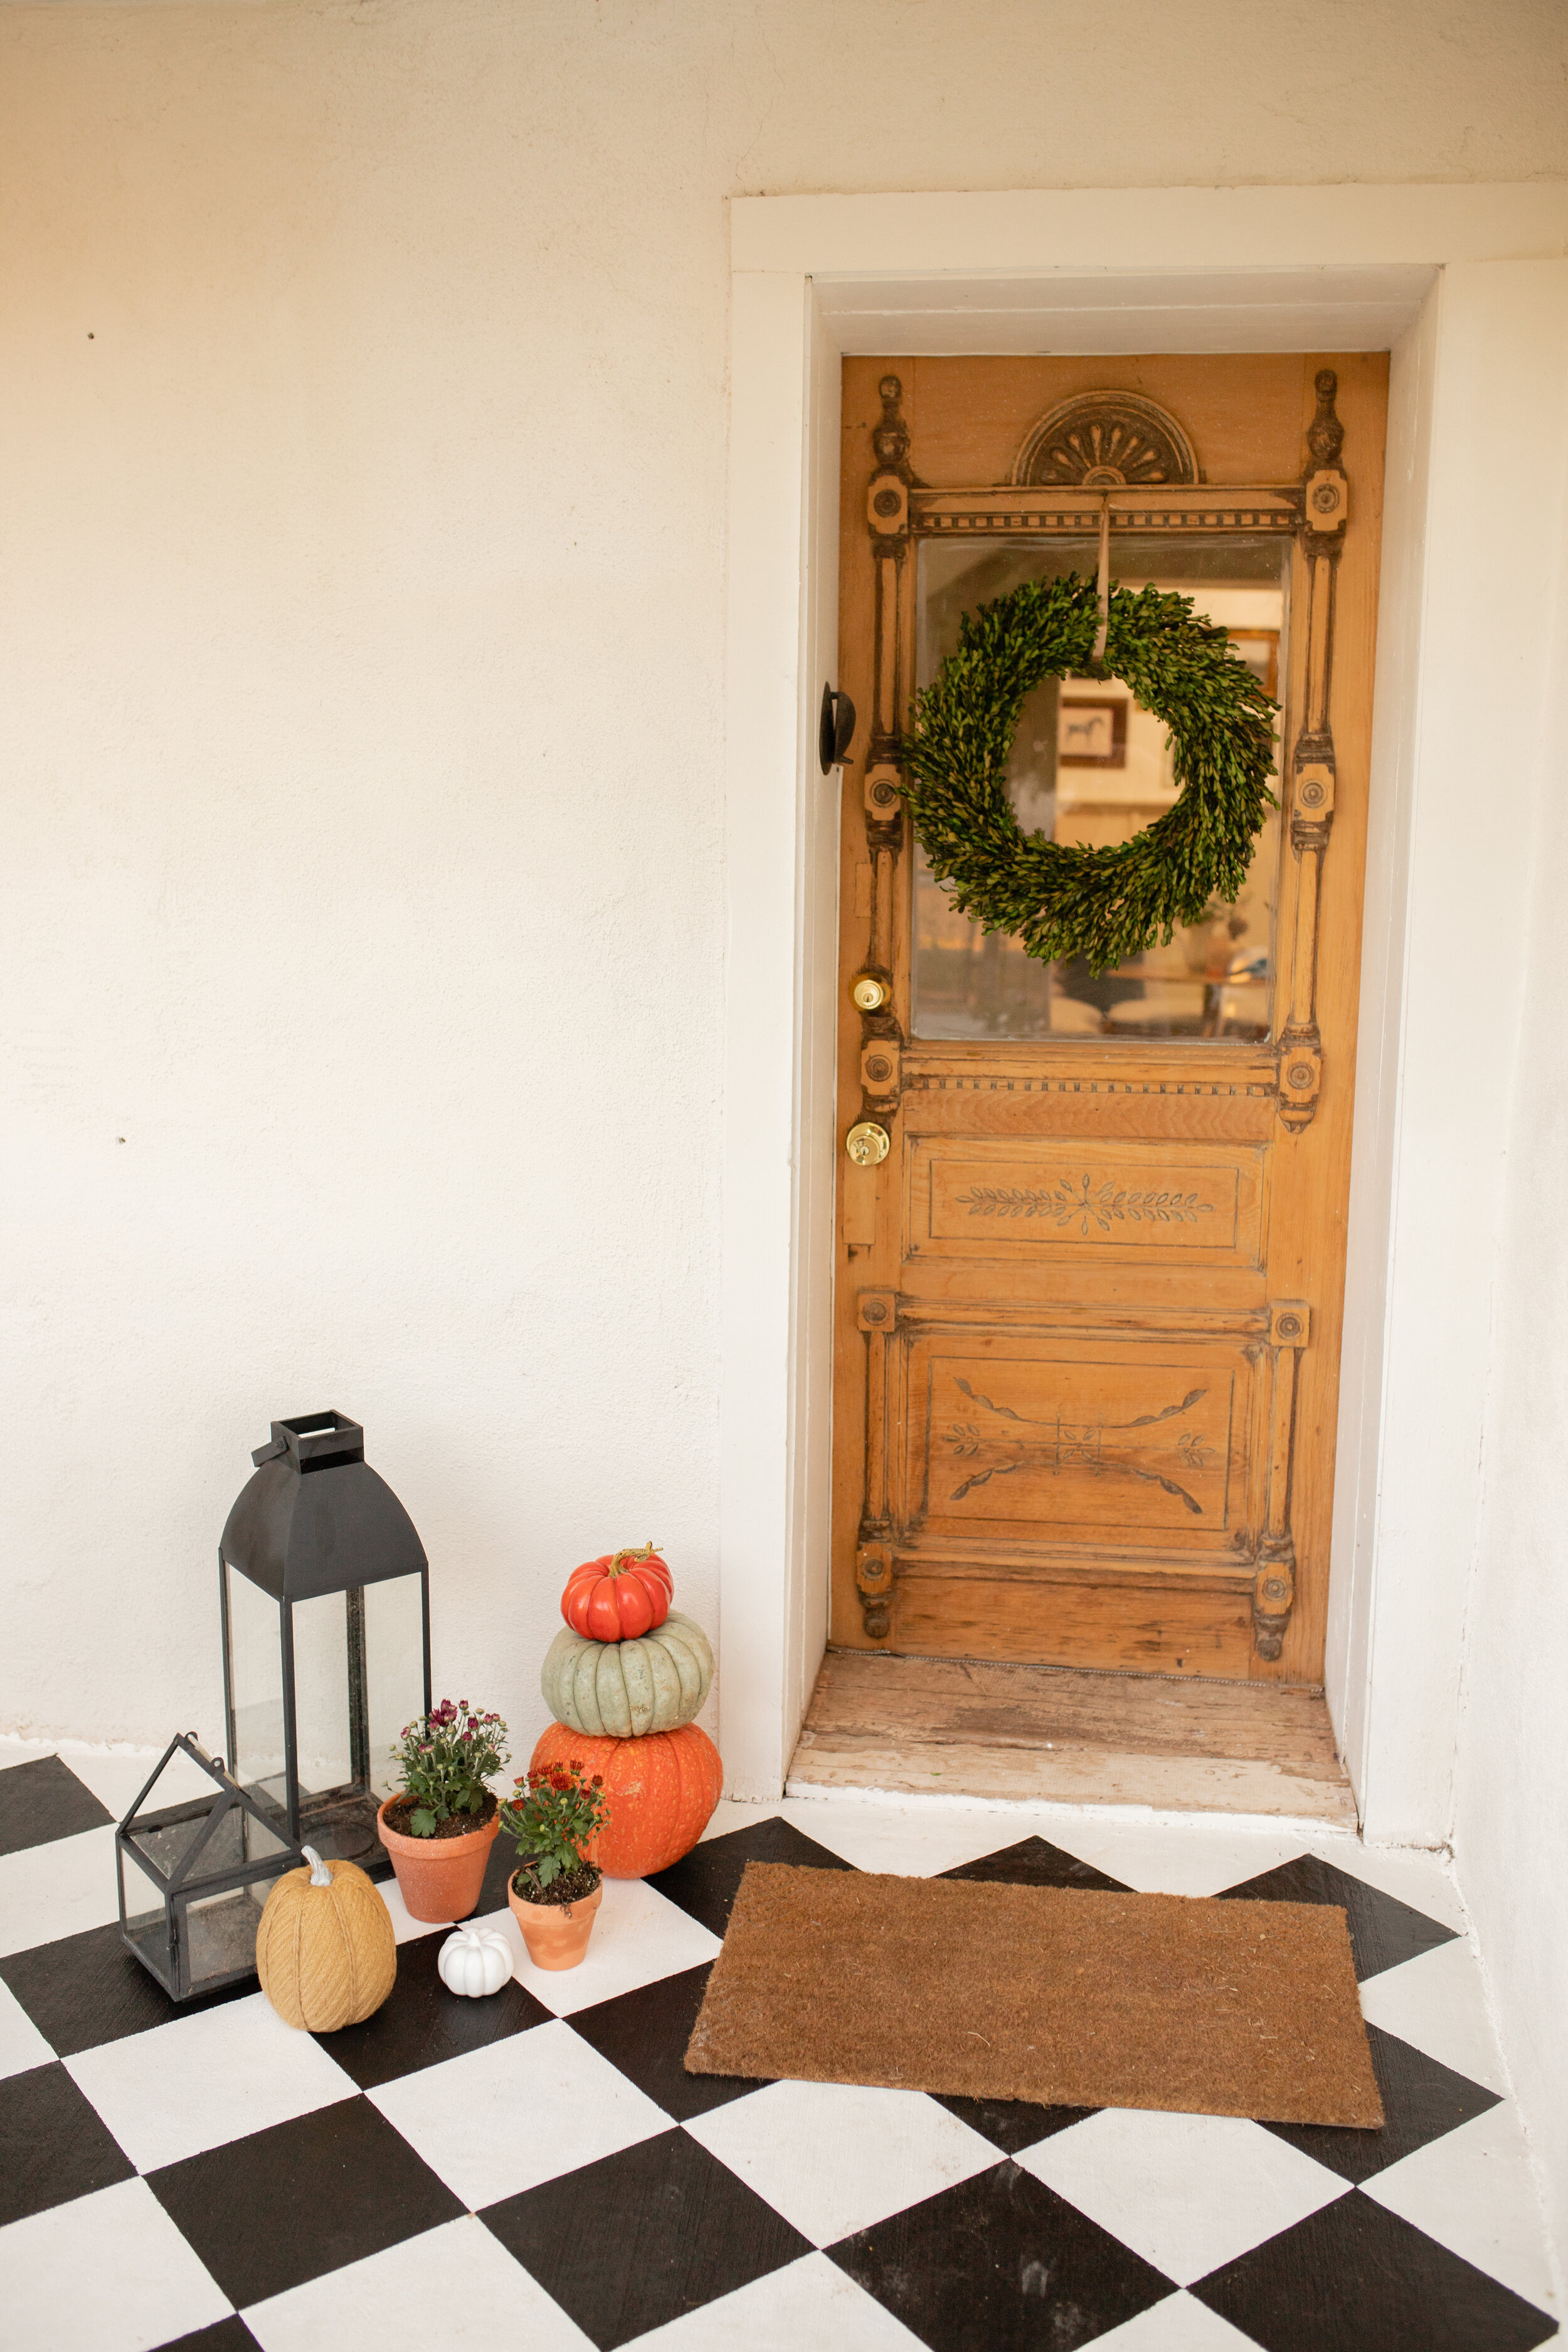
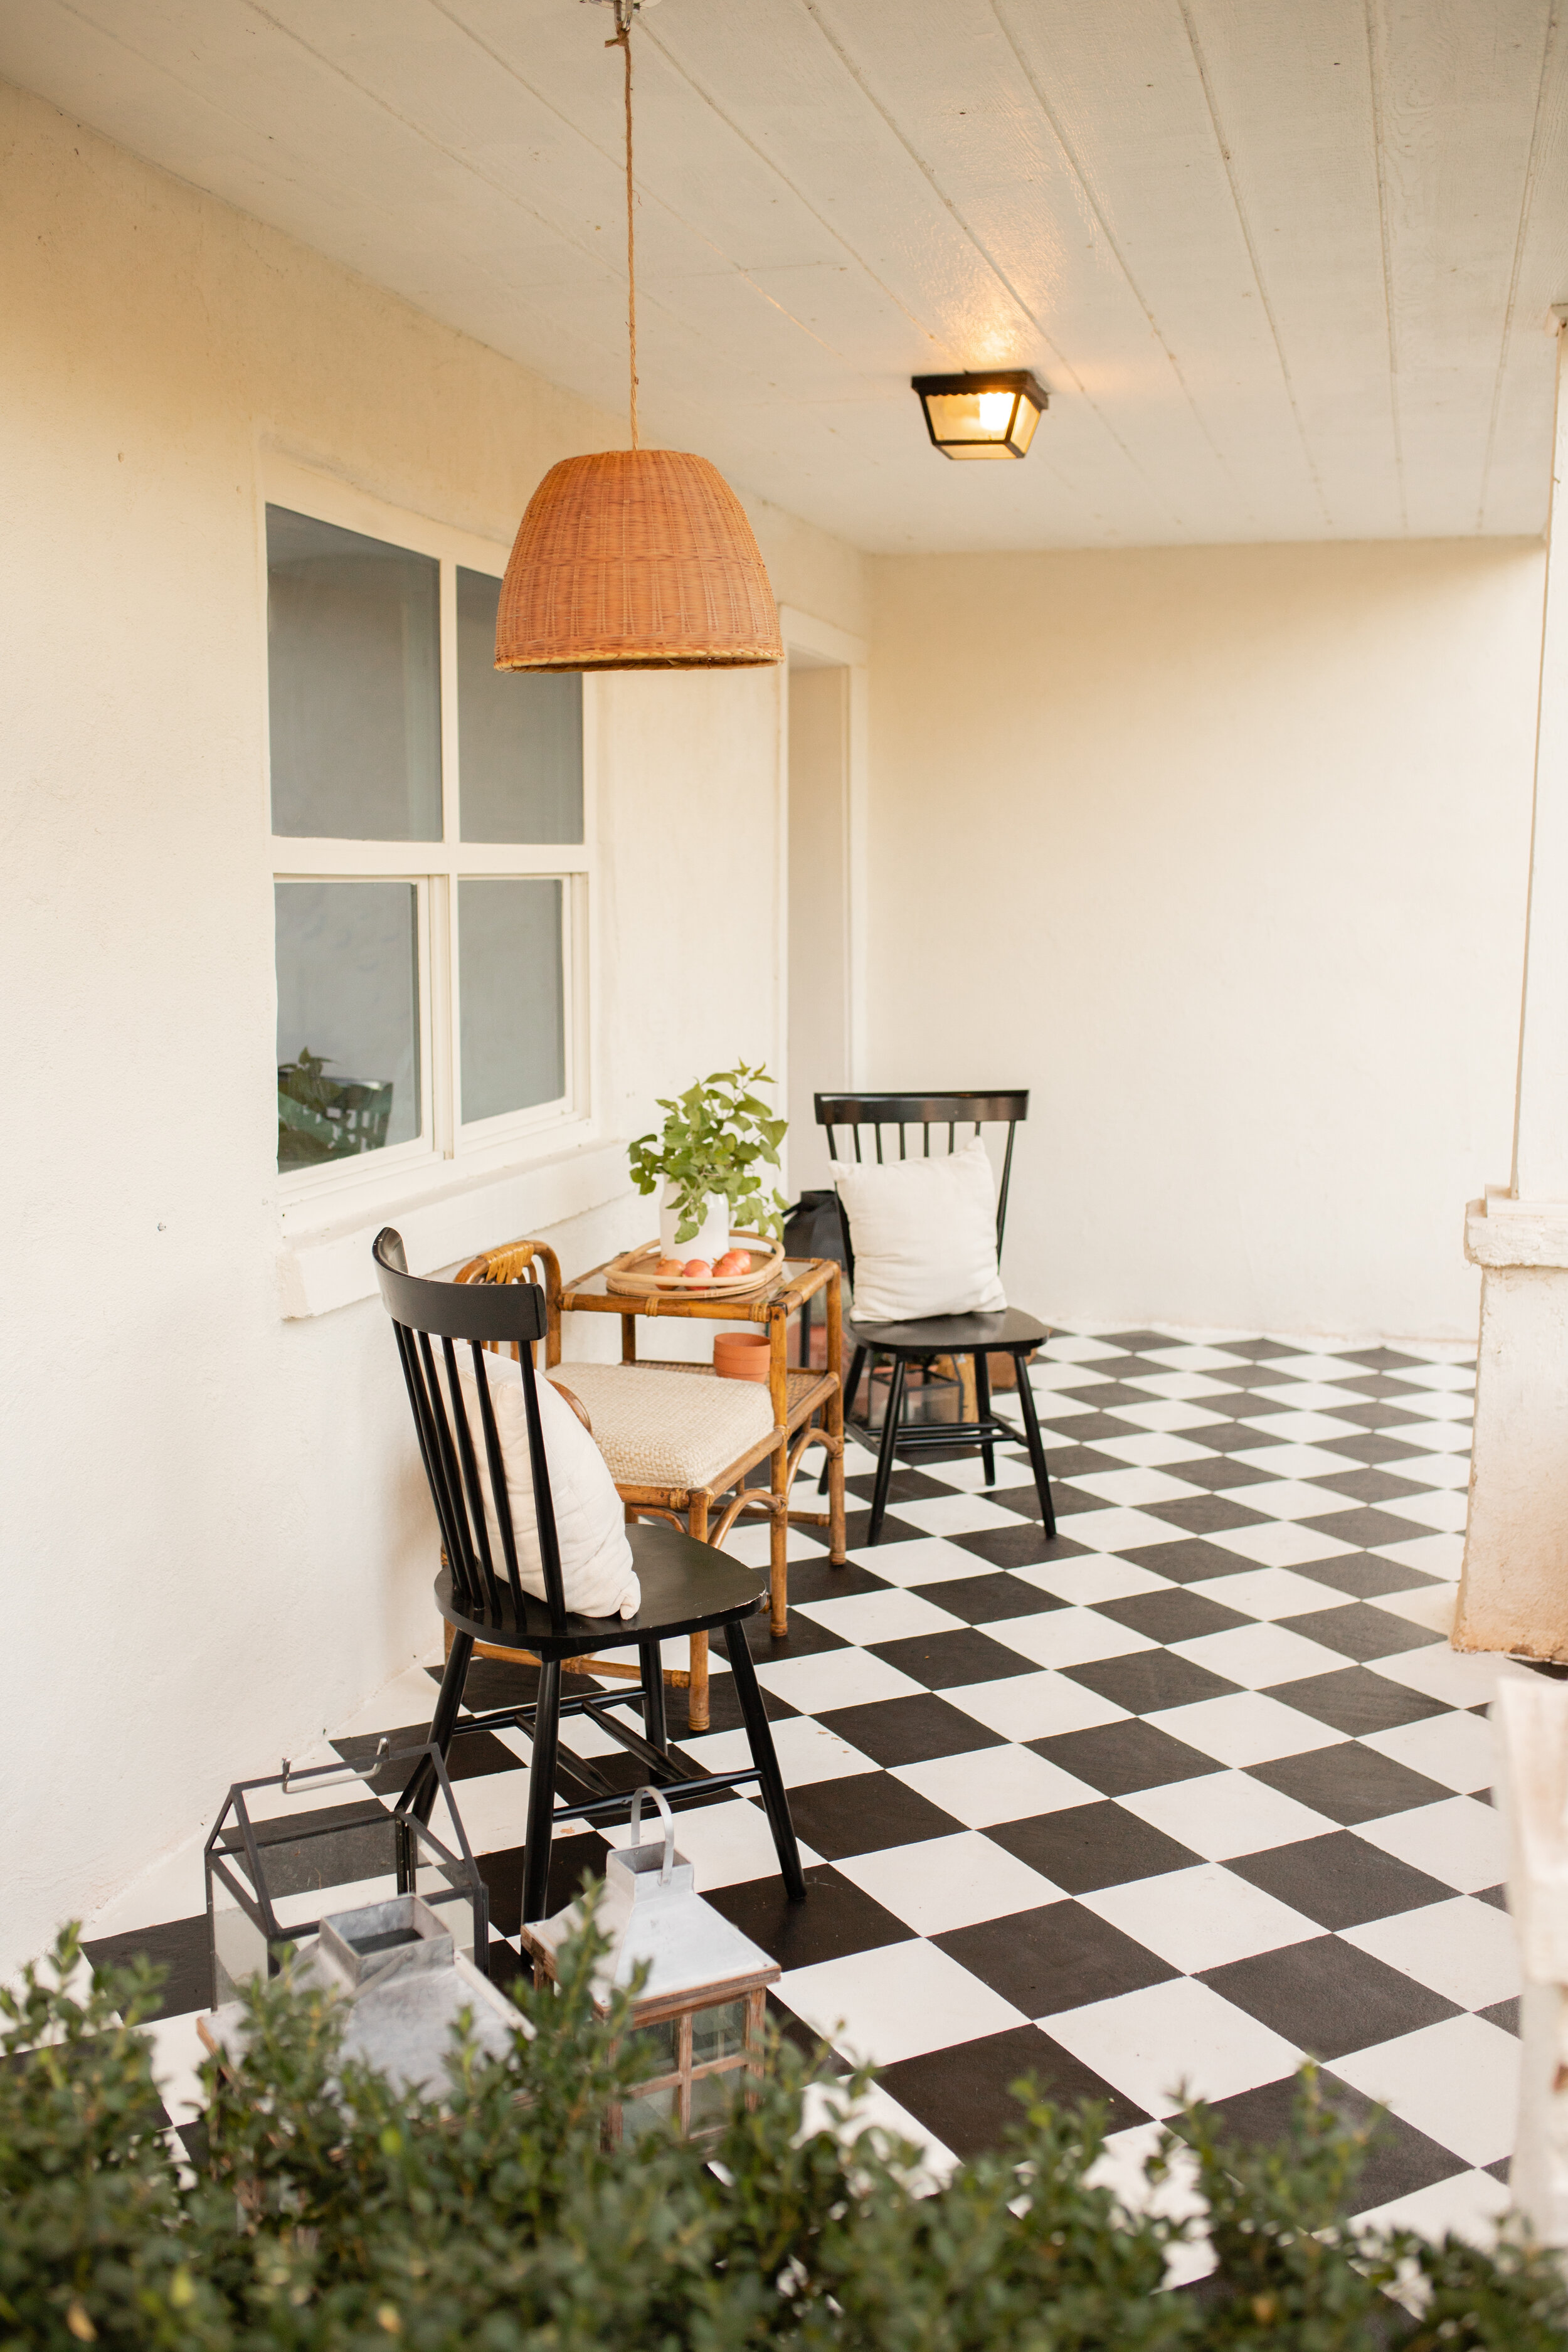
STEP 9: DECORATE
This was so fun to decorate especially since I finished all of this just in time for OCT 1st which means all the fall vibes!
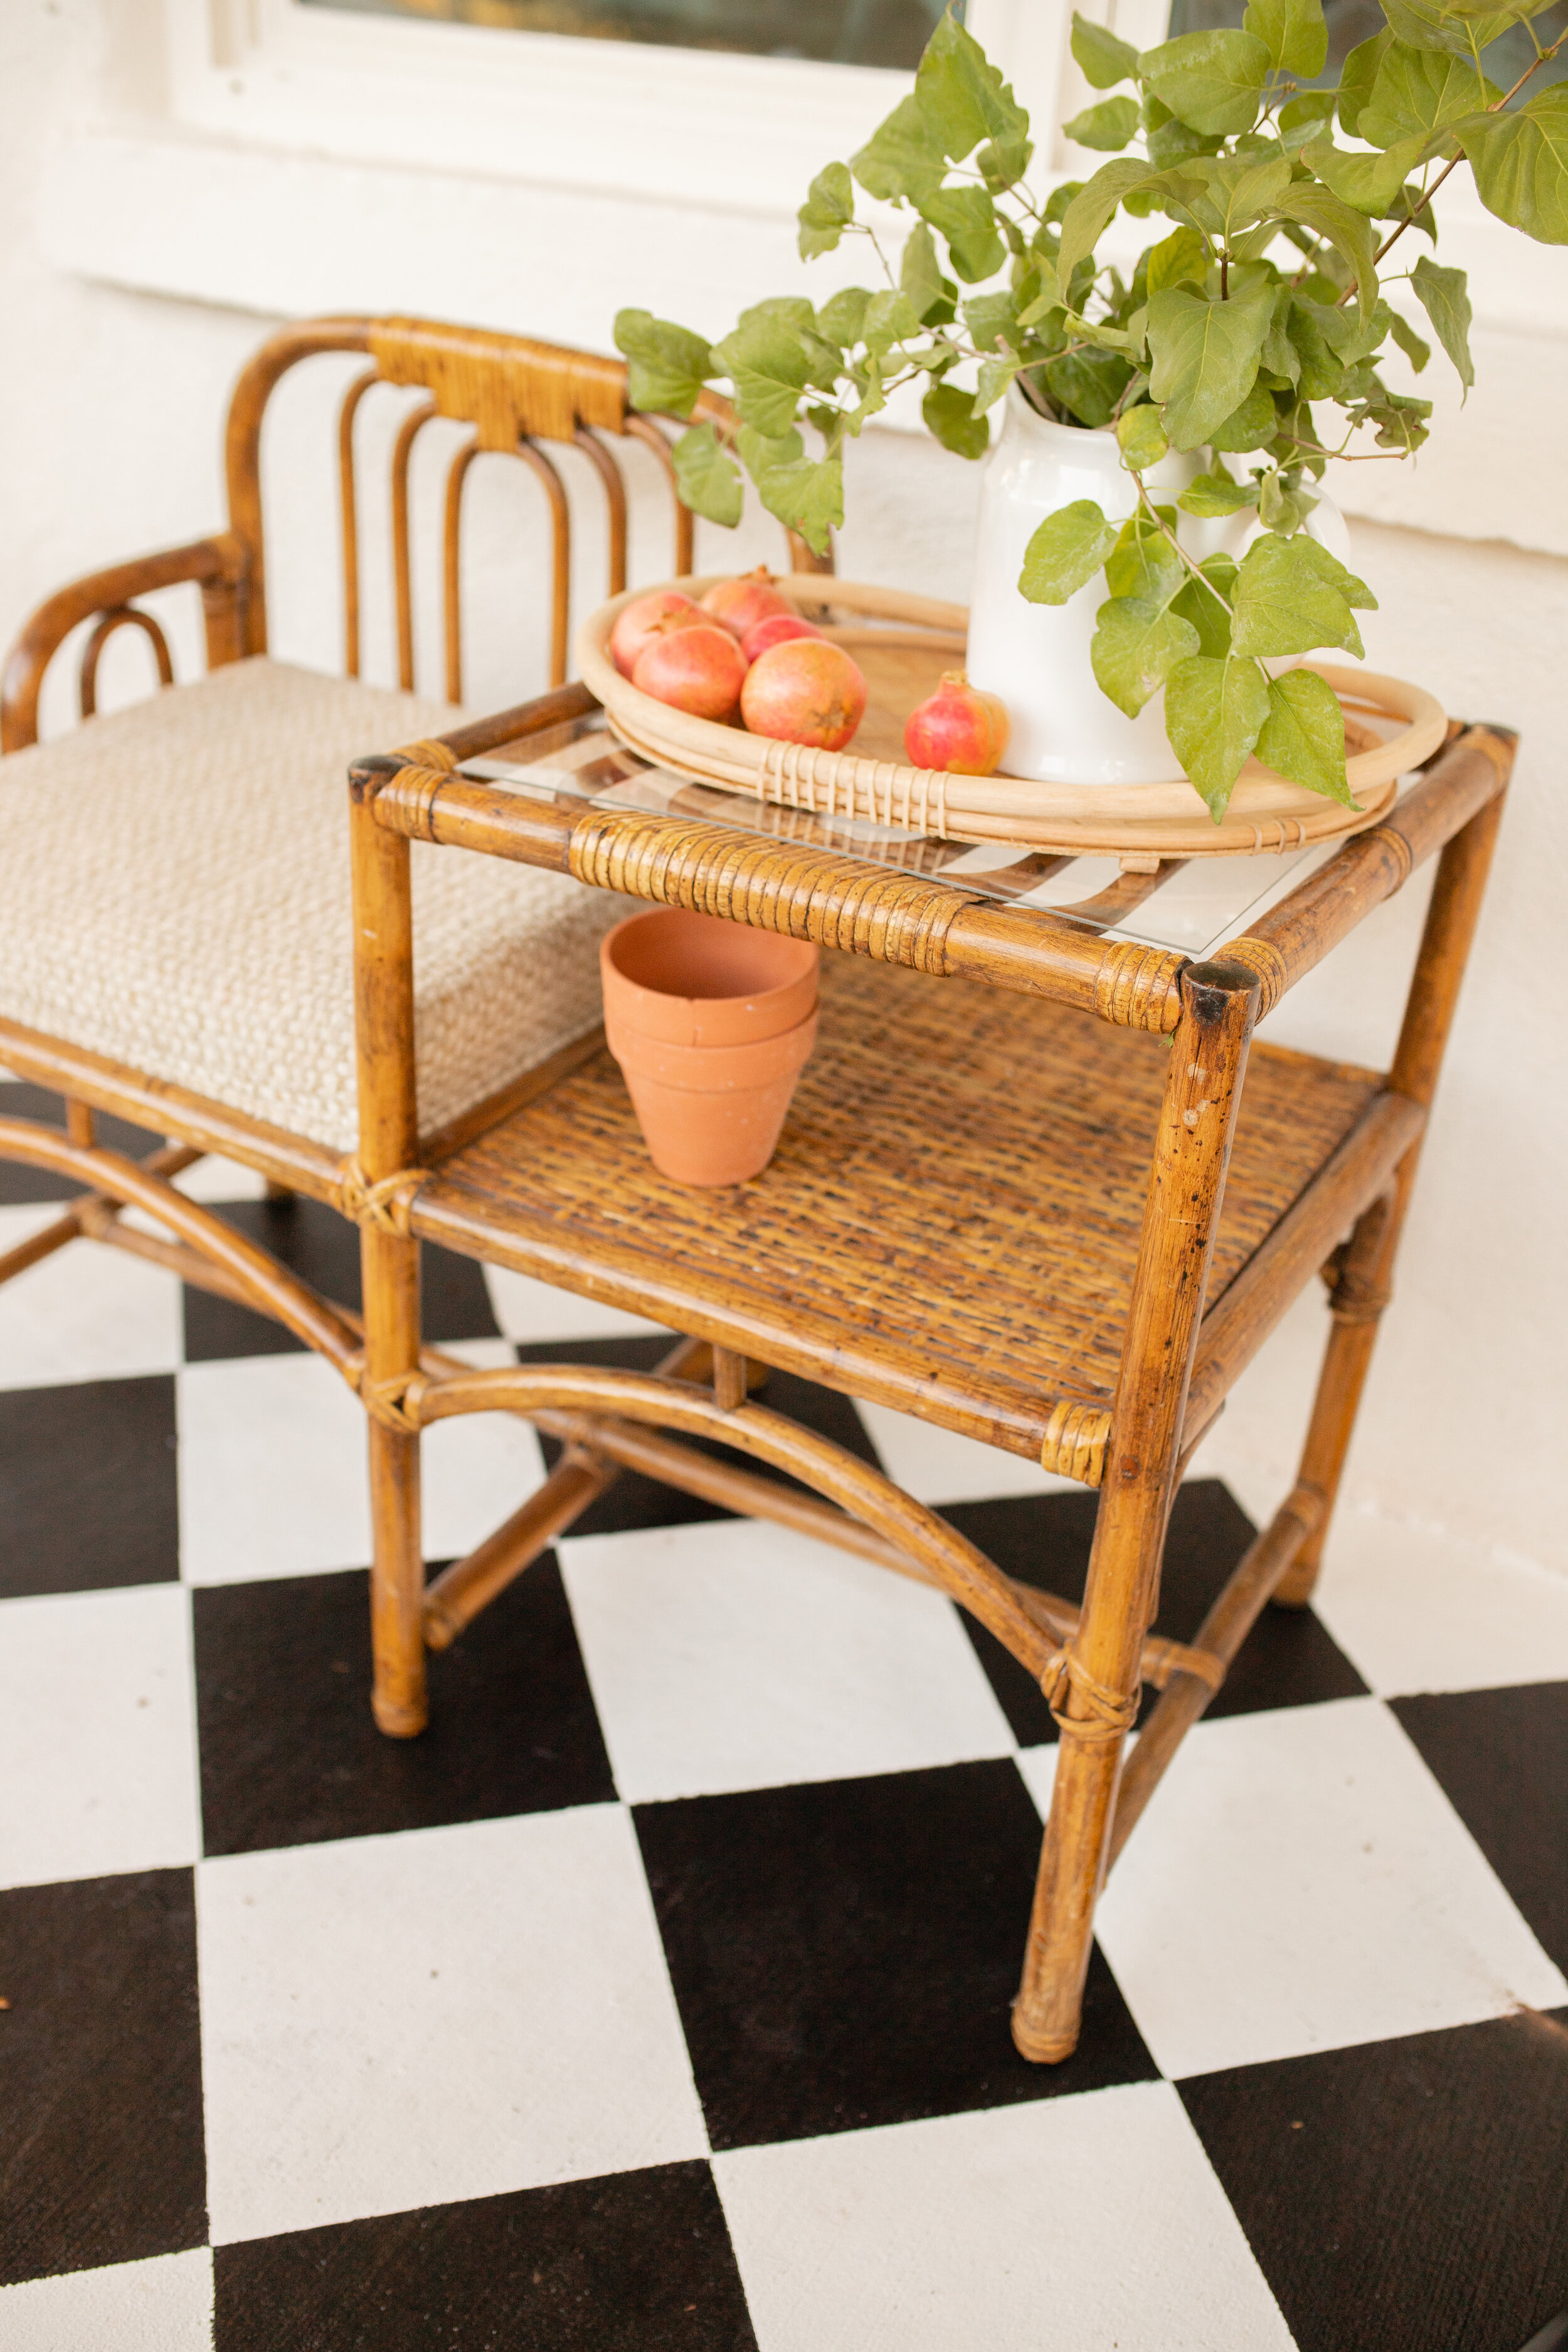
I really just used what I have on hand and plan on getting a rug, some more basket lights, and hopefully some kind of outdoor furniture! The rattan seat/table was a last minute find for $25 at Deseret Industries and I couldn't be happier I found it! It really warms up the space and make sit feel cozy and unique!


Everyone loves some good BEFORE & AFTER side by side, right?

Thanks so much for reading about my checkerboard floor!
Happy DIYing!!!
xoxo
