
STAIRS TRANSFORMATION from carpet to wood!
If you have carpeted stairs and are curious what possibilities could be underneath I am here to say….PEEL OFF THAT CARPET AND FIND OUT! I have wanted to remove the carpet on our stairs since day 1 and seriously cannot express enough how much it transforms our home!
So first things first let me show you our staircase and what we’re working with! The downstairs of our home was built in the 1880’s and we figure this staircase was built around the time they added the second story in the 70’s which means…this staircase is about 50+ years old!

The carpet is shaggy, pretty gross, and just offers nothing special. Also, the non backed in steps aren’t exactly safe with kiddos so I knew that needed to change on day one. In this pic I had gotten that wild hair to just start and allllmost forgot to snatch a before pic! Whew.
Here’s a List of all the tools I used to complete this project:
Hammer
Wire Cutters- Something with a good point was better to grab the staples
Crow Bar
Sander Round & Sander Angled
3 pieces of 2x8’s
1 piece of 1x8x6
Apple cider Vinegar
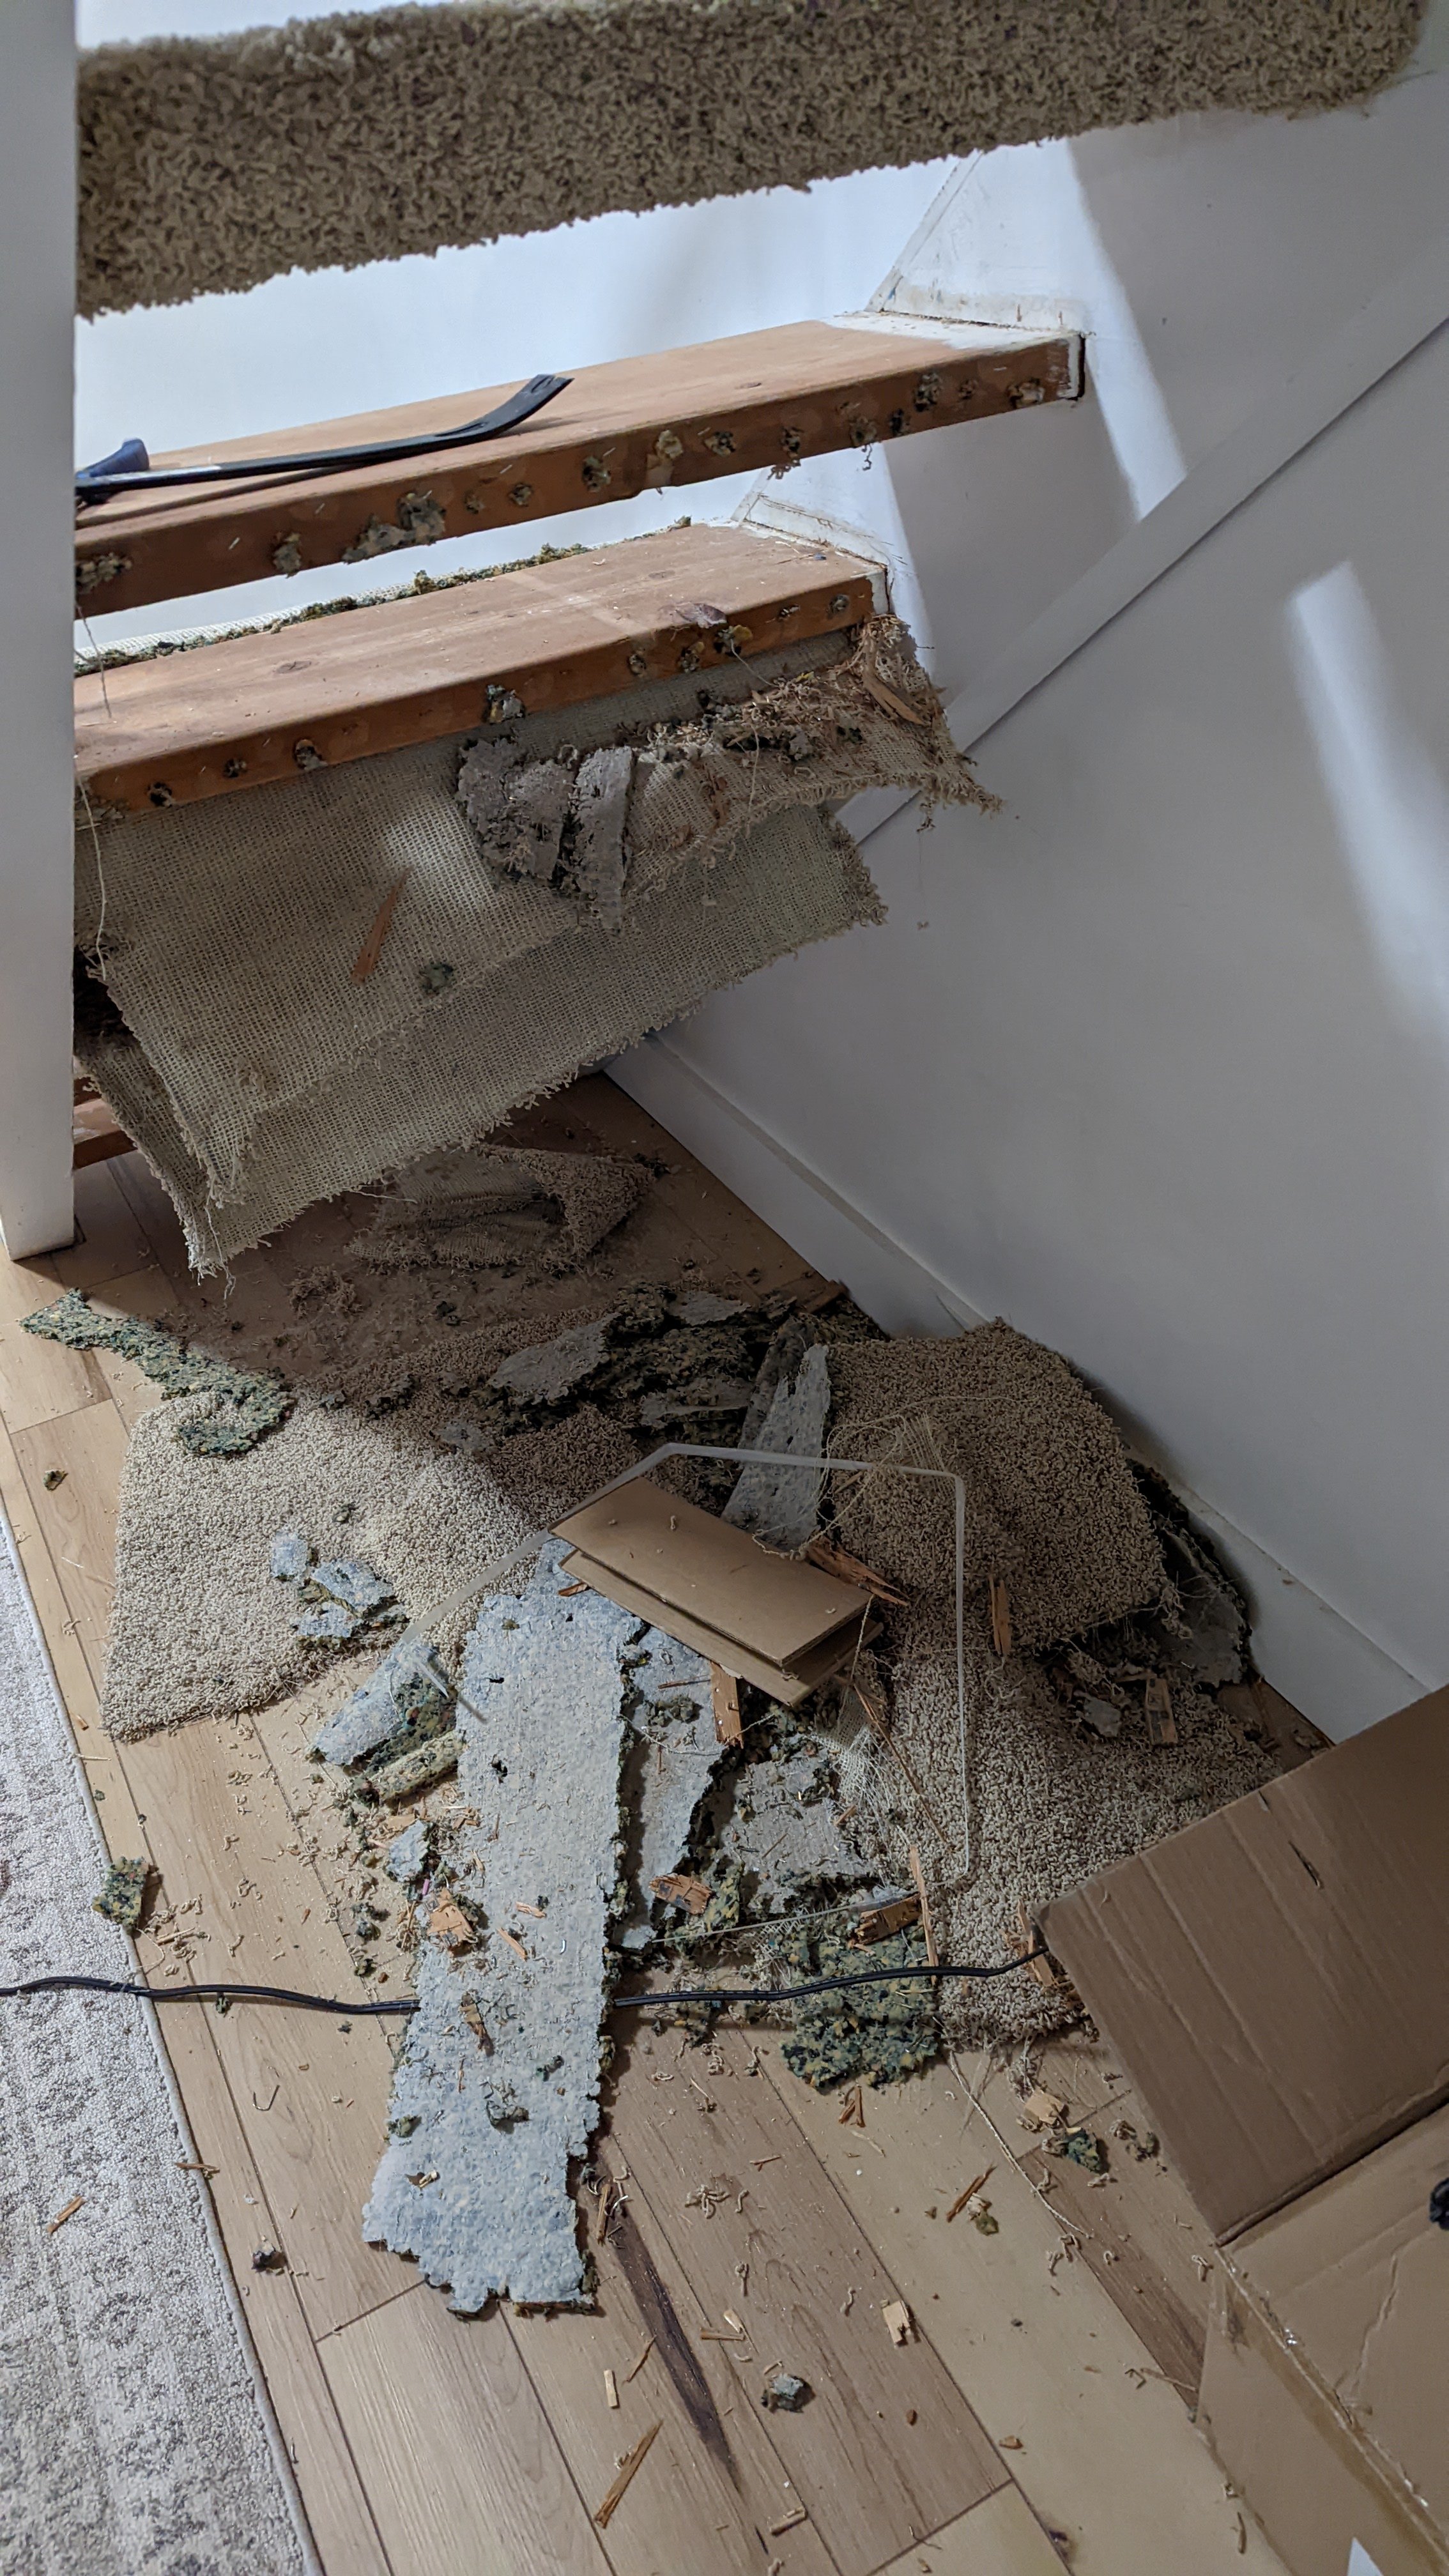
Now onto removing the carpet!

Okayyyy so that first step took way longer than I thought. Long story short I learned quickly that whoever installed this carpet had NO idea what they were doing because typically you have a couple tack strips that come up easy peasy with a couple hits of a hammer. This person , however, decided to empty dozens of cartridges of one inch hardcore staples into each and every step both on top and underneath. Crossing my fingers you don’t have to deal with this crazy issue haha

Mayla isn’t helping much haha

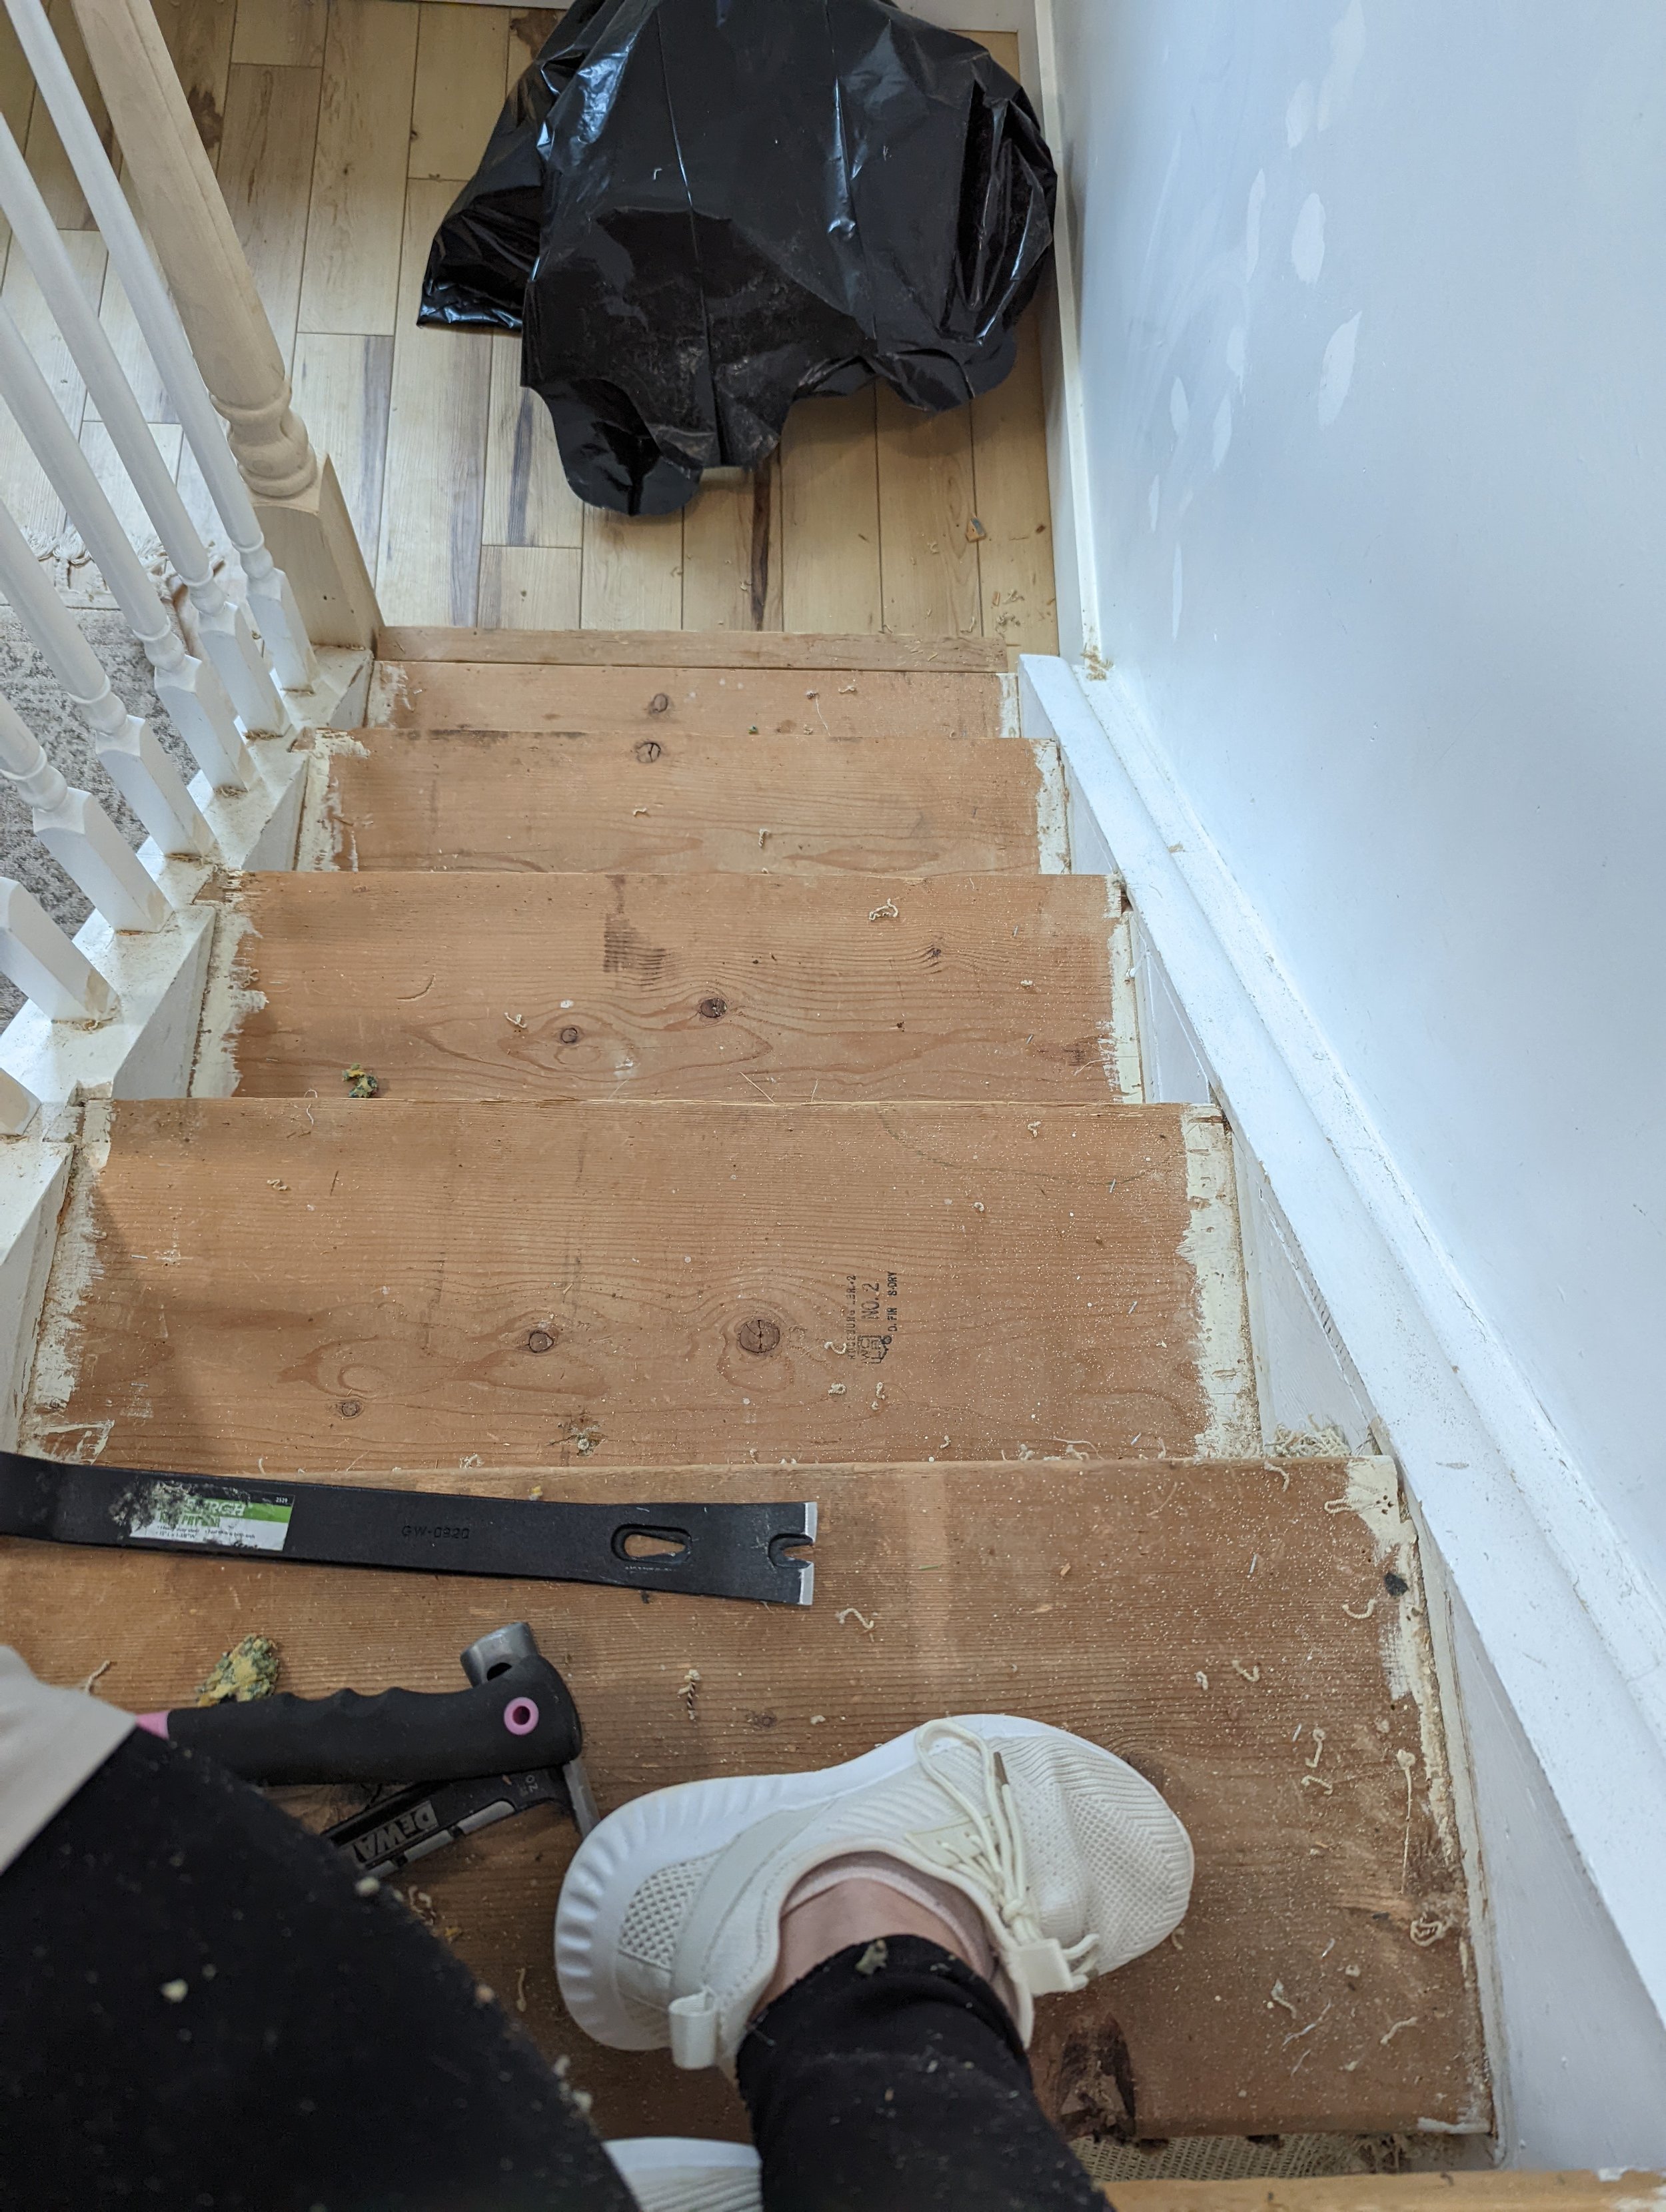
After hours and hours…and hours of pulling and prying I started to see progress! I think I gave myself carpal tunnel from non-stop painting the entire house when we moved in. Now whenever I do a project that requires my grip on a brush or tool it spikes up and makes it hard to finish.
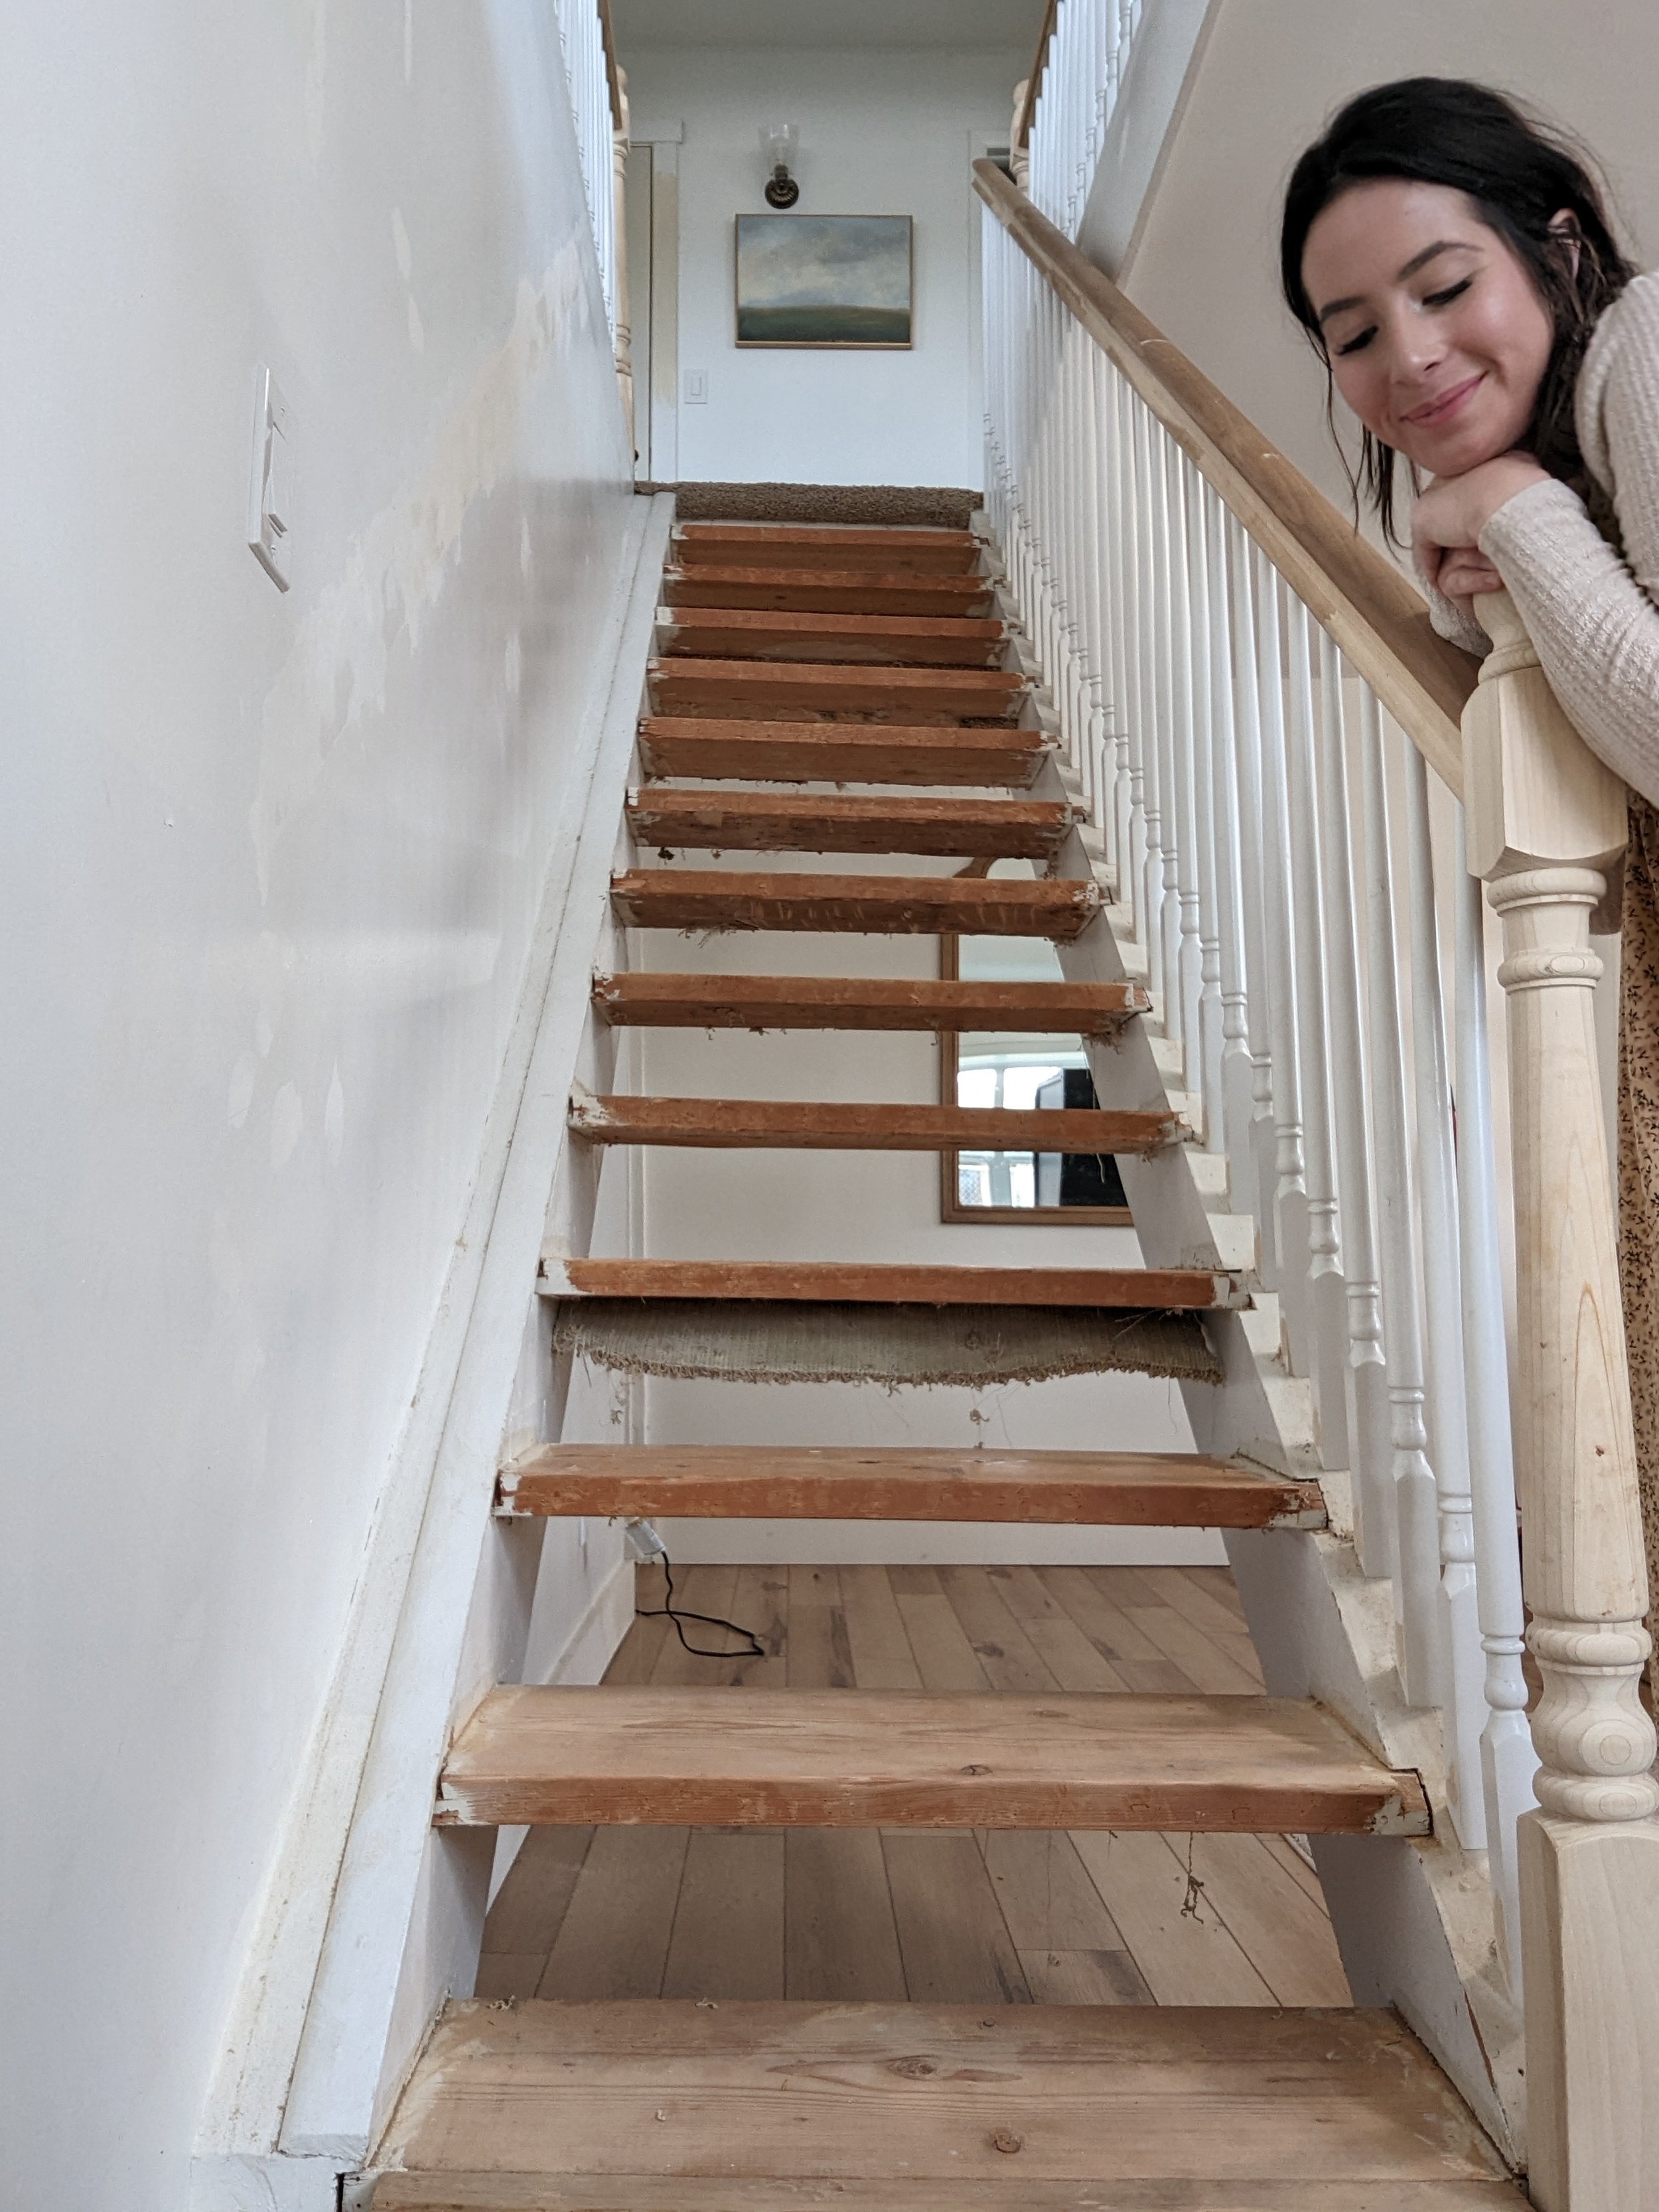
This is the face of pure joy! Seriously so excited to have all the carpet gone with this gorgeous naturally aged wood exposed and have its time to shine! This is really when I started being able to see my vision come to life!

This is the wood that is currently the steps just thicker. We decided the backs didn’t need to match the thickness and went ahead with 3 pieces of 2x8’s that were $22 and one piece of 1x8x6 that was $17.
Okay sooo how do you match 50 year old wood to the brand new wood you just bought at the store?! Go see my full EASIEST AGED WOOD STAIN post for step by step! In a nut shell, I knew buying different shades of stain with certain undertones would stress me out so I decided to go the DIY route!
I read soaking Steel Wool in Vinegar for 12 hours-a week would create a gorgeous stain but I never have the patience for stuff like that so I just created my own version.

The steel wool I guess disolves into the vinegar and helps create the stain. This is what mine looked like overnight. I grabbed two colors of dirt from my yard one more red and one brown.

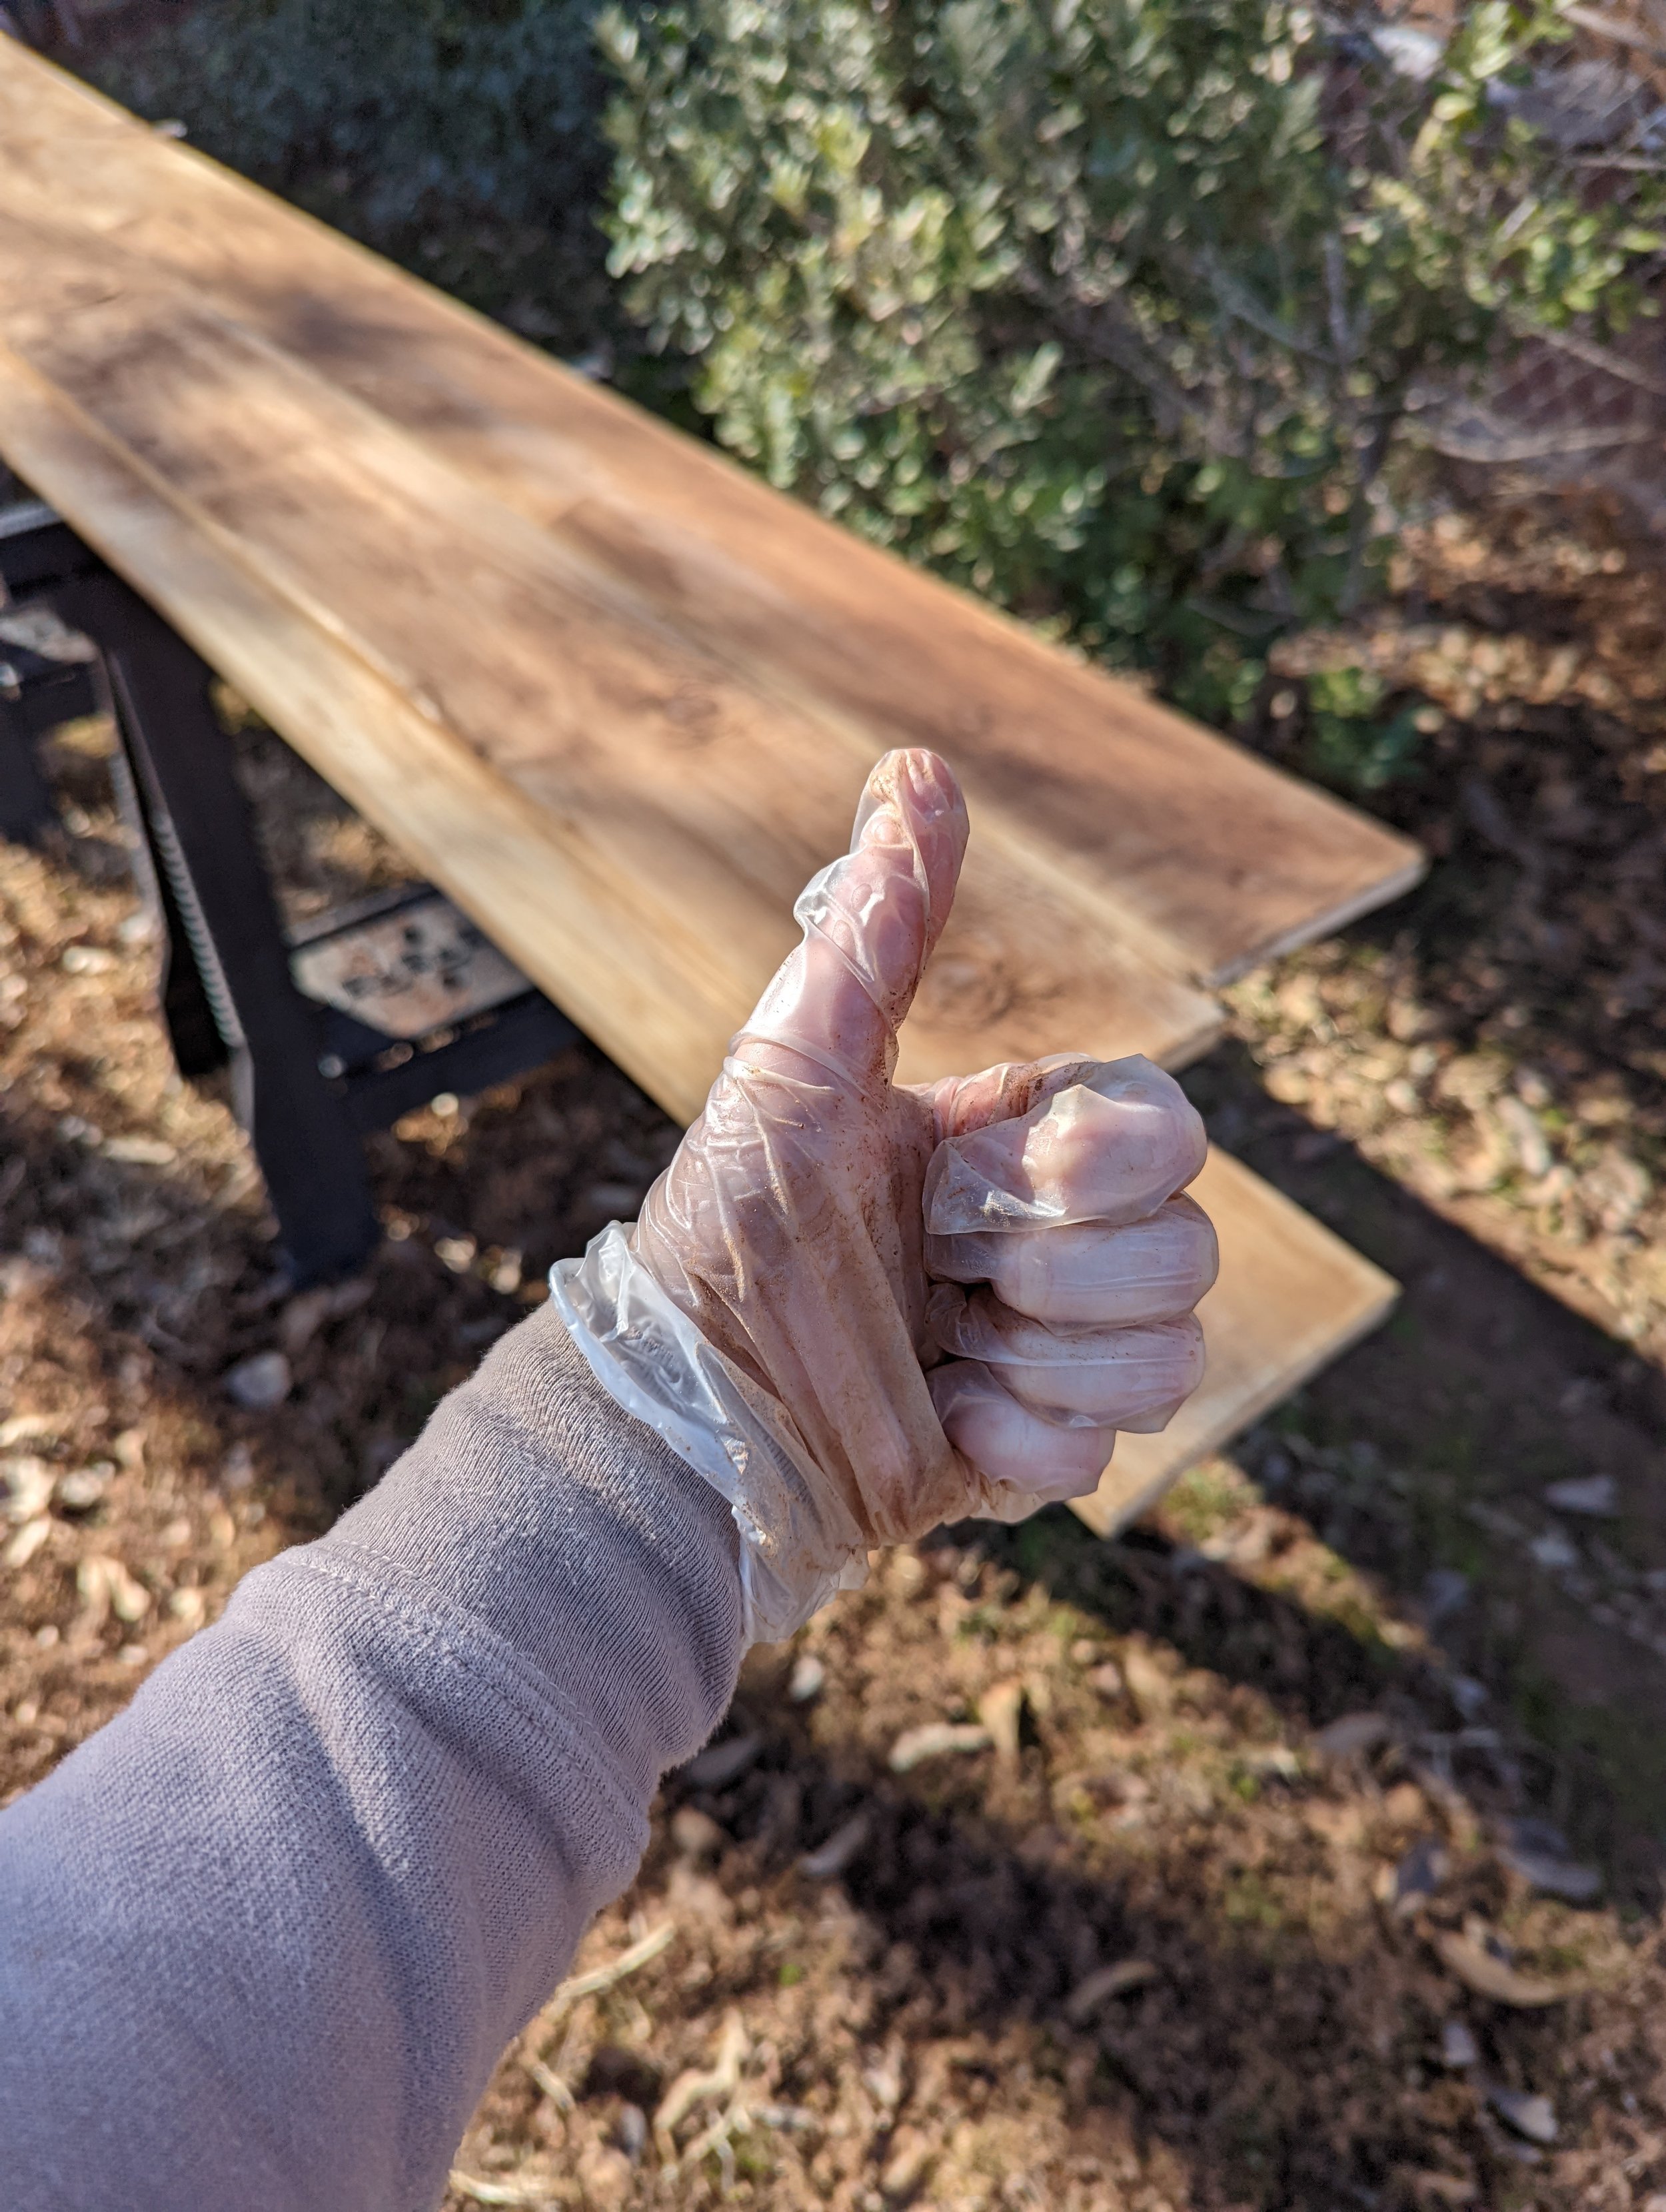
I know this is crazyyy but just rubbing apple cider vinegar and then dirt on the wood gave it this perfect stain! This was a test piece where I compared the red, brown, and natural wood to our stairs and I was pleasantly surprised to see how well the brown stain matched!

Aaaand now we have beautifully aged wood in just a few minutes! Seriously jumping for joy at this point and also wondering how crazy I am haha
Let’s cut and install, yeah?? I have to show Dallin’s set up since he got his new miter saw with a stand so and was actually excited to cut wood this time haha

Each step is 29” wide and we have 13 steps so we needed just over 31ft of wood!

In goes the first piece and I am jumping for joy! This piece of wood was still drying from the vinegar which is why it has different shades in the picture.

Wait….Can we just appreciate how SPOT ON this wood stain is?! I mean its
I D E N T I C A L and there’s no filter on the pictures to show the true colors.

To install we used gorilla wood glue and screwed three wood screws into each step: One on each side and one in the middle.

ALL DONE! I couldn’t be happier with how the stain and wood turned out and know it’ll keep getting better! I plan on doing a runner and staining or painting the railing!
Drop any questions below and thanks for reading!
xoxo
