
DIY Spooky Tombstones
I’ve been excited to try this DIY since I feel like there aren’t very many tutorials out there on this! Halloween decorations are getting more expensive and are somehow getting worse quality and I wanted to make something that I could use every year. I thought a personal little graveyard would be a spooky thing that could also be super cute!

Here’s my full video that shows the whole process!
I first tried doing this with cardboard and it really didn’t work so well. Painting all of the cardboard made it warp and get kind of soggy. I found one other tutorial and learned a lot from what they did but also did some things of my own! I ended up using foam insulation board for the headstones which was super easy but messy and totally affordable! Since we’re throwing a Halloween party in a couple weeks I wanted to up the game on our decorations!
I think next year I’ll make another batch to add to it and have an assortment of headstones for our spooky graveyard!
MATERIALS:
Grey Paint- I used “Agreeable Grey”
Black Paint- I used “Black” by Behr with no undertones in Exterior paint
Optional: Green craft Paint
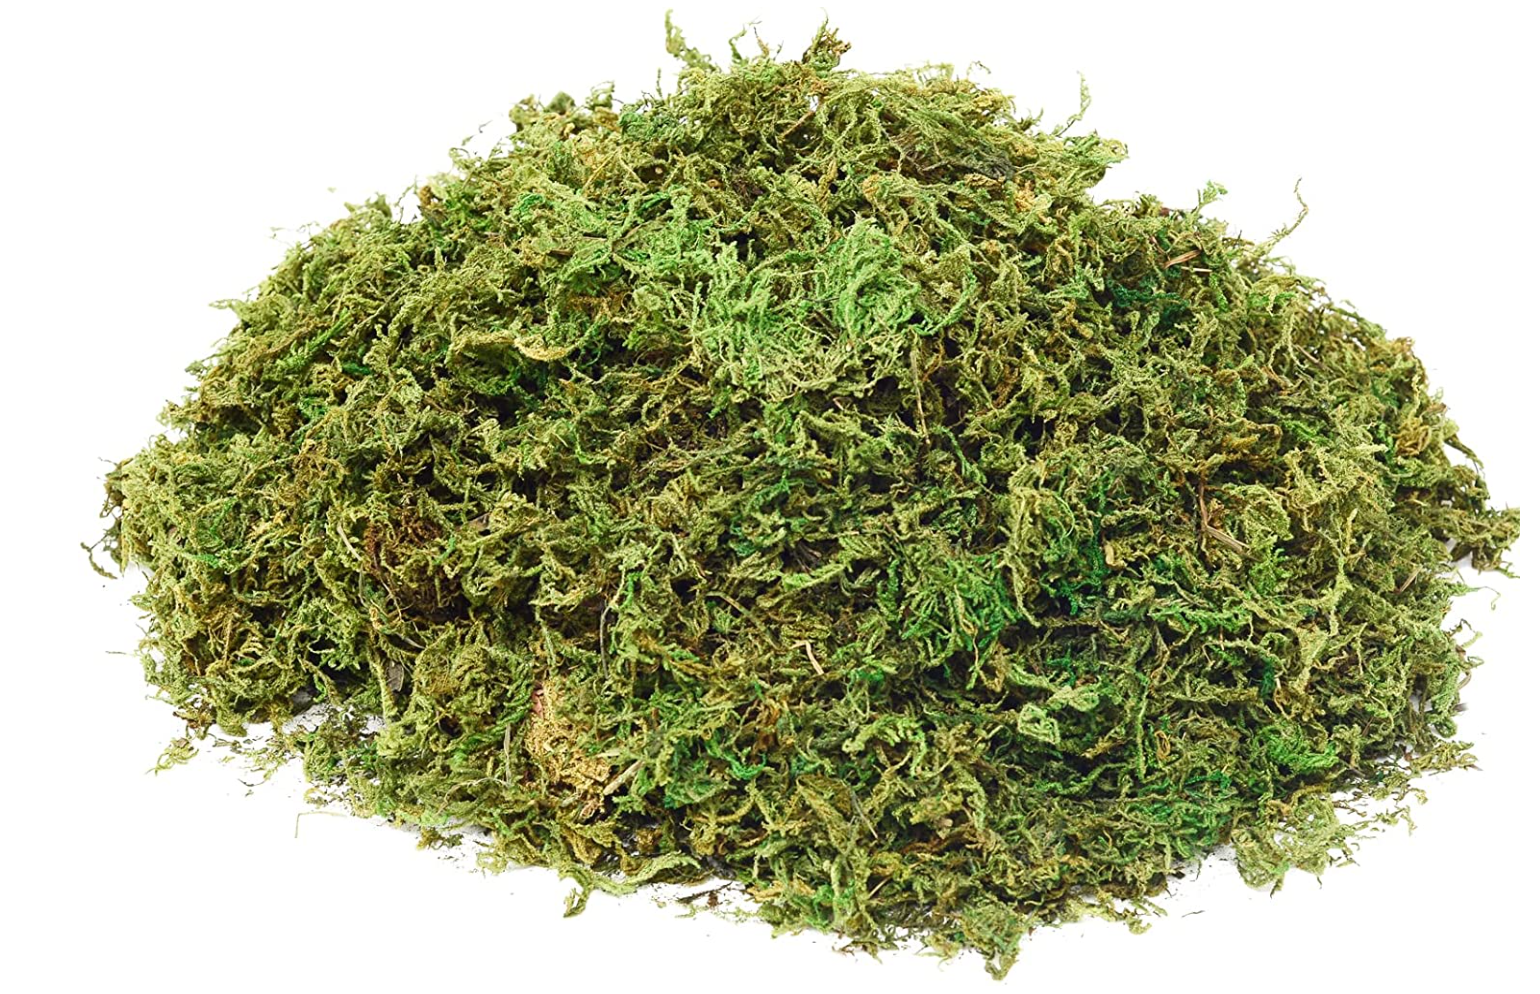
Optional: Dried Moss
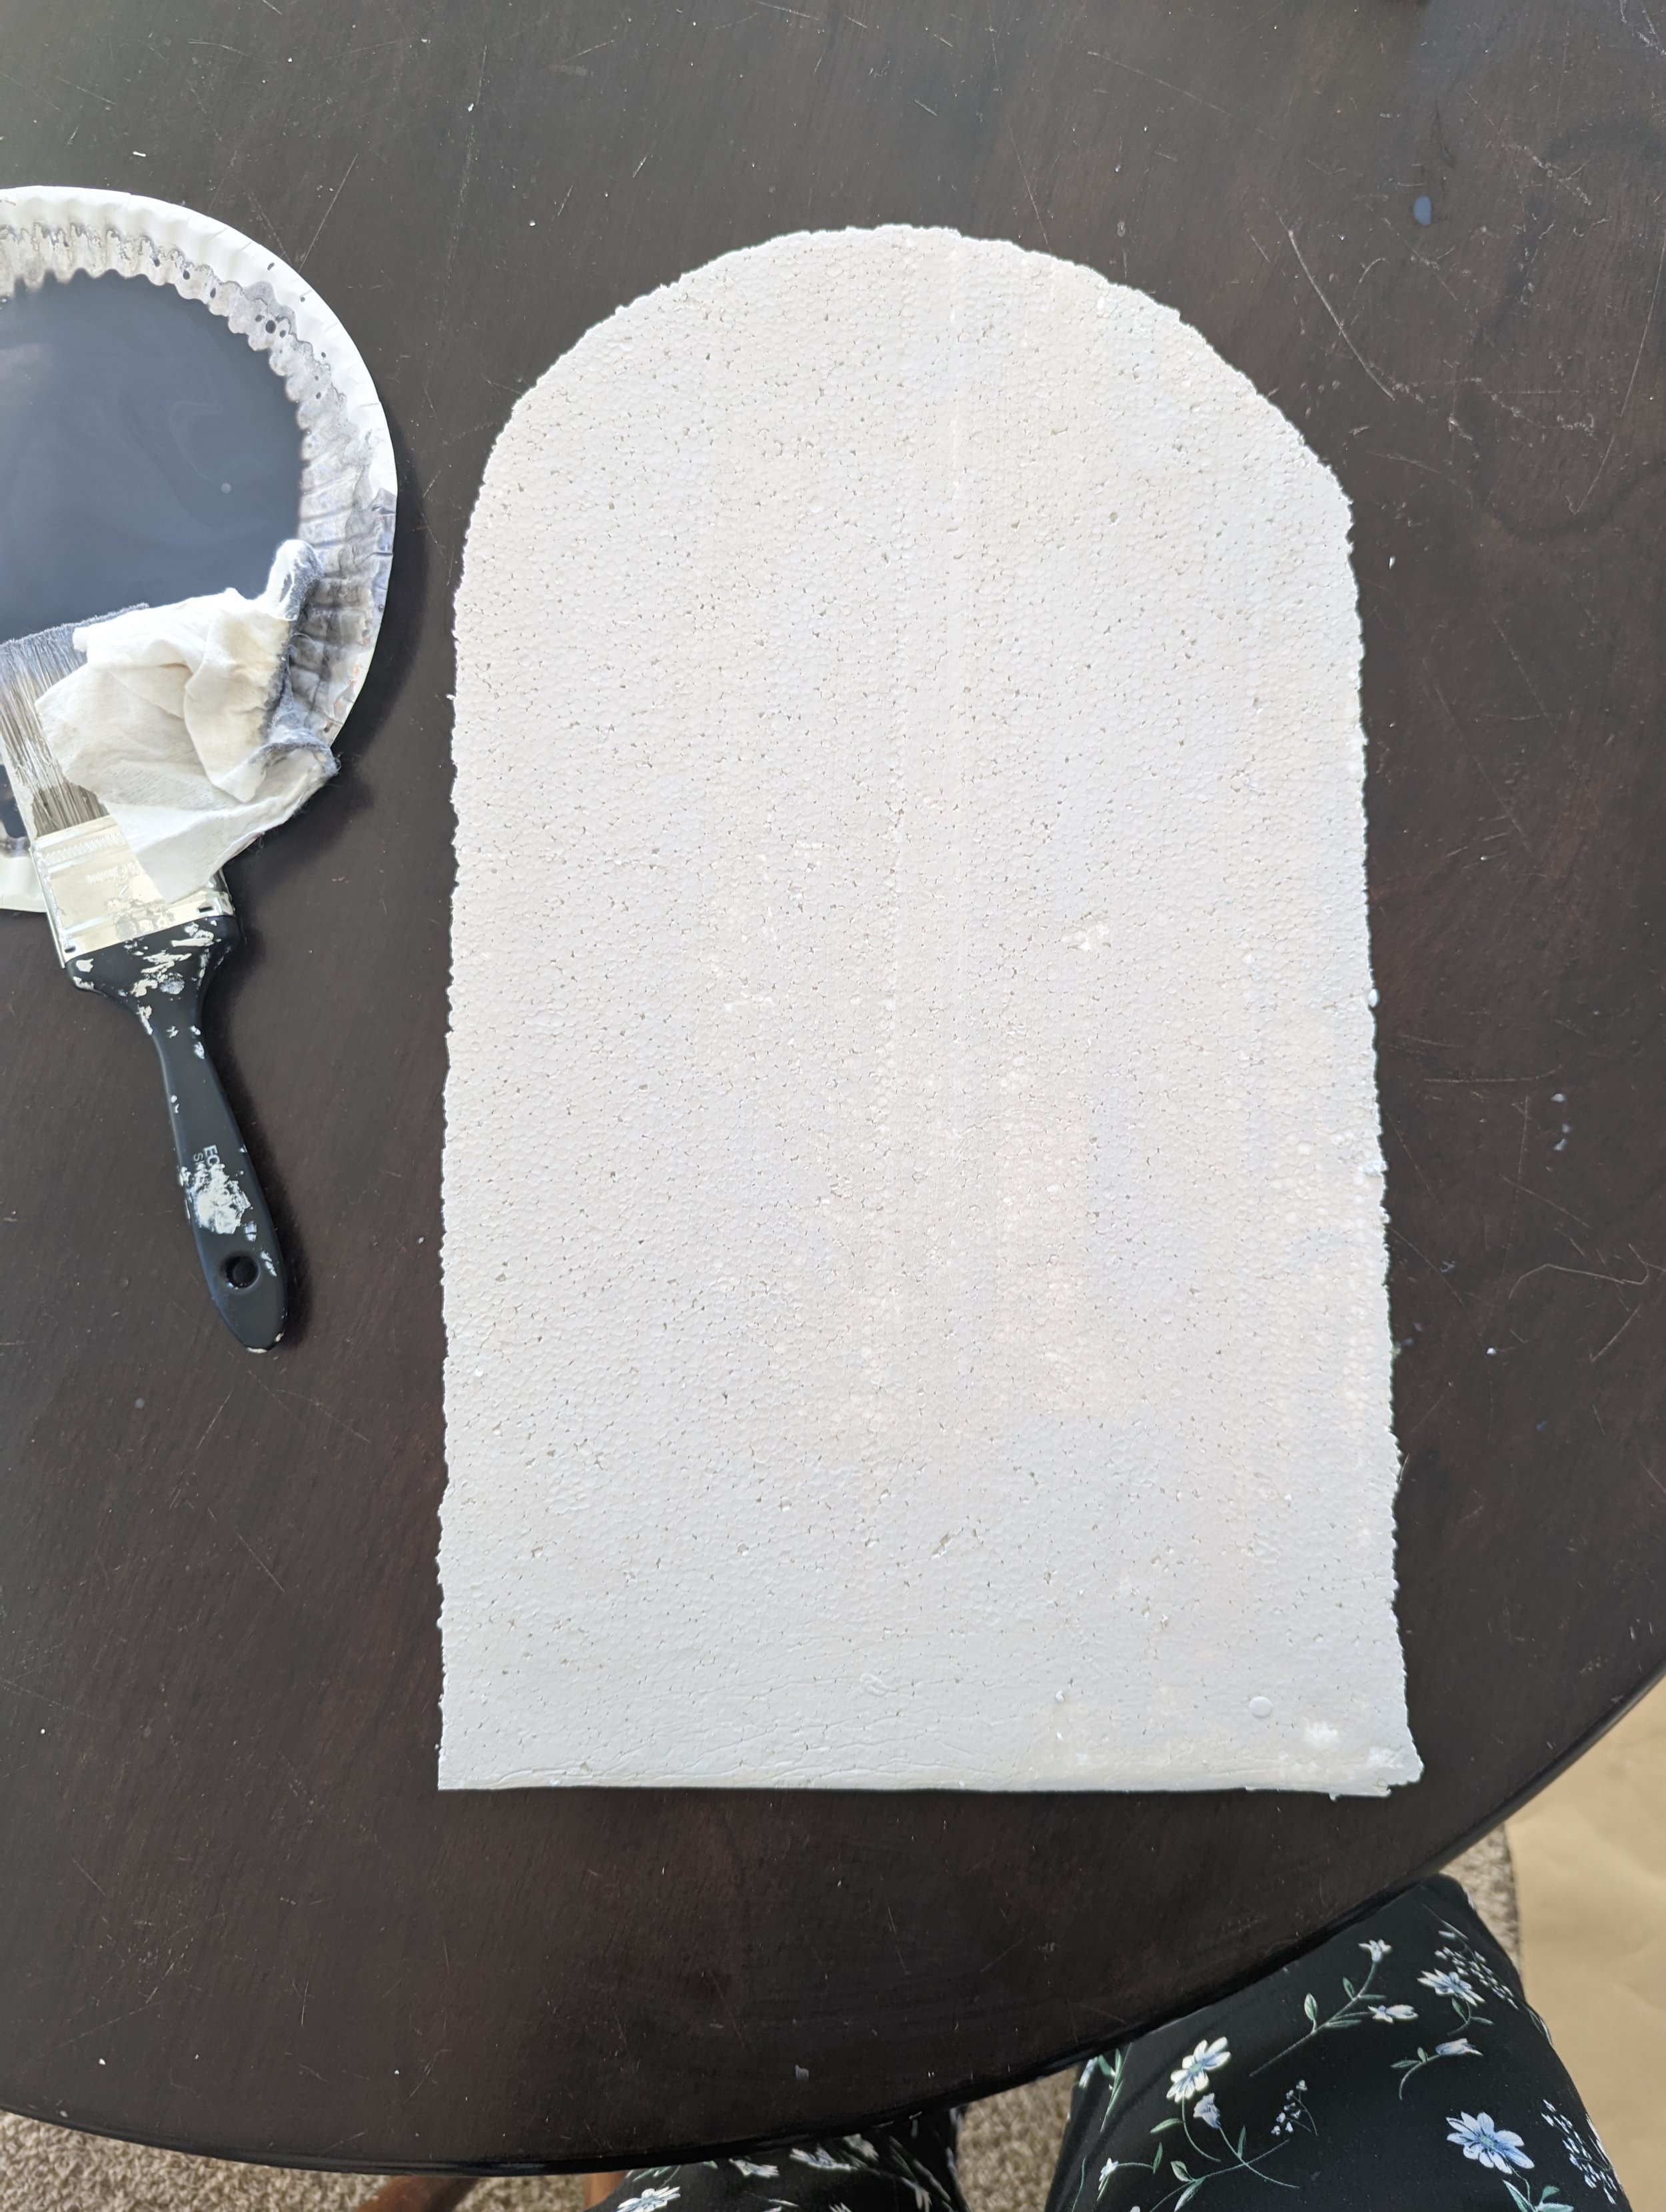
Step 1: Get your foam insulation board! I got mine from Home Depot and they come in different thicknesses I got mine in 1”. The board is lightweight and has a film on both sides that you’ll be peeling off. The insulation is $10 and I made 8 headstones. I probably could’ve even made a couple more out of it.

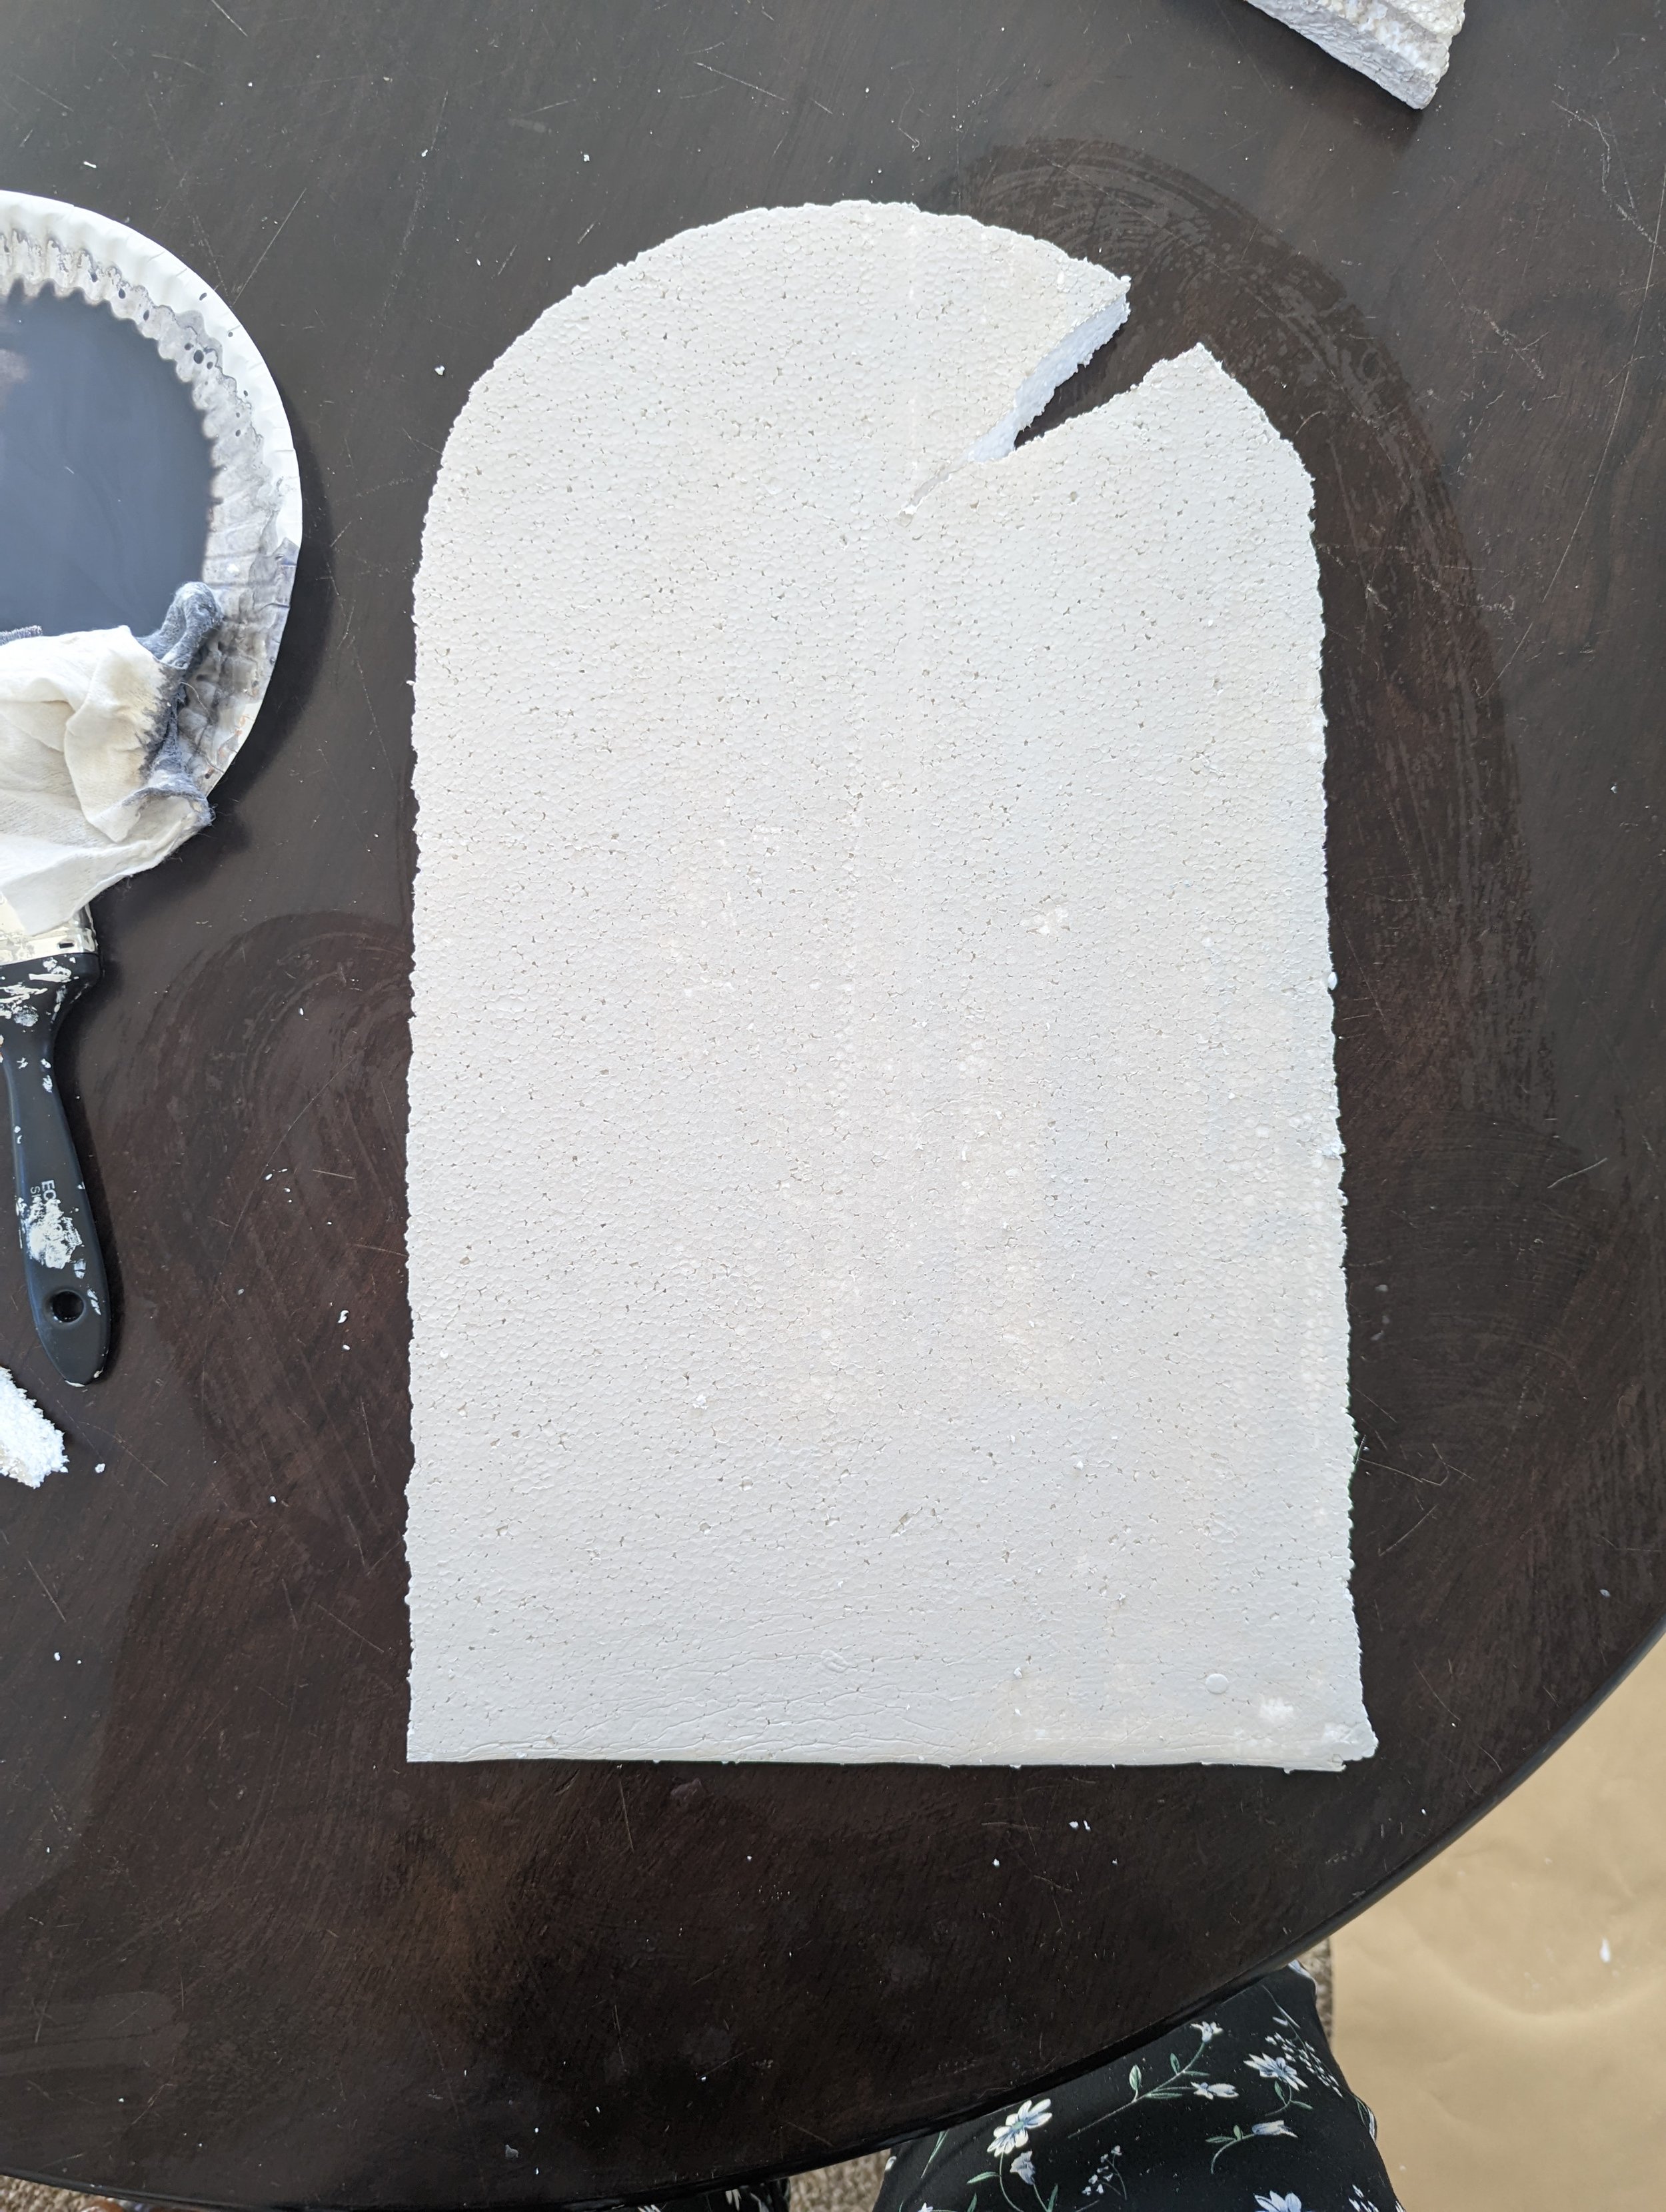
Step 2: Look up different Tombstone shapes to trace outlines on the foam board. I used a drywall knife to cut out the shapes. I had a razor blade but the serated edge worked much better with the foam. *WARNING* This project is super messy and now my balcony and upstairs are covered in foam remnants haha

Step 3: Paint your tombstones grey and allow time to dry. Then take your black and go over while brushing in different directions for a more natural imperfect look. When adding the black you can do as much or little as you want and if your foam has any dents or imperfections that adds to the character. You can carve cracks and chunks out of the foam for an aged look.
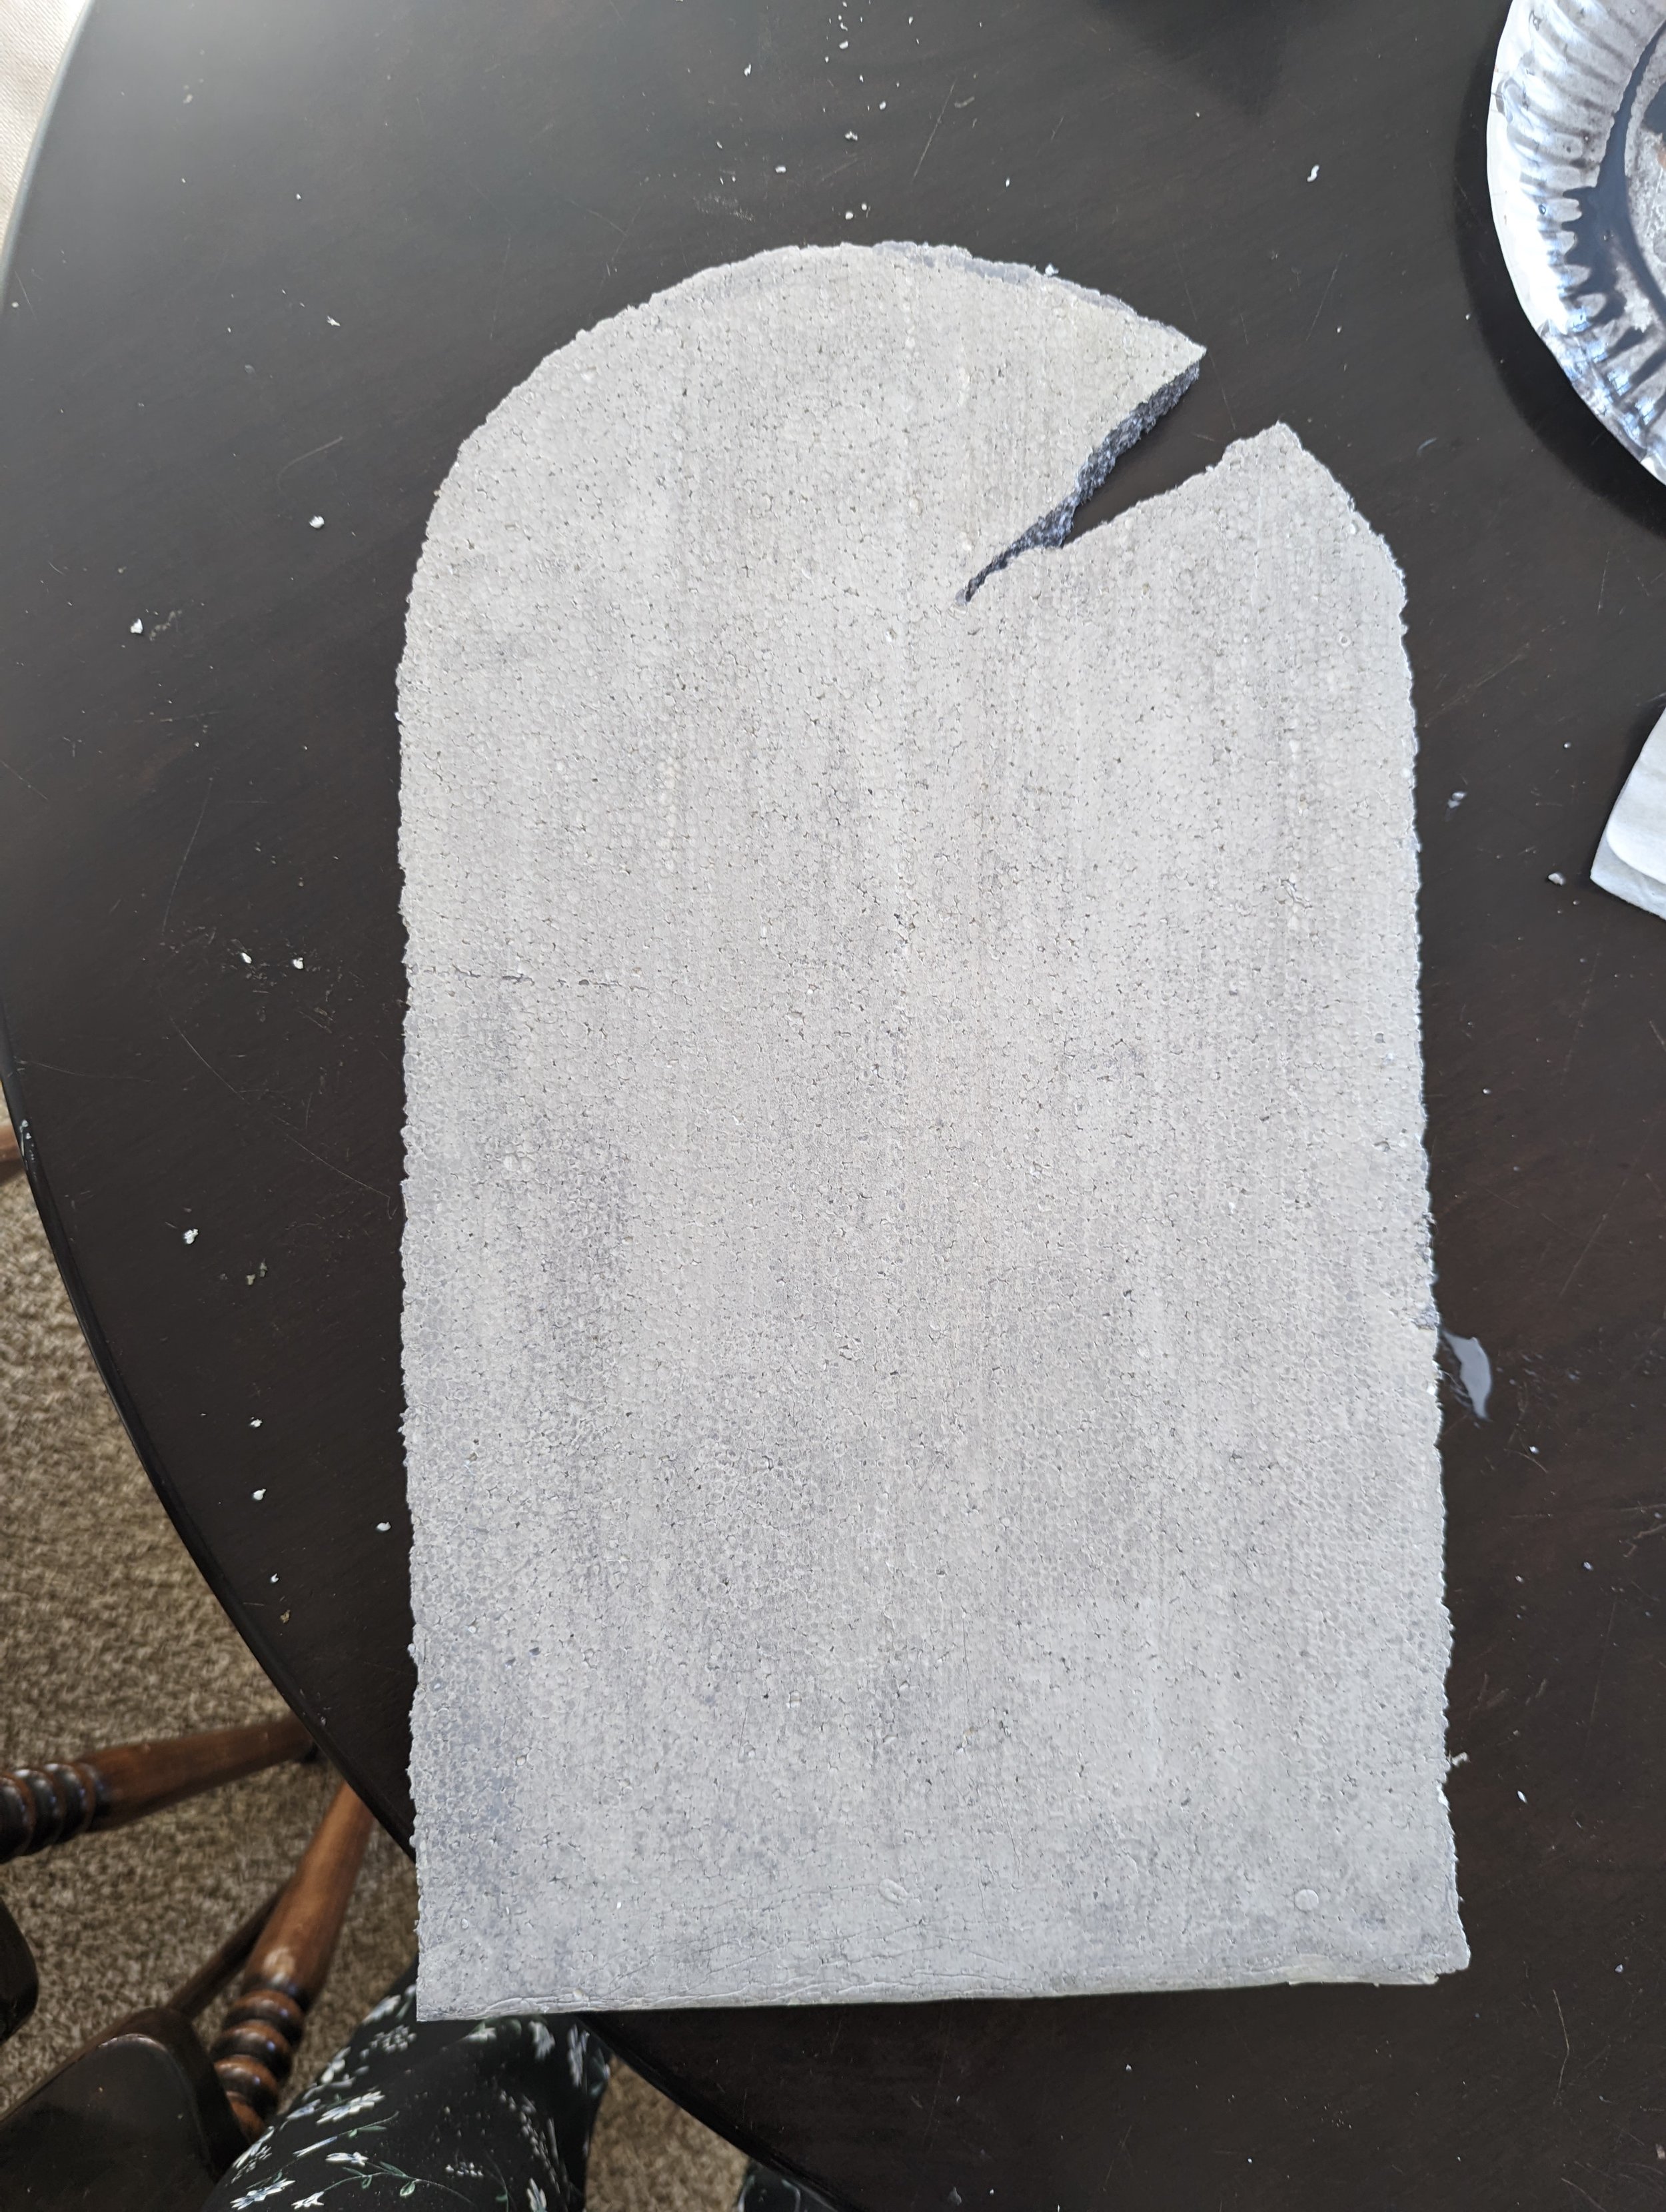
Honestly, my shapes look pretty rough and not perfect or symmetrical by any means so just know it doesn’t need to intimidate you!

The realistic look is all in the shadowing and using the black paint to contour and add character. I watered mine down a bit, start at the bottom and brushed upwards. Then, I took a baby wipe and blended it in. Wearing disposable gloves is helpful and something I didn’t do at first so I ended up with gnarly looking hands.

If you want any of your headstones to have a pedestal bottom that’s when you’ll use your caulk gun and loctite that is meant for gluing foam to attach layers.

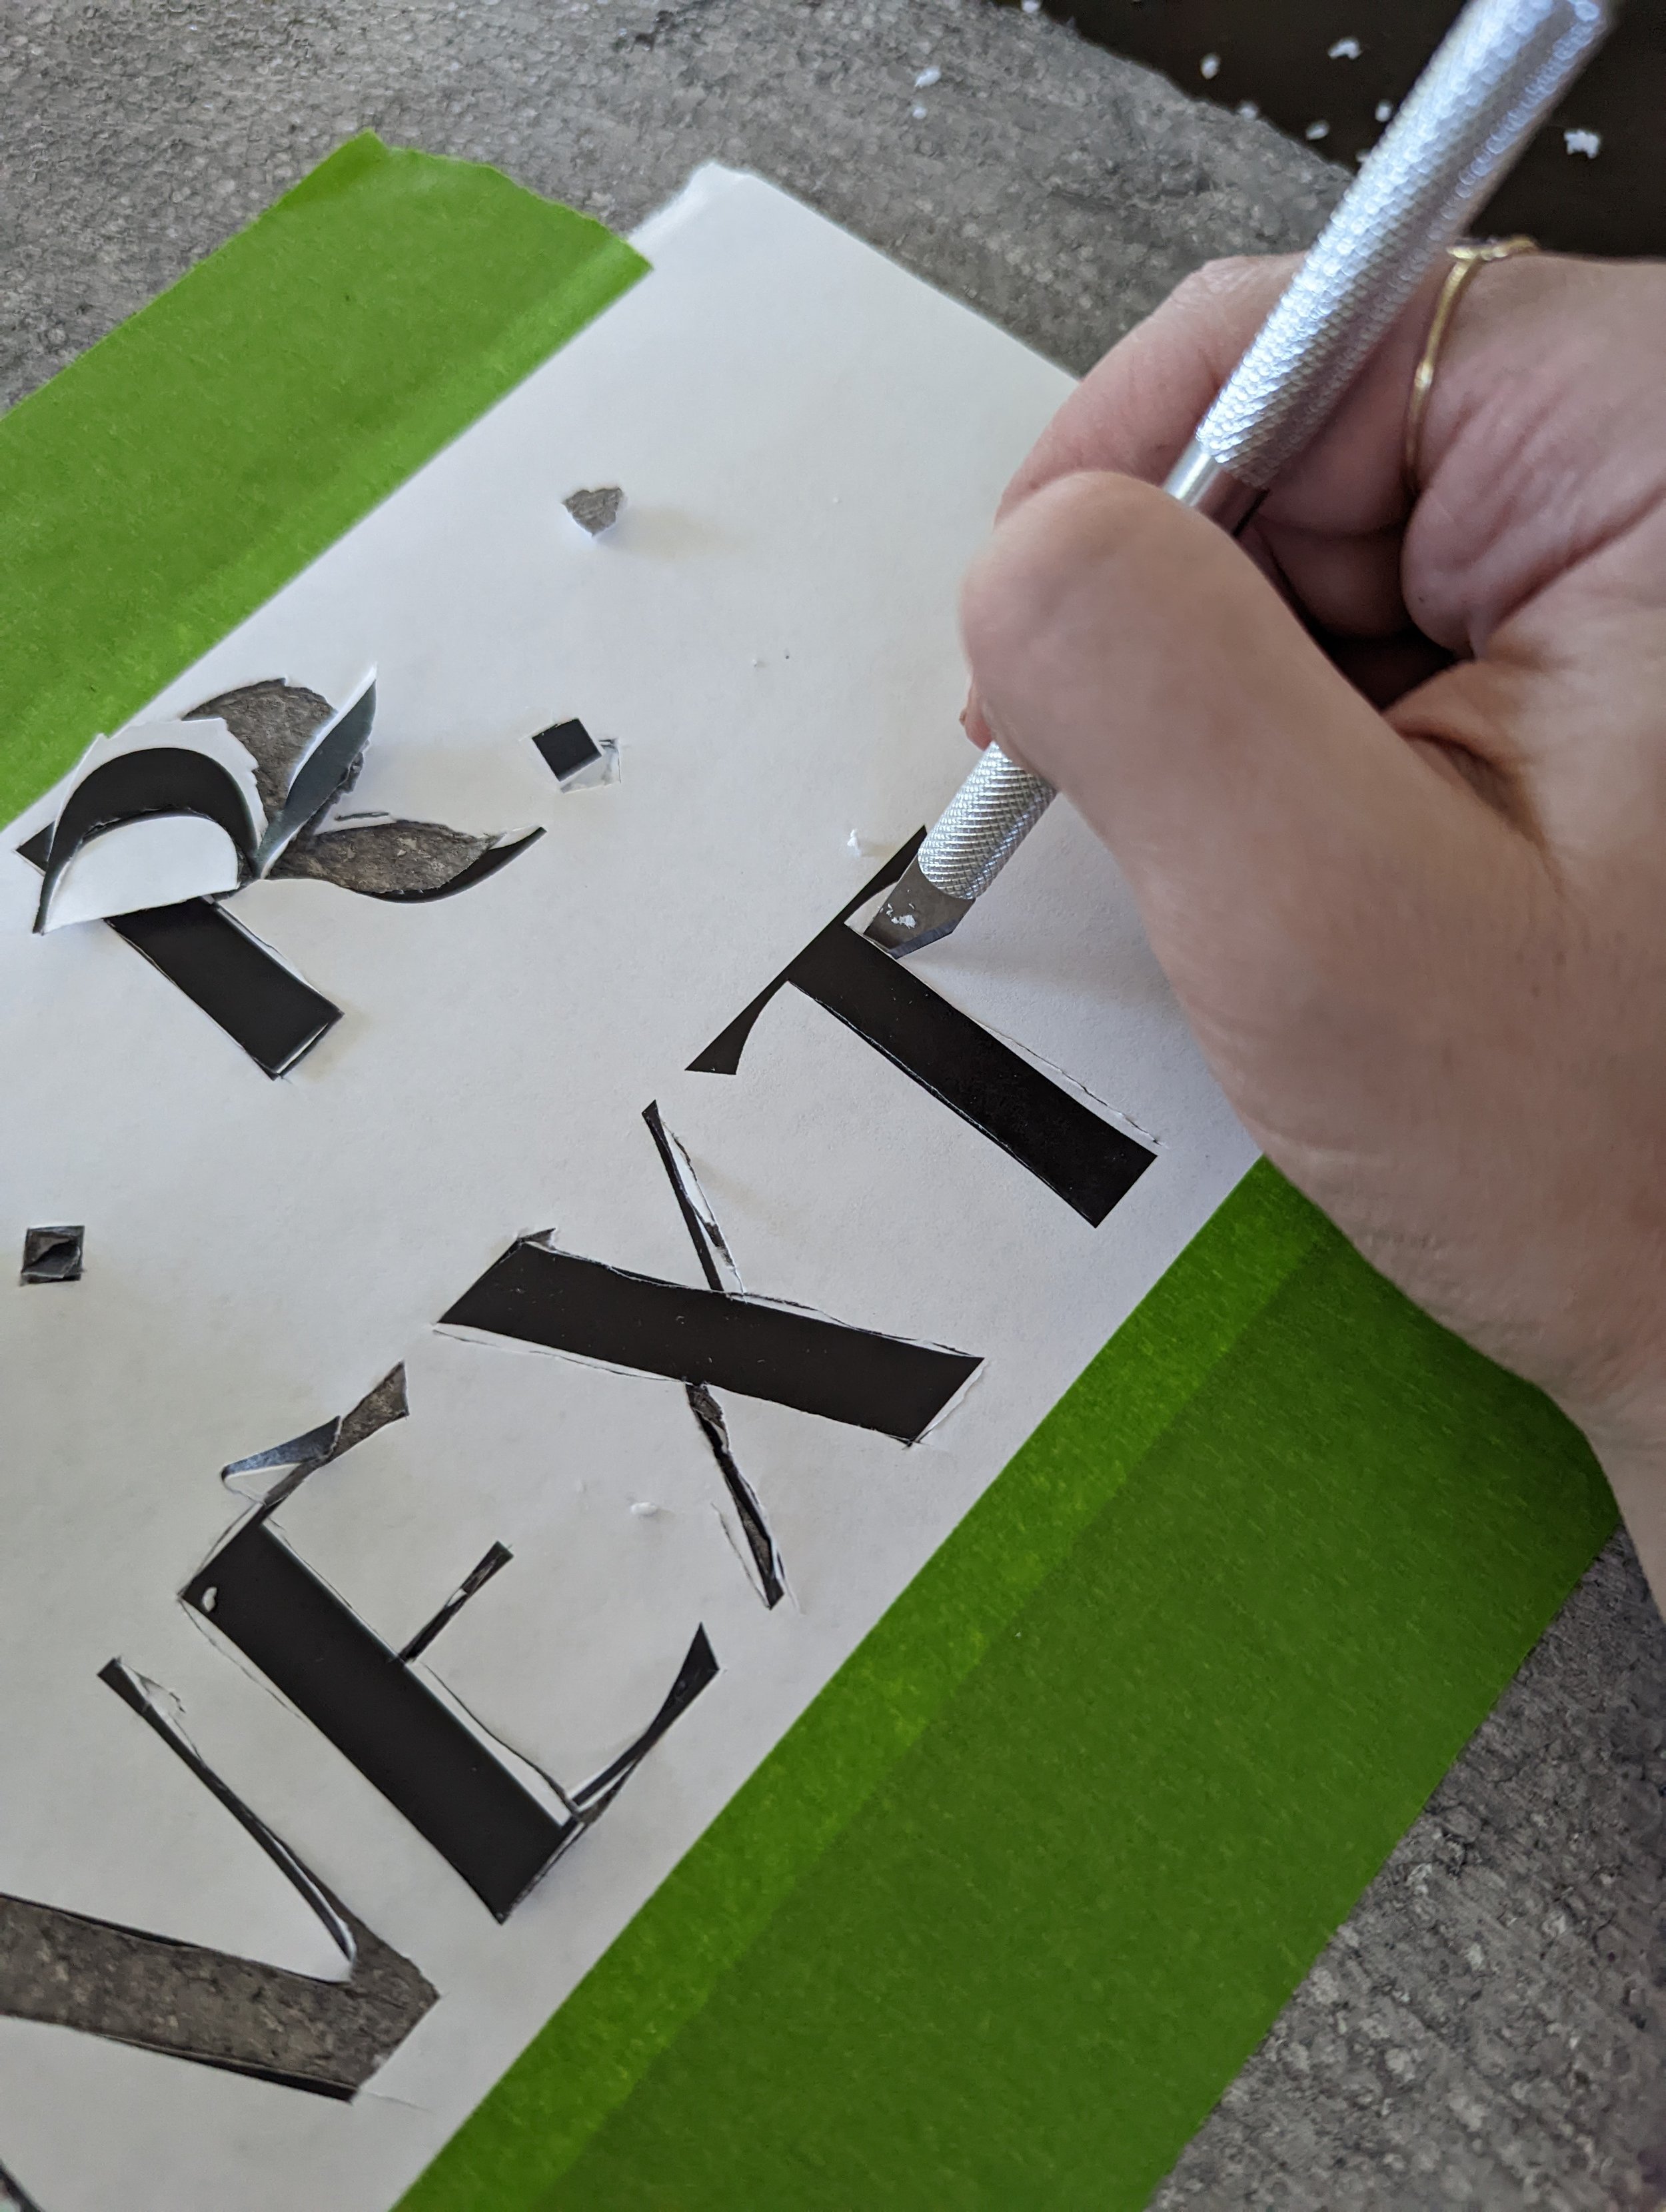
Step 4: Print out your headstone “Names” and print. I use Canva and love all the font options available. Some of the names I used were “Anita Shovel”, “Dee Parted”, Izzy Deadyet”, and “Myra Mains” haha I had fun showing the name to Dallin and hearing him say it out loud before it clicked and he chuckled.

I used all different fonts not just the same one and varied the sizing also. I used painters tape to tape them where I wanted and then used the exacto knife to trace around the lettering. Going at a 45 degree angle helps to lift the foam out better but that was tricky so I just carved normal and kind of picked out the foam with the end of the exacto knife. I think this is by far the most tedious part. I wrote in sharpie on one headstone and that one doesn’t look nearly as realistic as the carved titles. Also, I looked at other examples and some had black lettering and some had white. I did a mixture of both and would say the lighter the headstone it’s good to do black lettering and the darker the headstone the white will pop more.
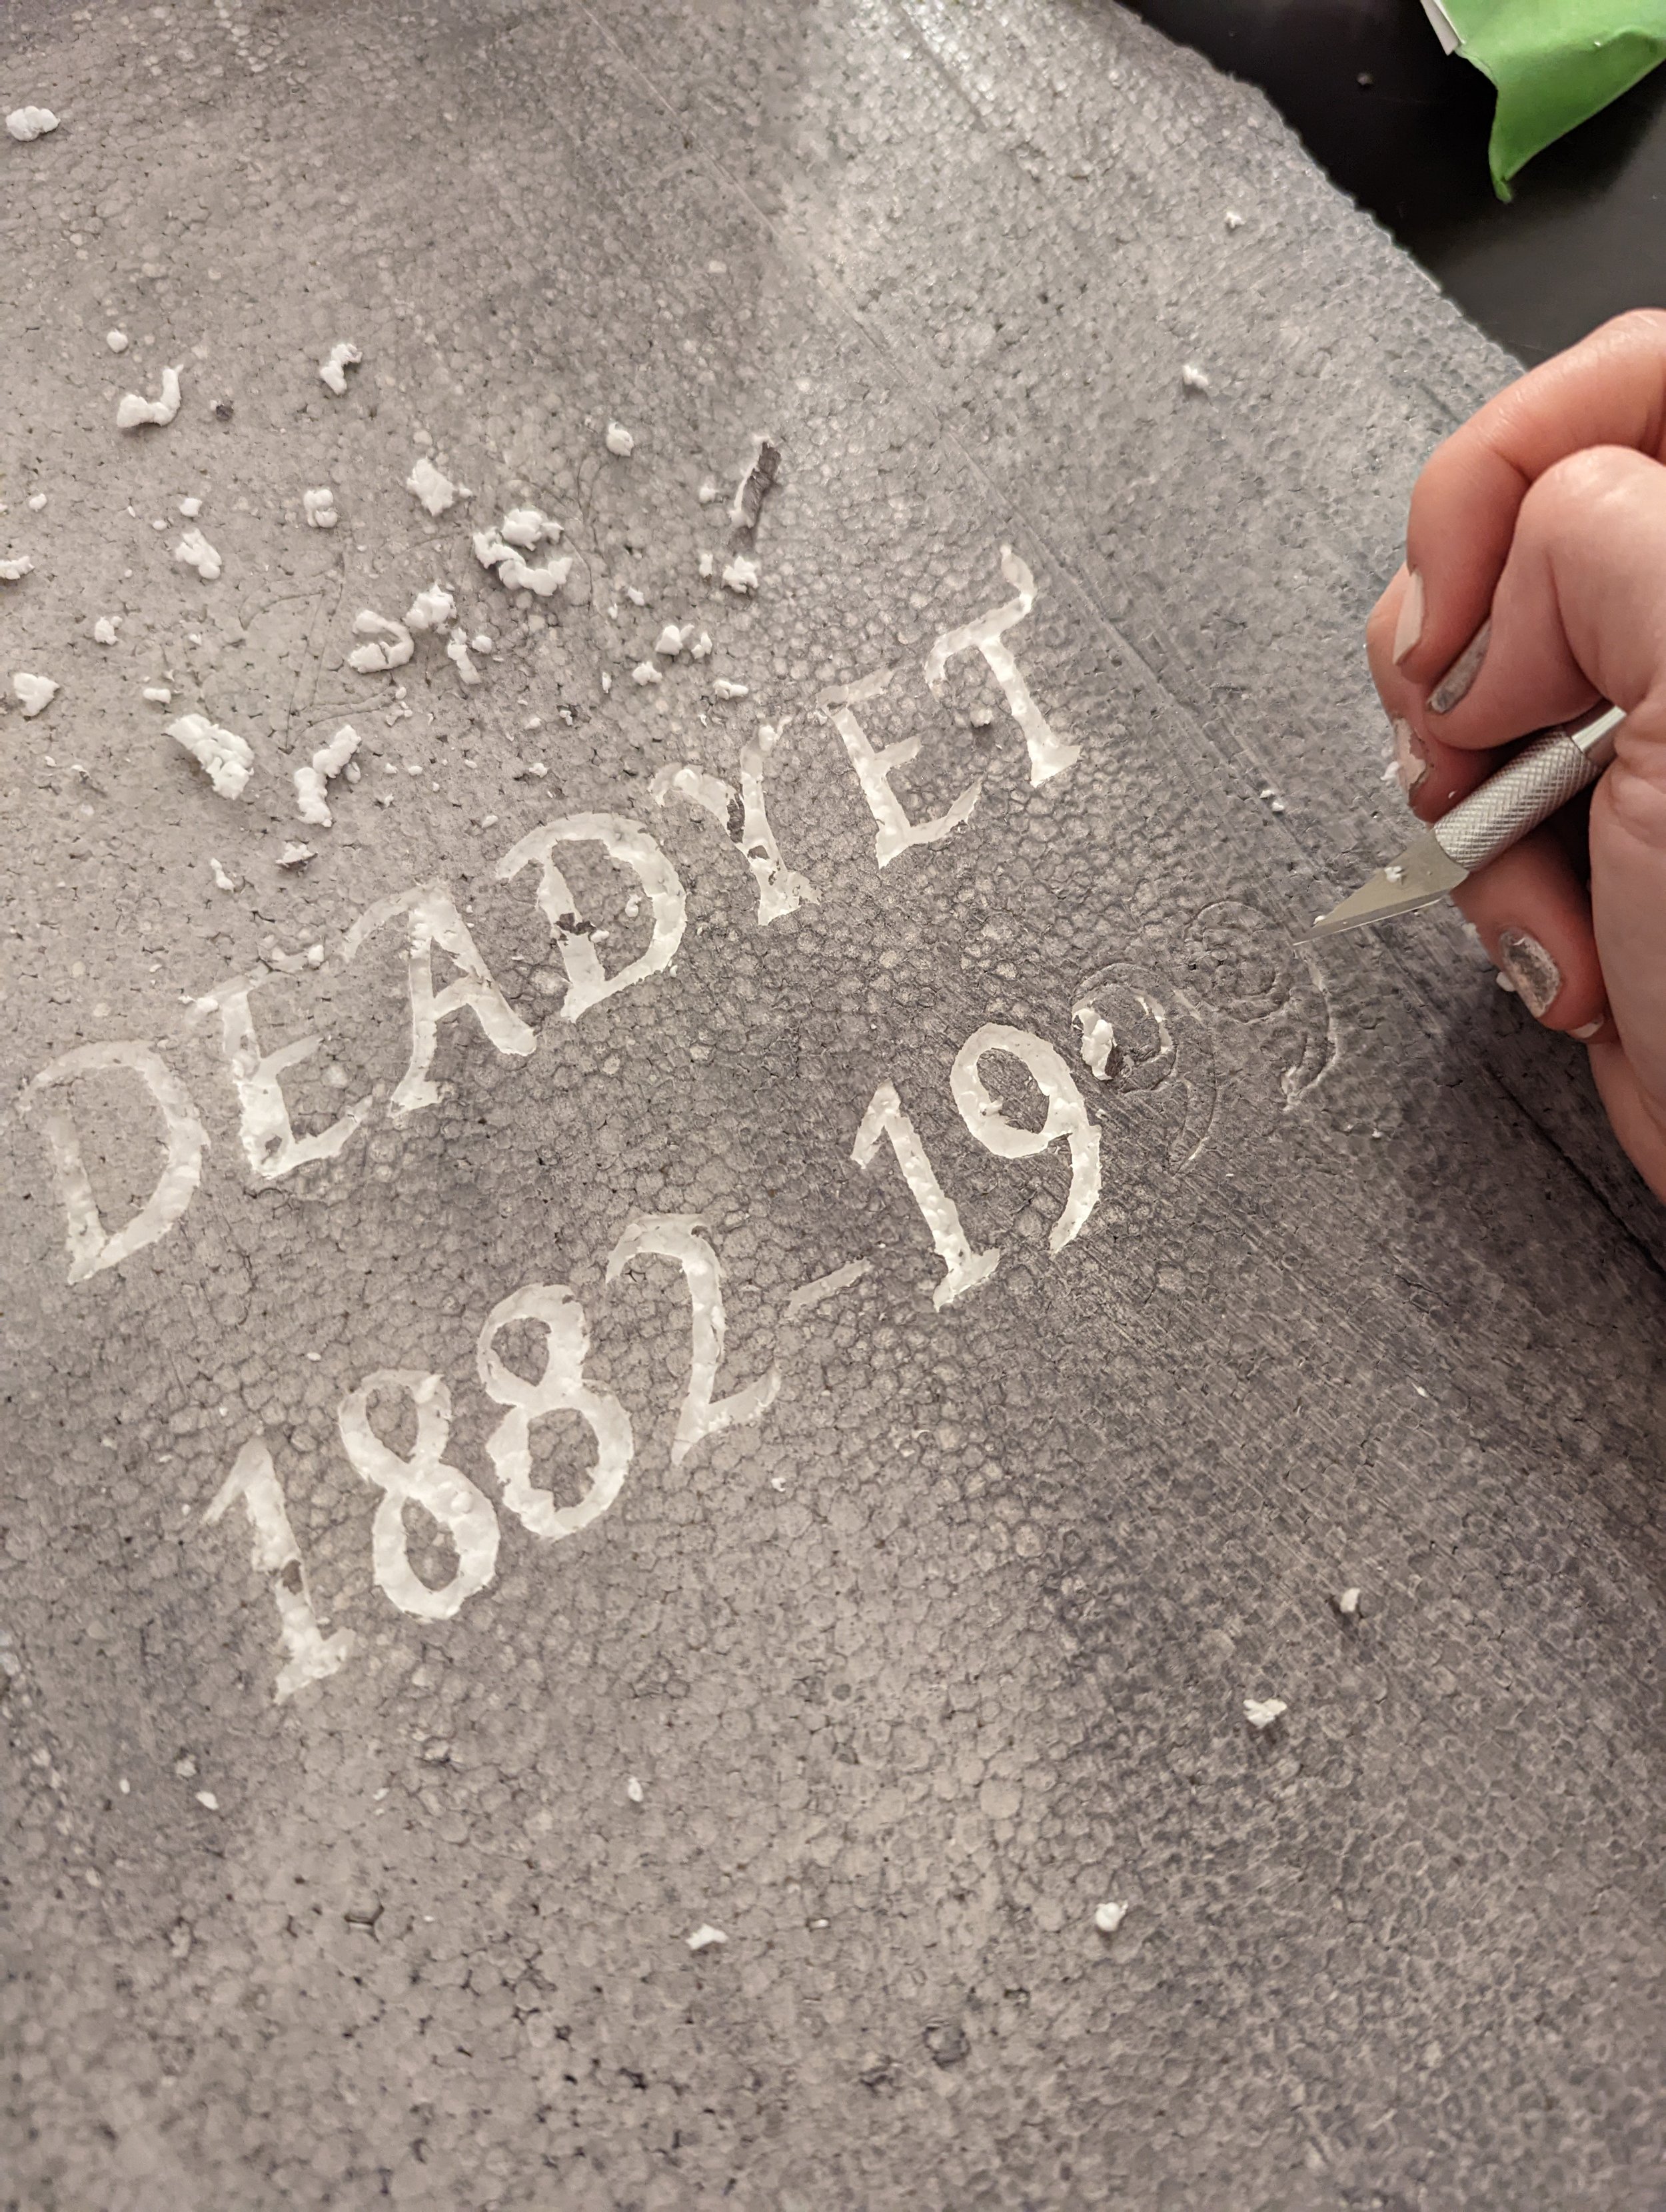
Step 5: Now, after spending all this time on these decorations you’ll want to make sure they can stay in the ground an not fly away or get trampled on. I found the best way to keep them upright is to take your exacto knife and twist a hole in the bottom and push as much as you can while twisting.

Next, get a dowel rod and insert it in to the hole of the headtone and measure how much dowel rod you’d like to be in the ground. I think I did about 5” in the headstone and 5” or 6” in the ground. I used a large screwdriver to poke a hole in the ground and poke the dowl rod into.


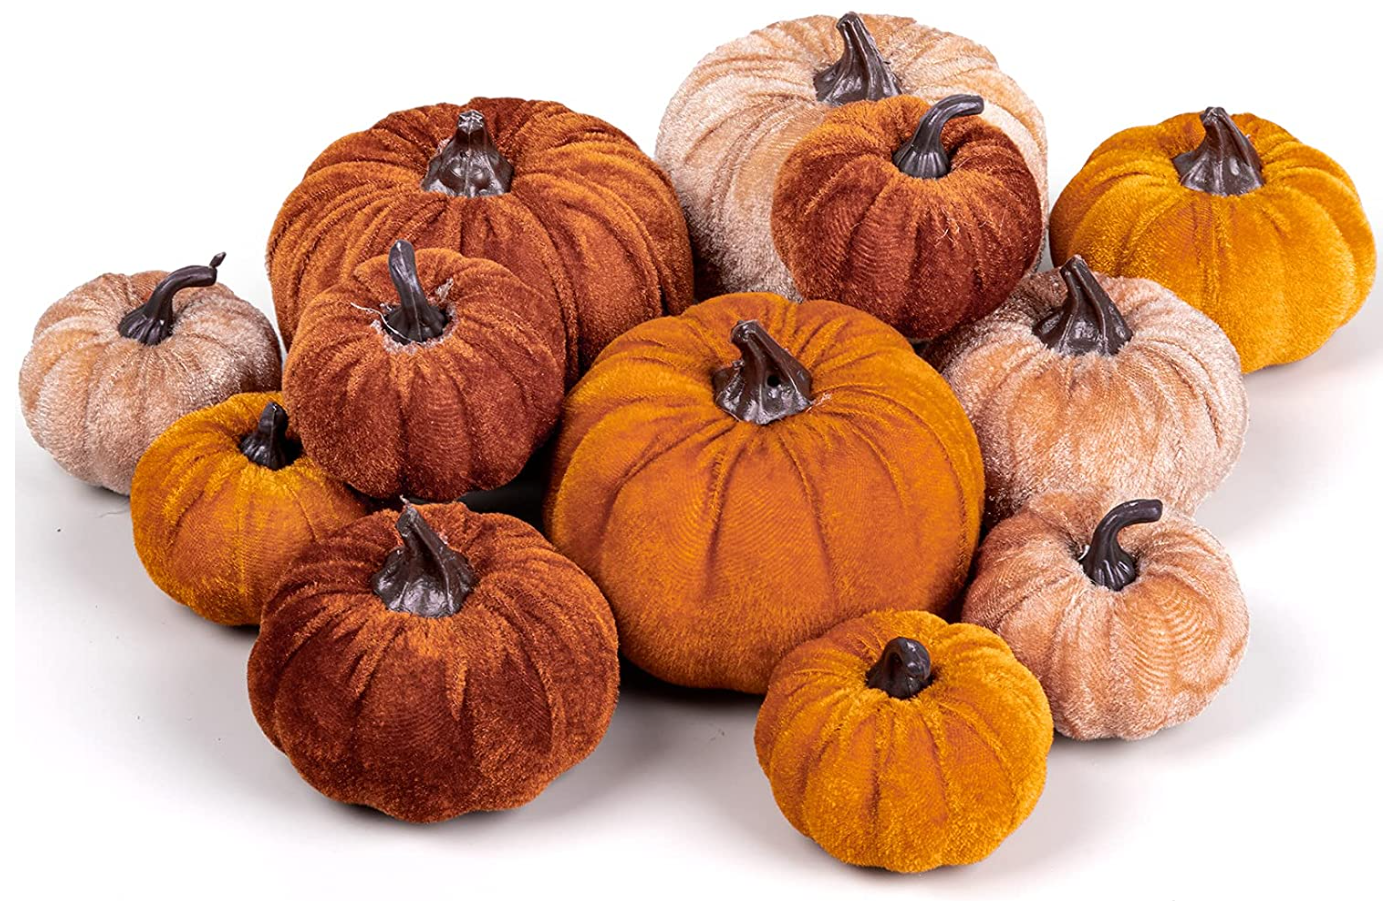
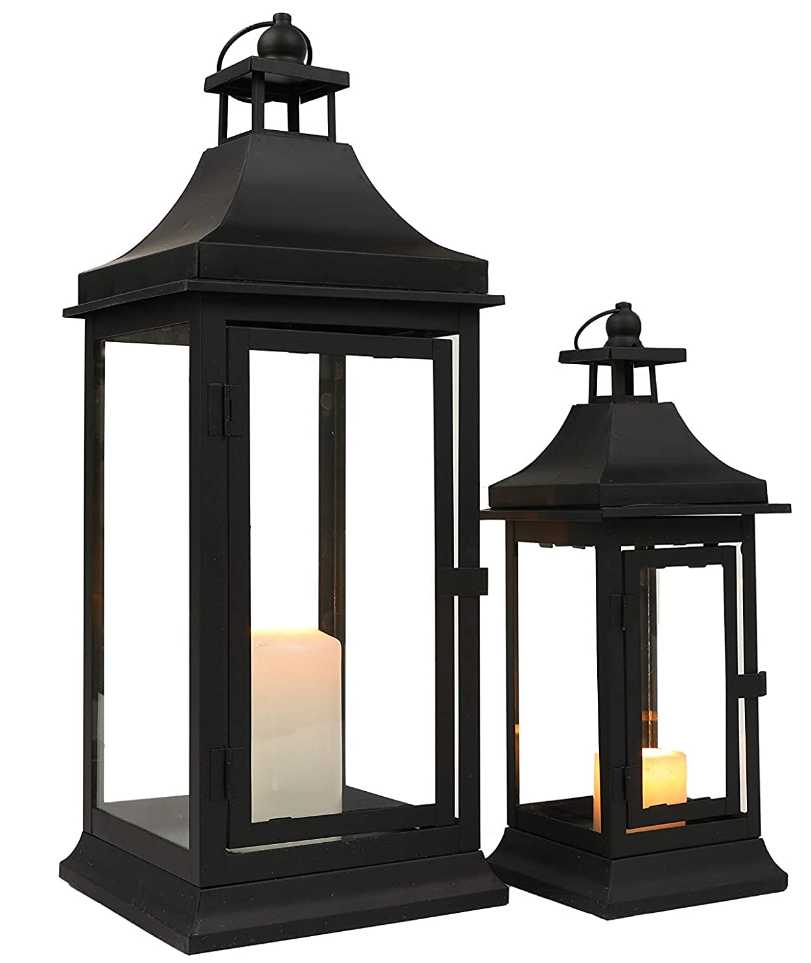
Step 6: Add any green paint, moss, and pumpkins, and whatever else to your graveyard as you style! I added some pumpkins, a candelabra, battery flicker candles, and a lantern!
I love this little spooky corner of our yard that can most easily be seen by the road! These turned out so good and I think I’ll just keep adding to them every year! I plan to store them in our attic to keep them out of the way but they aren’t heavy you can make them as big or small as you want!

Here are some items to add to your graveyard!


Thanks so much for reading!
xoxo,

