
Playground Pt. 2
Welcome to our playground part two!
If you missed part one, head here.
Here’s my Instagram reel that briefly goes over the whole process:
I share with you the cost breakdown and all the materials we used!
We left off with our tall platform basically finished with the roof on and the posts cemented! Now, we basically need to do everything again since both platforms are the same but just facing different directions. We’ve had so much rain that we had to press pause for a couple weeks but now we’re back at it!
First off, building the second roof.
We did it a lot faster this time and decided we really hate cutting metal haha We discovered that the grinder with the metal attachment worked best! We first used metal cutting shears and then our saw with metal blades but the metal roof would bounce and flail all over the place even with me holding it and clamping it down. Anyways, cutting the metal wasn’t fun but attaching it to the wood frame with metal screws was easy peasy!

Hey, it’s starting to look like a roof! I shared this in part one but I plan on painting the roofs a light green to go with our woodland theme.

Little miss fancy pants testing out the bridge and giving her face of sassy excitement haha

Dallin got home late one night and we only had a little bit of light left to cut a few pieces in prep for the morning. Also, hey look, there’s the bridge and the second platform! I dropped the ball on getting pics because we were trying to crank.

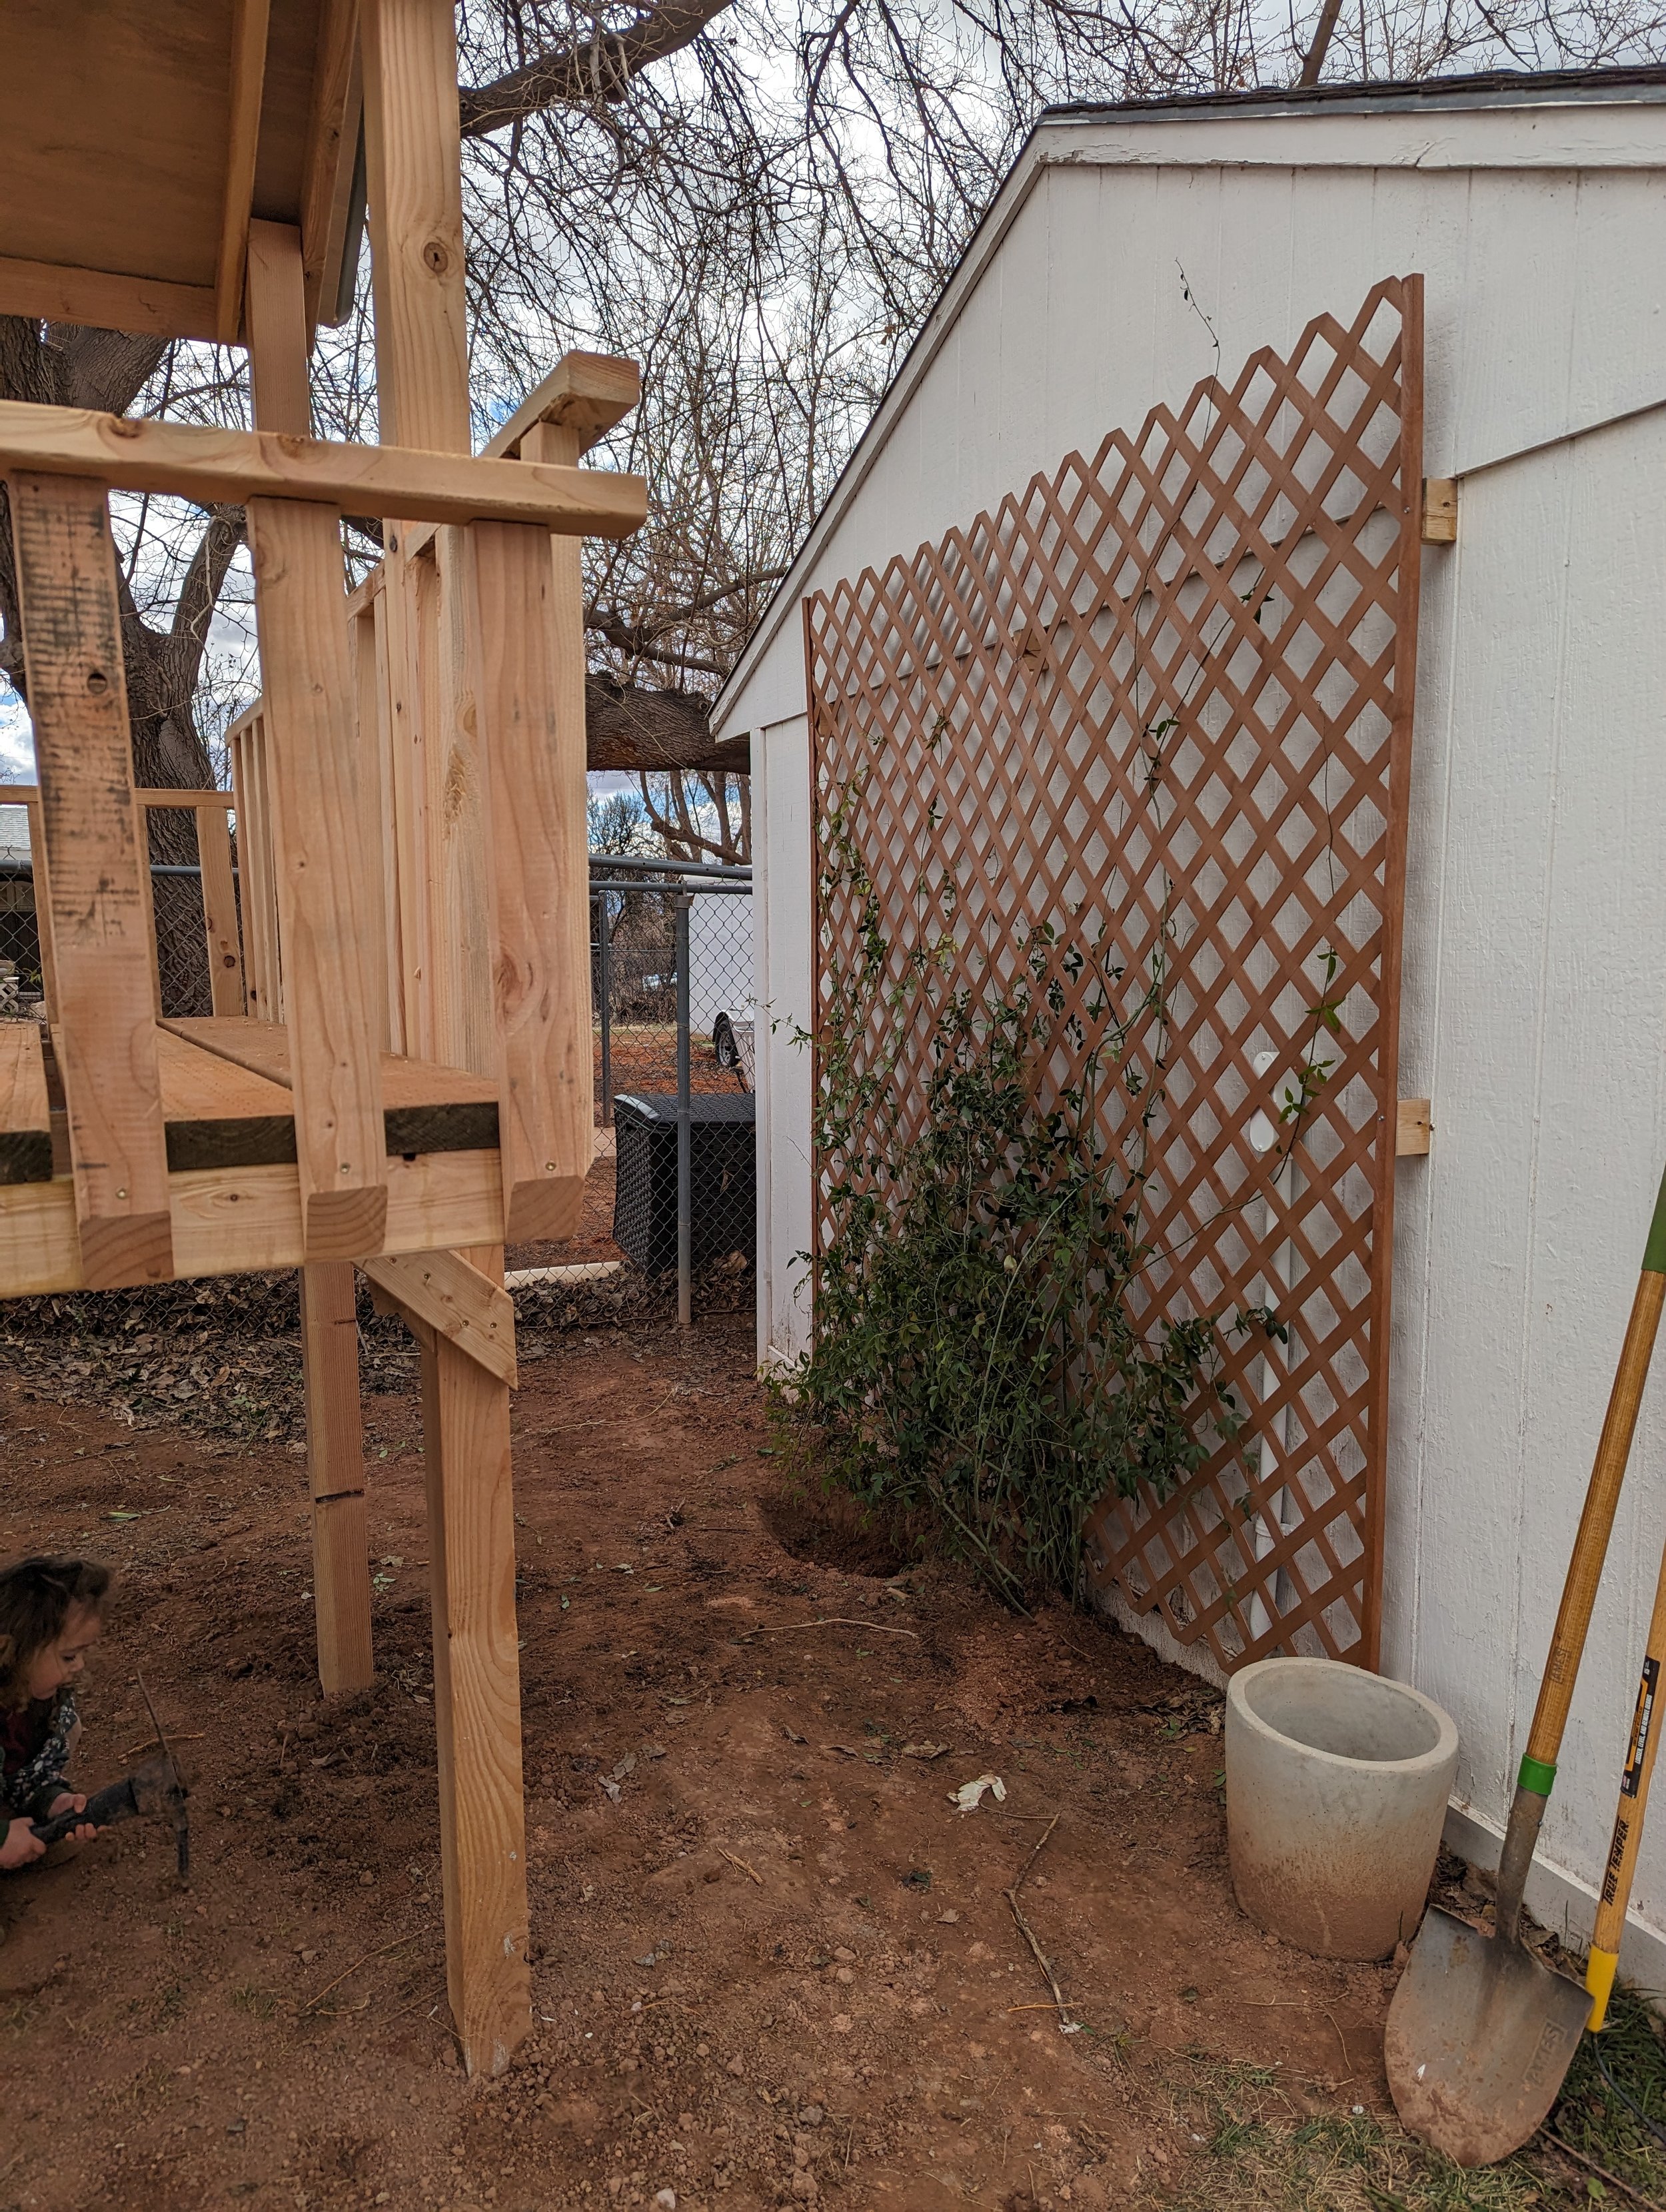
Side note, we have all of these rose vines growing up our chainlink fence from where we tried to get some privacy from the neighbors, but we’ll have a privacy fence coming soon so I replanted this rose vine to grow up our trellis. Hopefully, it will like it!
Okay now back to playground progress!
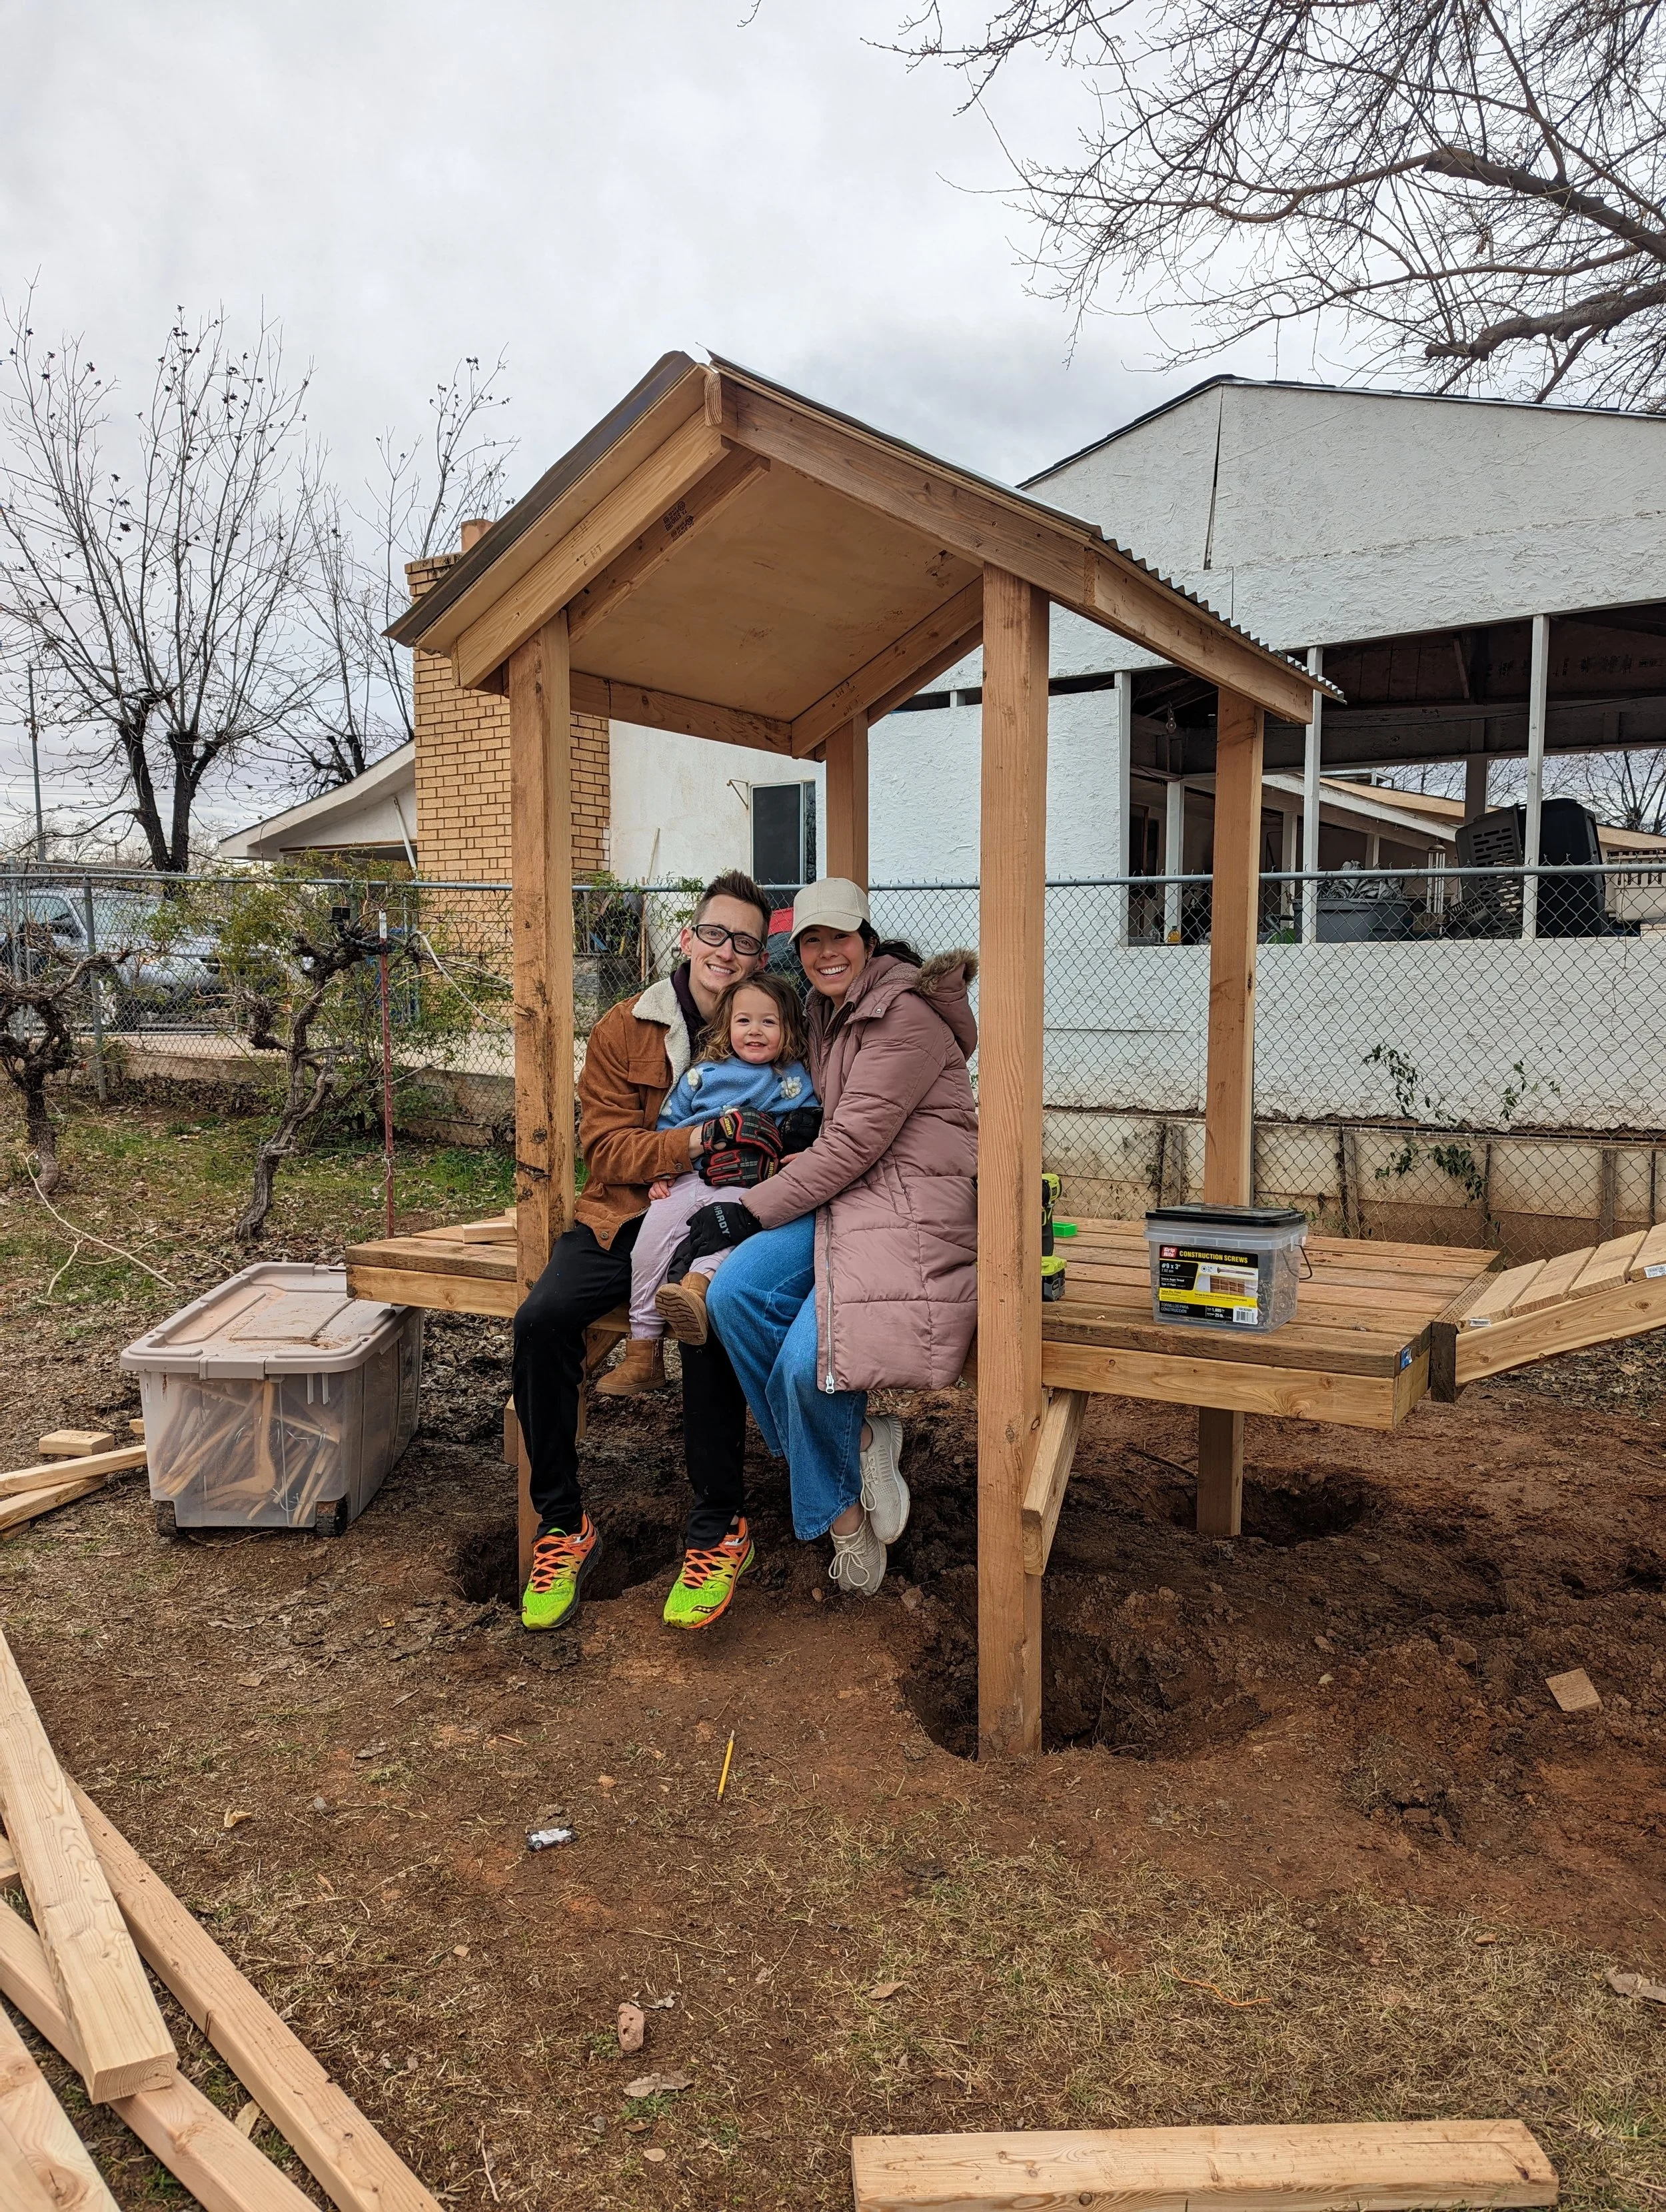
We got the roof on and had to take a family pic because…yay a roof! Putting this second platform was SO much easier than the first. Maybe because it’s lower to the ground and the posts were easier to move and nudge?
Fastening on our roof with our trusty outdoor screws. One of the biggest lifesavers was upgrading our ryobi batteries to last longer and be more powerful throughout this whole project.

Now it’s really starting to look like something! Don’t mind Cove and her facial expressions haha
We used that tub as a temporary way for her to climb up while we were working, but up next comes the steps!

Note that in this pic the ladder is upsidedown haha In hindsight I think we should have made the step a little deeper and not so close together. We just followed what the plans said to do but I definitely think that’s something we’ll adjust later.

I snapped this picture at the end of the day riiight as my phone had 1% so I didn’t even get it in focus but I was quickly testing out the stain color. I got a semi-transparent outdoor stain in the color “chocolate” at Home Depot. This stain is supposed to have a protection span of 6-8 years and the full coverage has up to 10 years. We plan on giving it light sanding and a fresh coat as needed.

Next stop, our local nursery to grab some fresh flowers to go around the playground to liven it up! This is me totally jumping the gun because it’s mid-march still a bit cold and who knows if they’ll last but it made me happy haha

See? So much better with some fresh flowers!

My trusty watering can and some fresh flowers next to our cute swing.

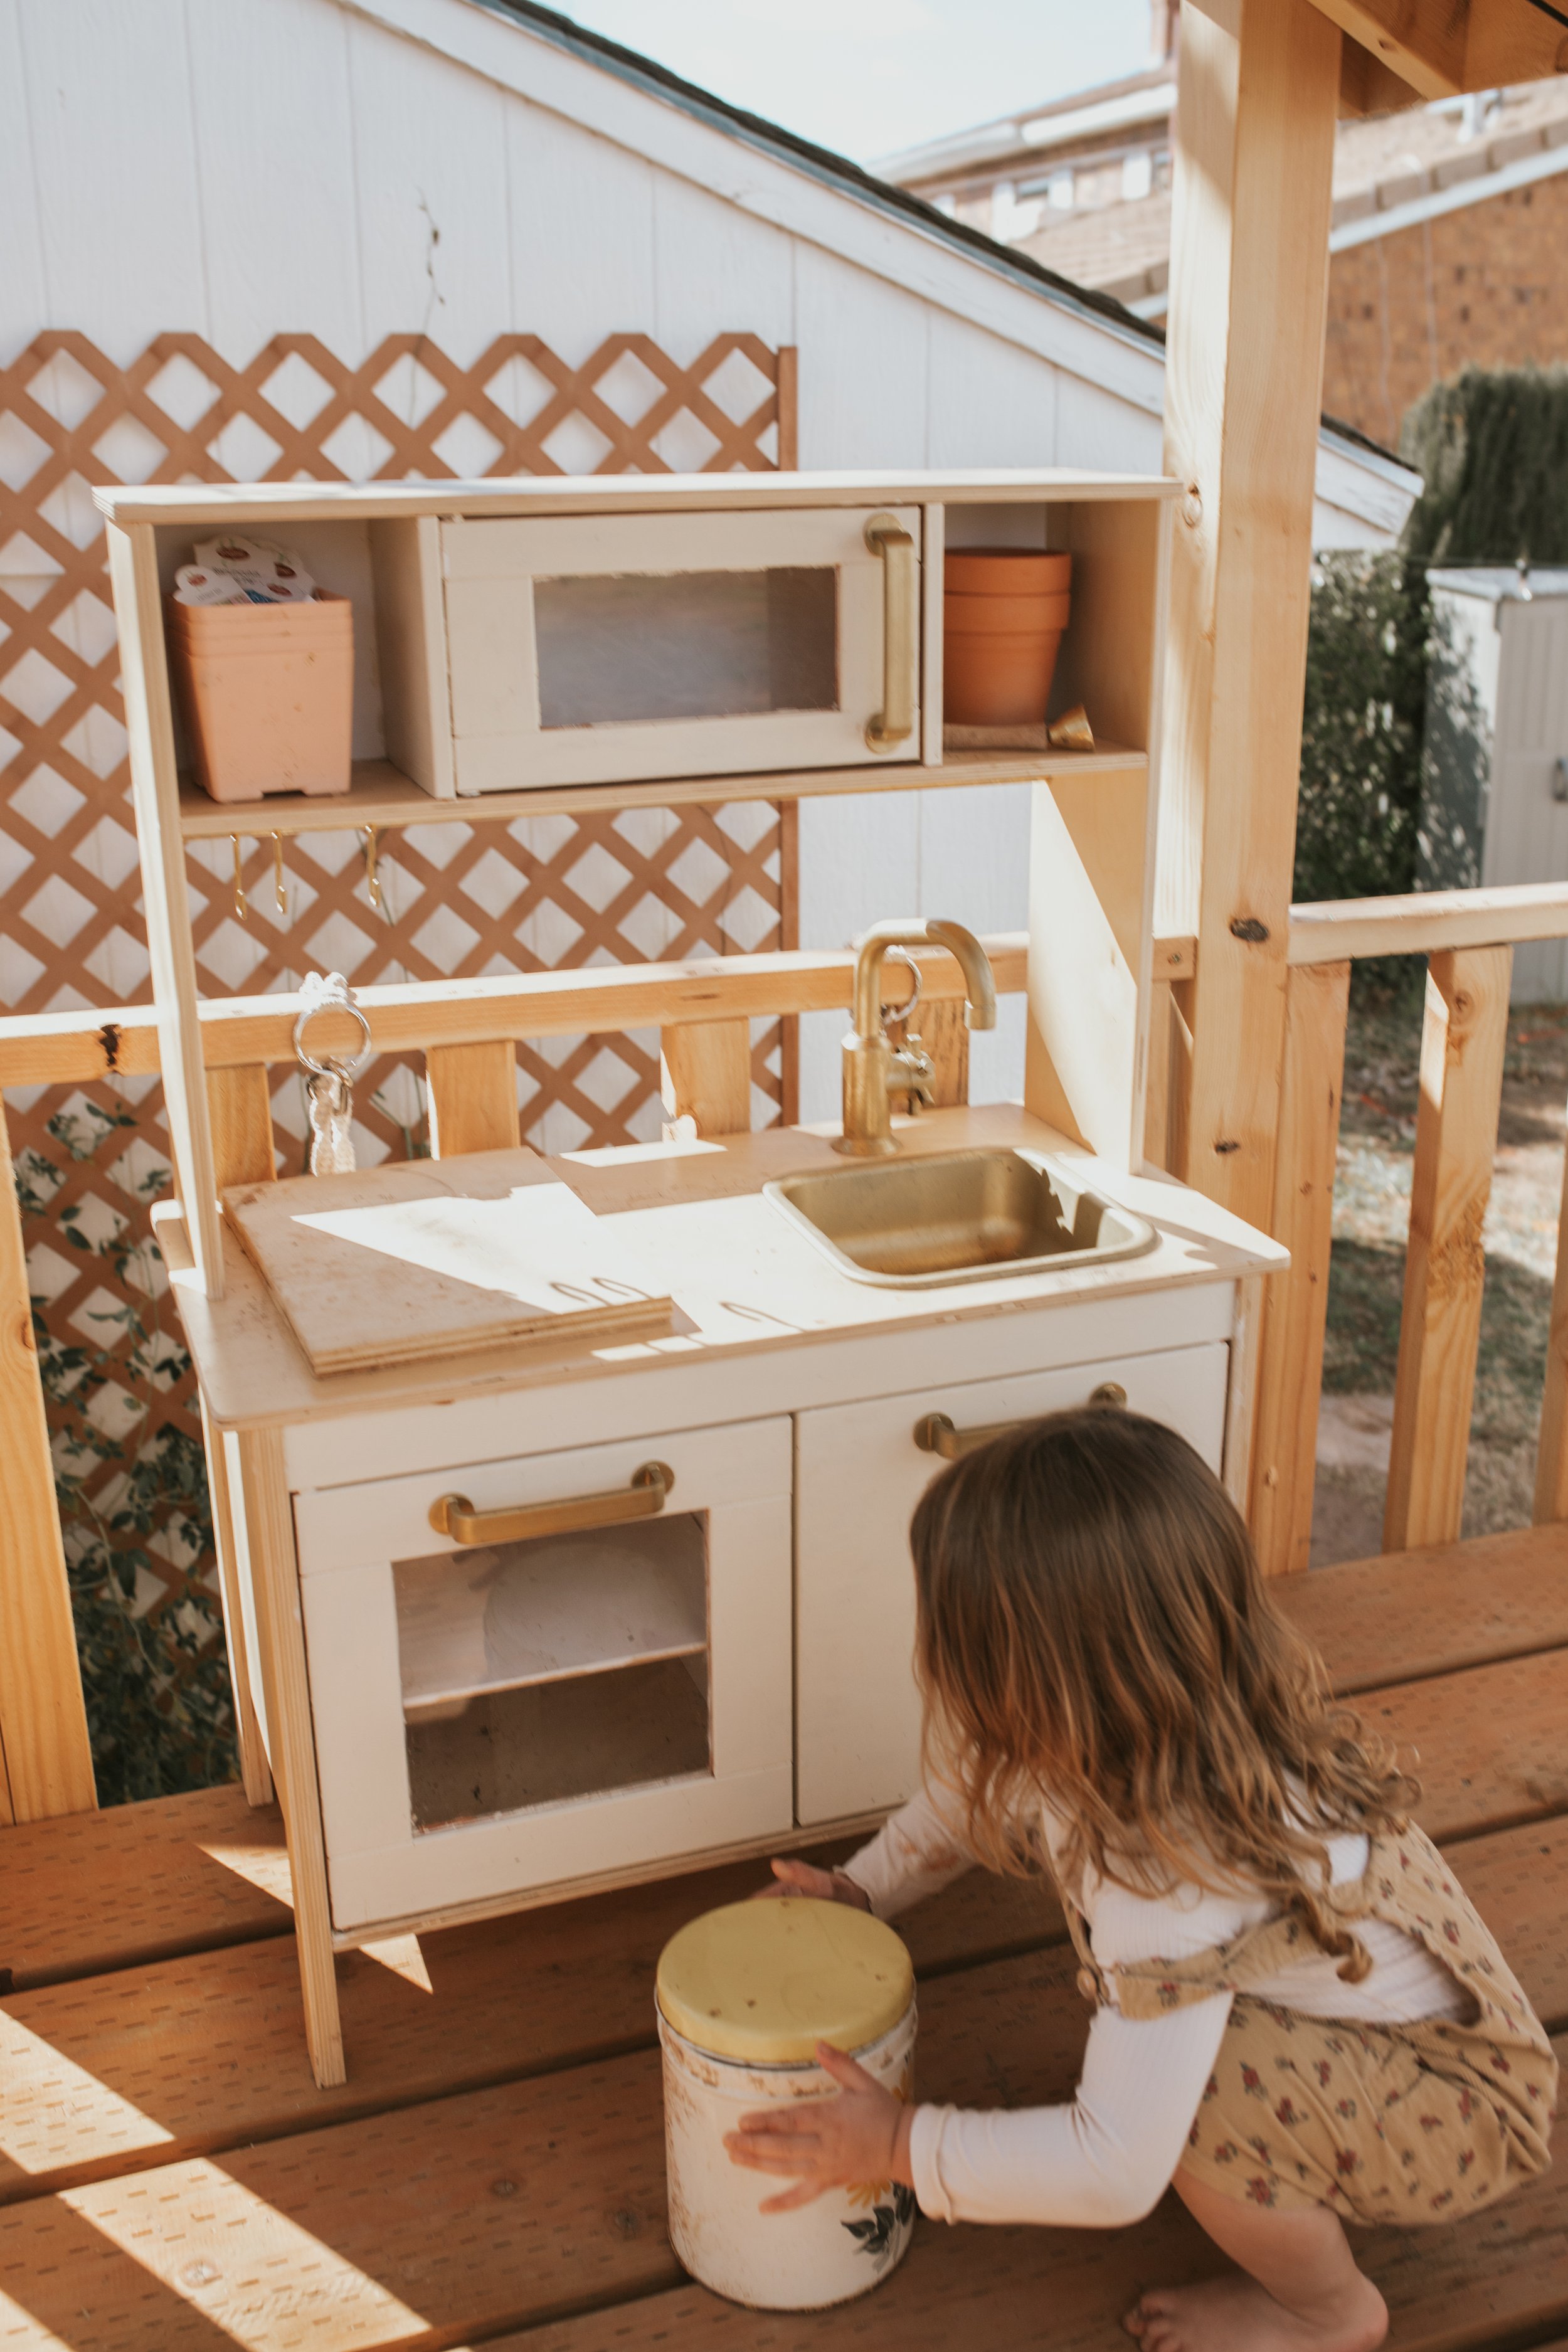
This is the ikea kitchen that we had in the kid’s room but once Jones (kid #2) came along their room got crammed. I knew it needed to be out here and become the mud kitchen! I know this will get dirty and muddy but it’s already been used so much more outside than it ever was inside.
I put all the flower tags, some flower pots, a muffin tin, and some watering cans out here for playing. We’ll just keep adding to it!
Now, here’s a recap of what the before looked like….just kind of a catch-all for our yard equipment and a pile of stones for our future firepit.

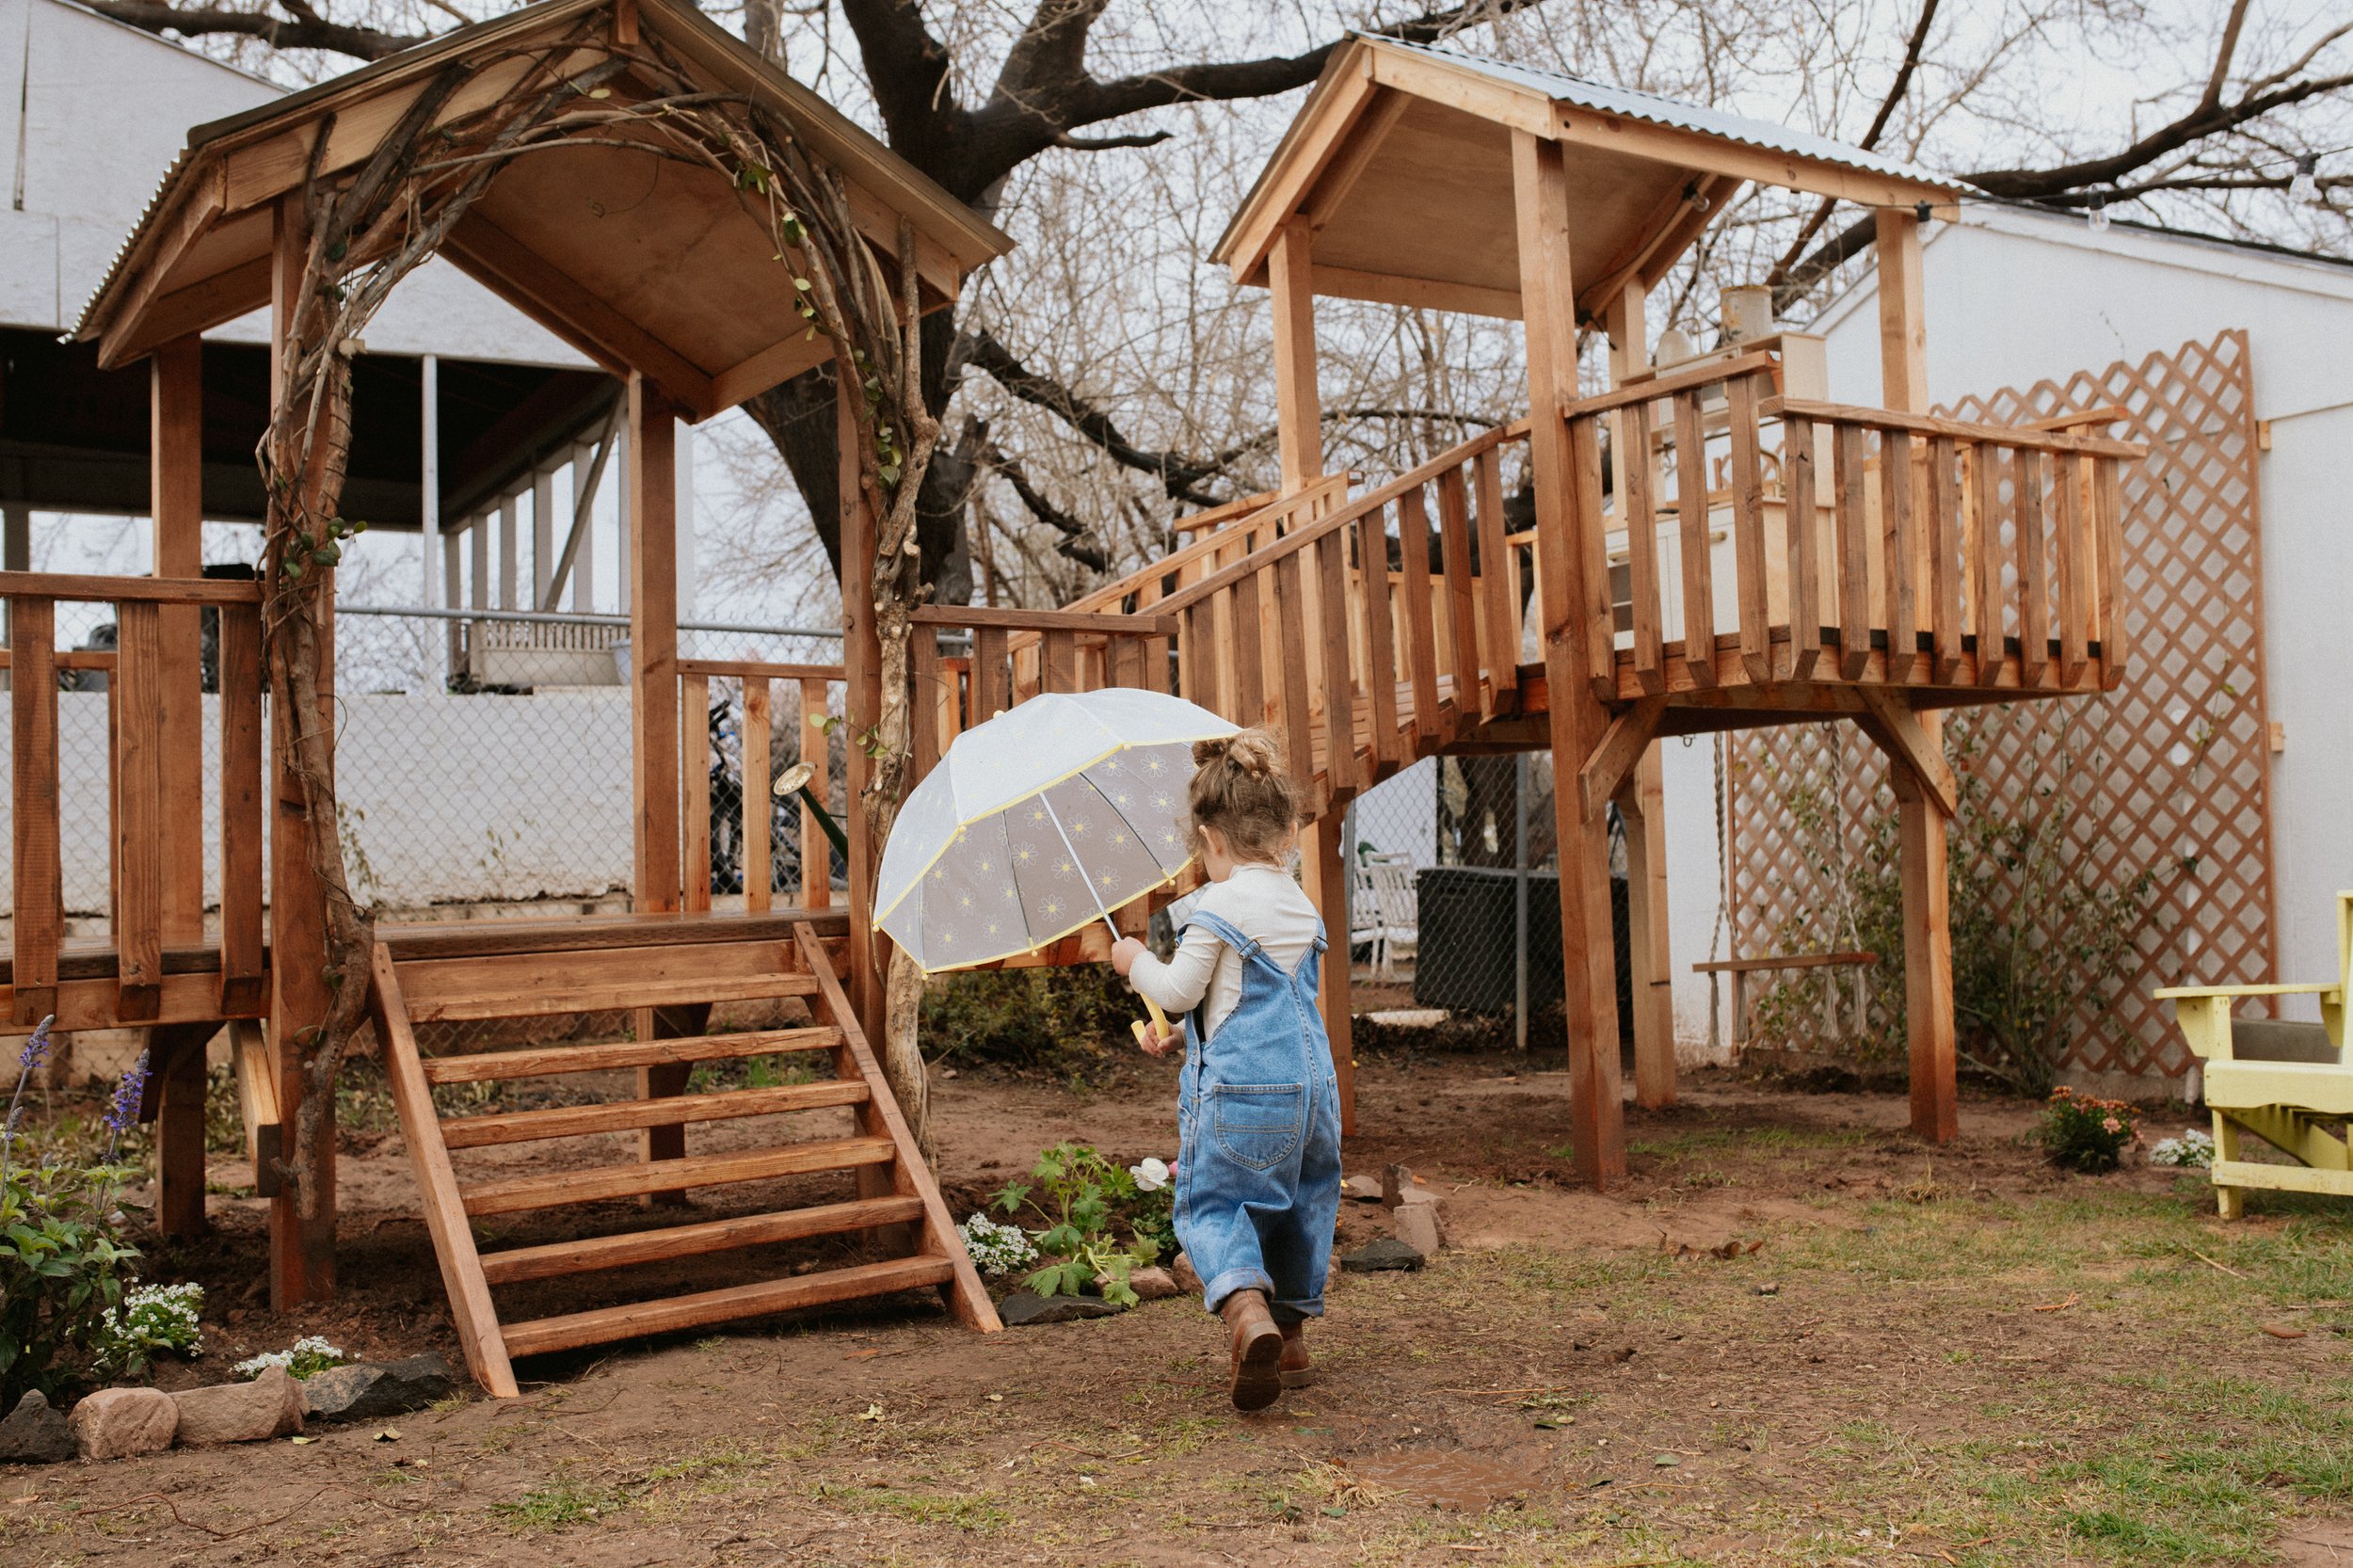
And here’s how it’s looking now! I mean it’s only half stained because of the weather but I had to snap some pics on our rainy day!


Cost Breakdown:
Wood- $820
25 lb Wood Screws- $70
Cement- $20
Stain- $47
Roofing- $126
Roof Screws- $15
Total Cost: $1098
*Now we definitely made mistakes and had to do a couple of things over. We ended up having to run and get a couple more pieces of wood even with buying extra pieces. So when it called for 10 2x4’s I ordered 12 just to have some extra and we used them so getting extra is good! We have extra wood pieces that we can use to build more things!*
We still need to add the slide and I see them on FB Marketplace all the time so I’ve been hoping to see one but think we’ll just go ahead and order! That will add a couple hundred.
One thing is for sure…this thing is STURDY! It’s not budging which makes us feel better about it feeling safe.
We’ve been talking about wanting to maybe build a third platform that could be even taller but we’ll see.
Even though it’s “basic” so far we love that it can be added on and we feel confident building new things and making it even more fun! We will add a slide, possibly a sand pit, a toadstool table and chairs, bucket pulley, wooden windchimes, wooden teeter totter, fairy lights, and whatever else we can think of! What would you add?
Stay tuned for Part 3!
Thanks for reading!
xoxo,
